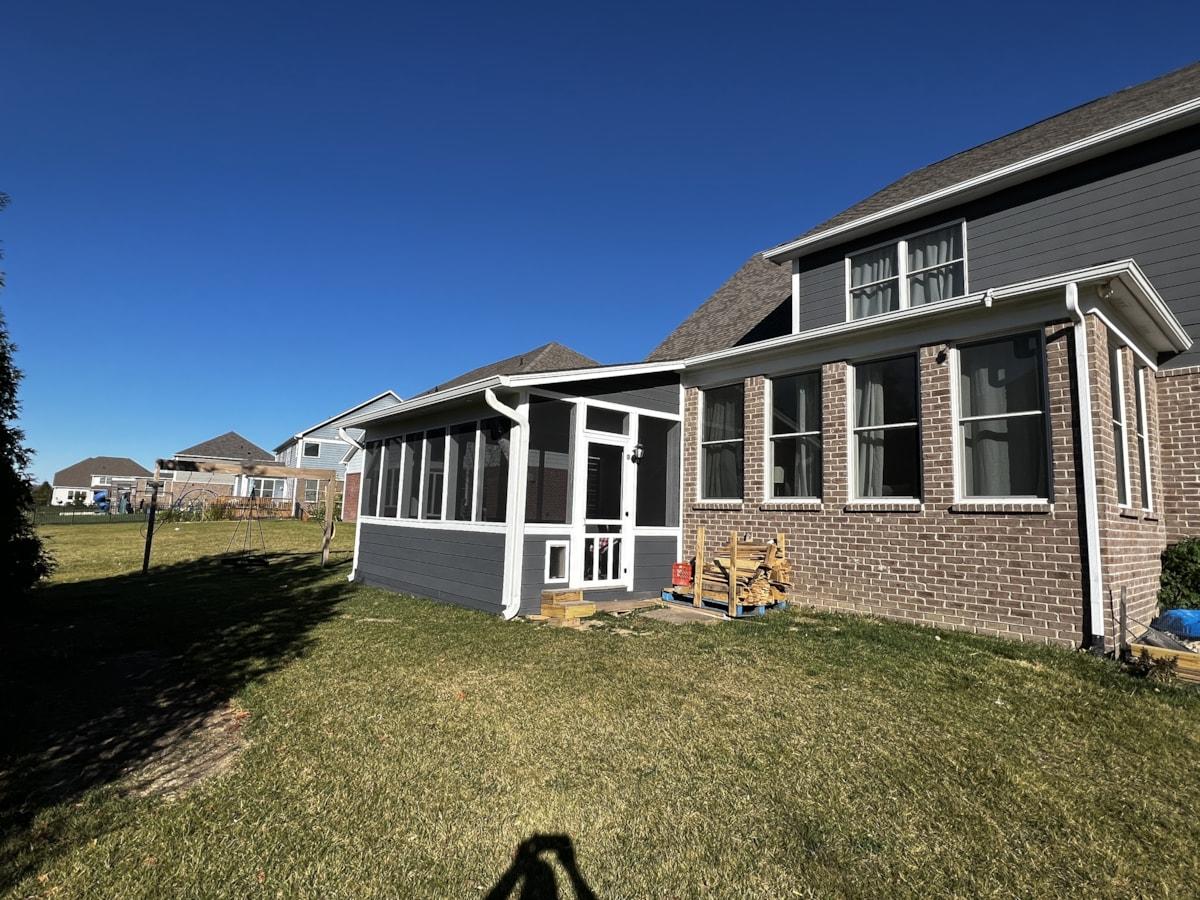
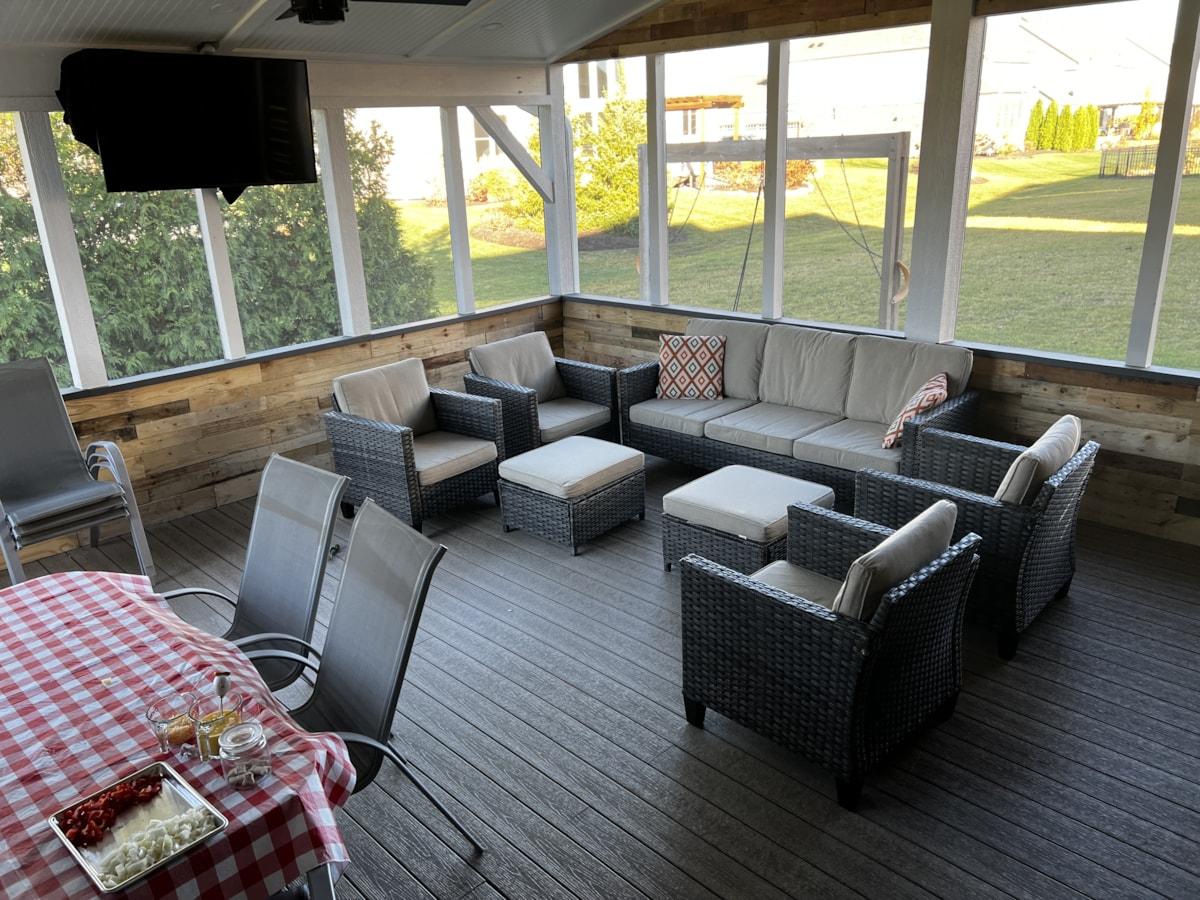
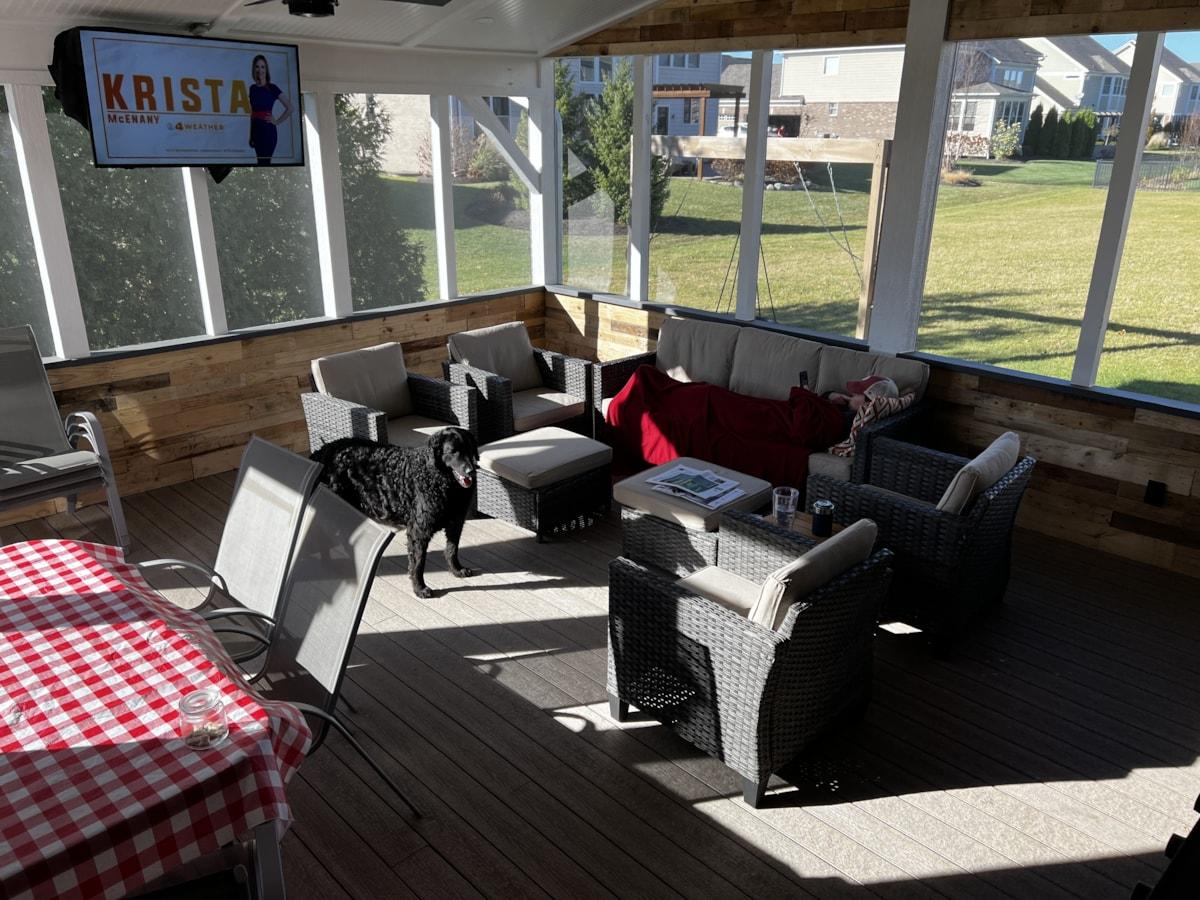
Screened-In Porch
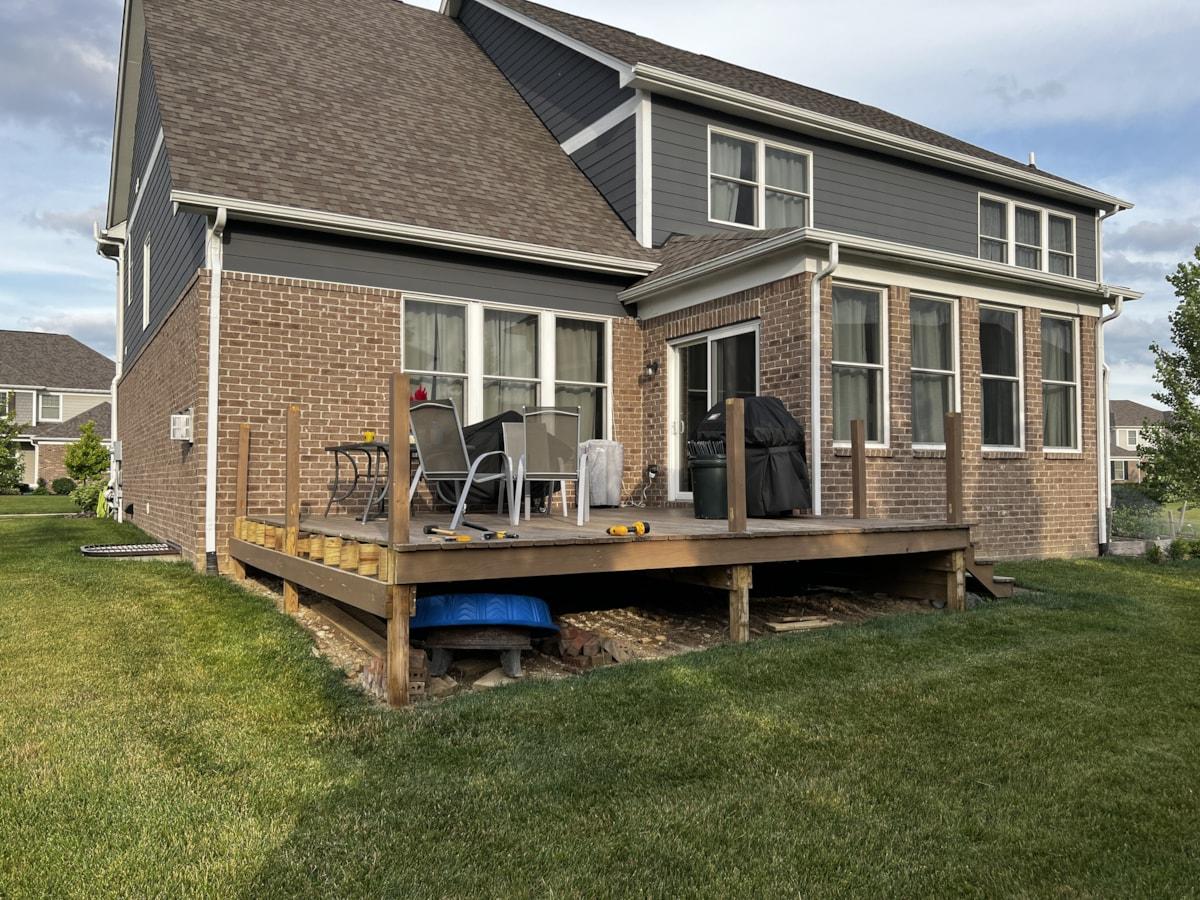
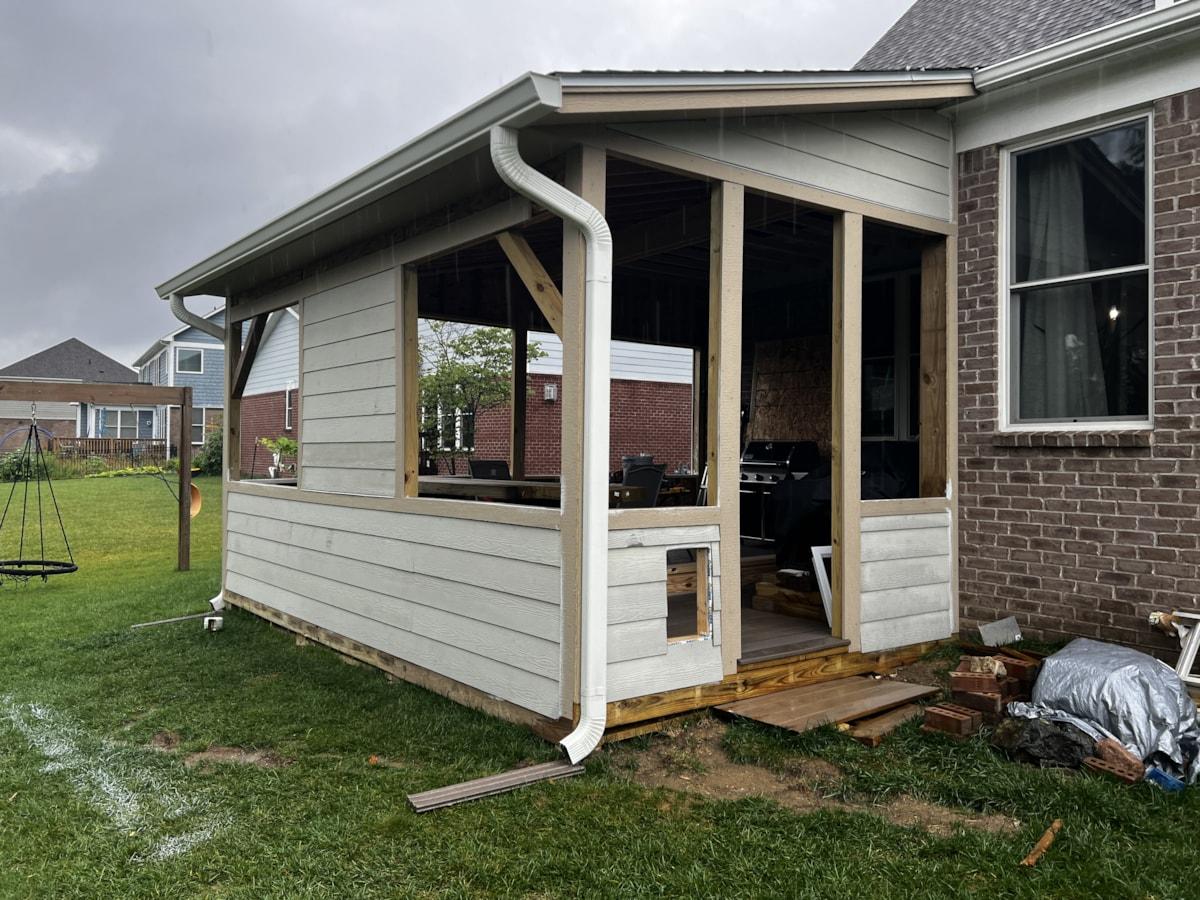
Our back deck got constantly destroyed by the sun. Half of it was exposed to direct sunlight for easily 12 hours a day. With no trees to shade it (or us) we rarely used the deck throughout the summer. And it required annual refinishing.
I grew up with a screened-in porch and have longed for one ever since I left for college. My parents eventually built their own and I helped my brother-in-law build one a few years back. I was getting the itch to add this and I needed a project to occupy my mind.
This project took about 4 months to complete and aside from a week vacation to Hilton Head, a week in Alaska, and a weekend in Tuscaloosa to visit Ethan, I worked every weekend and every evening during the week on this porch.
Talk about project drudgery. I got it bad near the end but I was determined to get it done.
We finished around the 2nd week of October when the weather was in the 30's and 40's. And then it warmed up for about two weeks so we could enjoy our hard work. It was glorious.
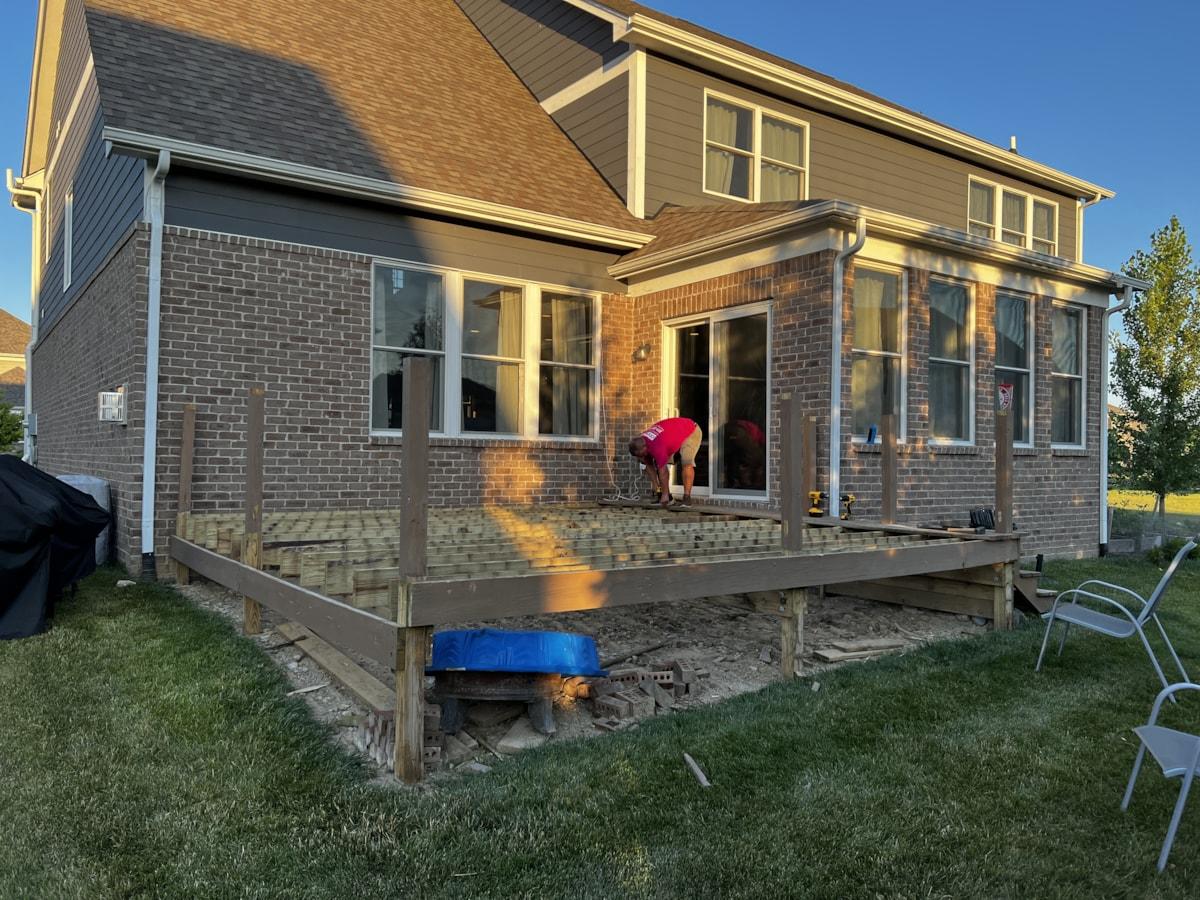
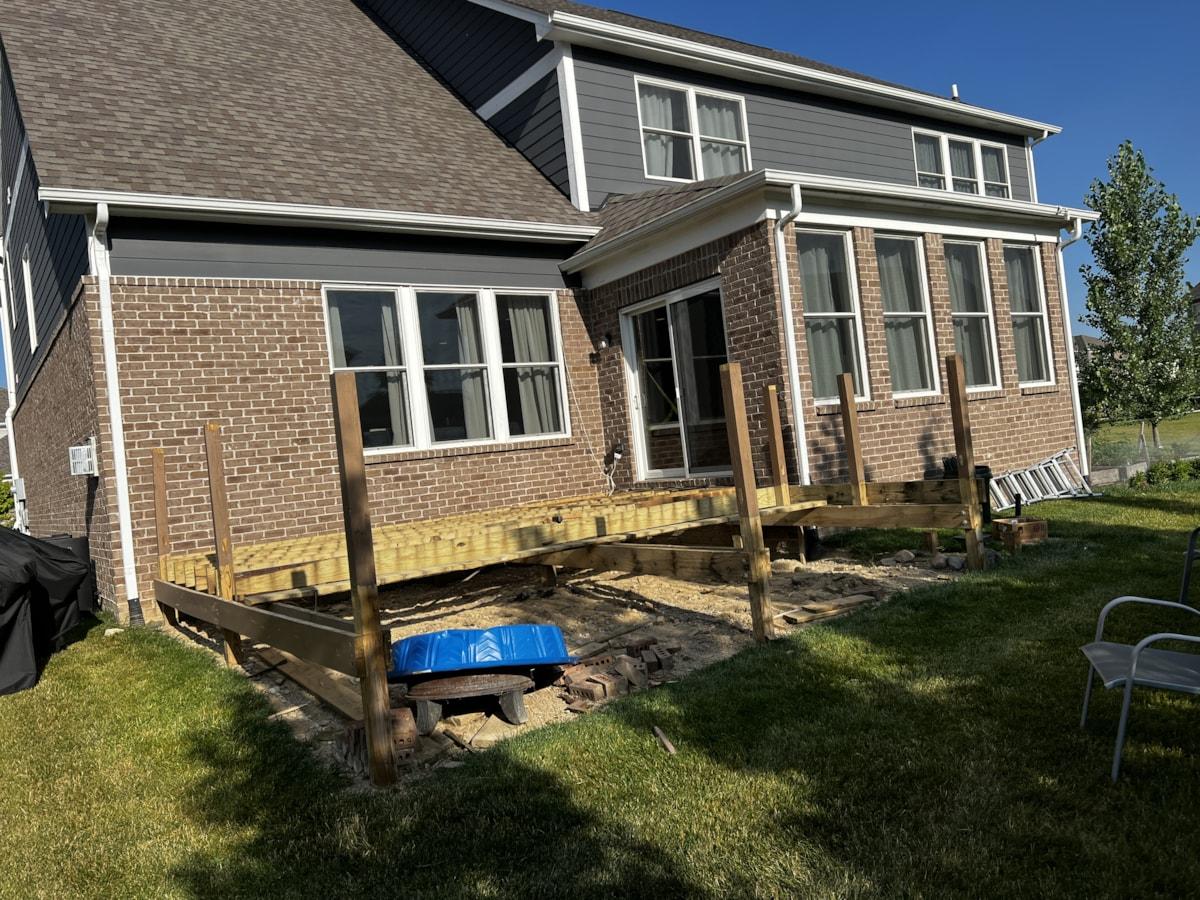
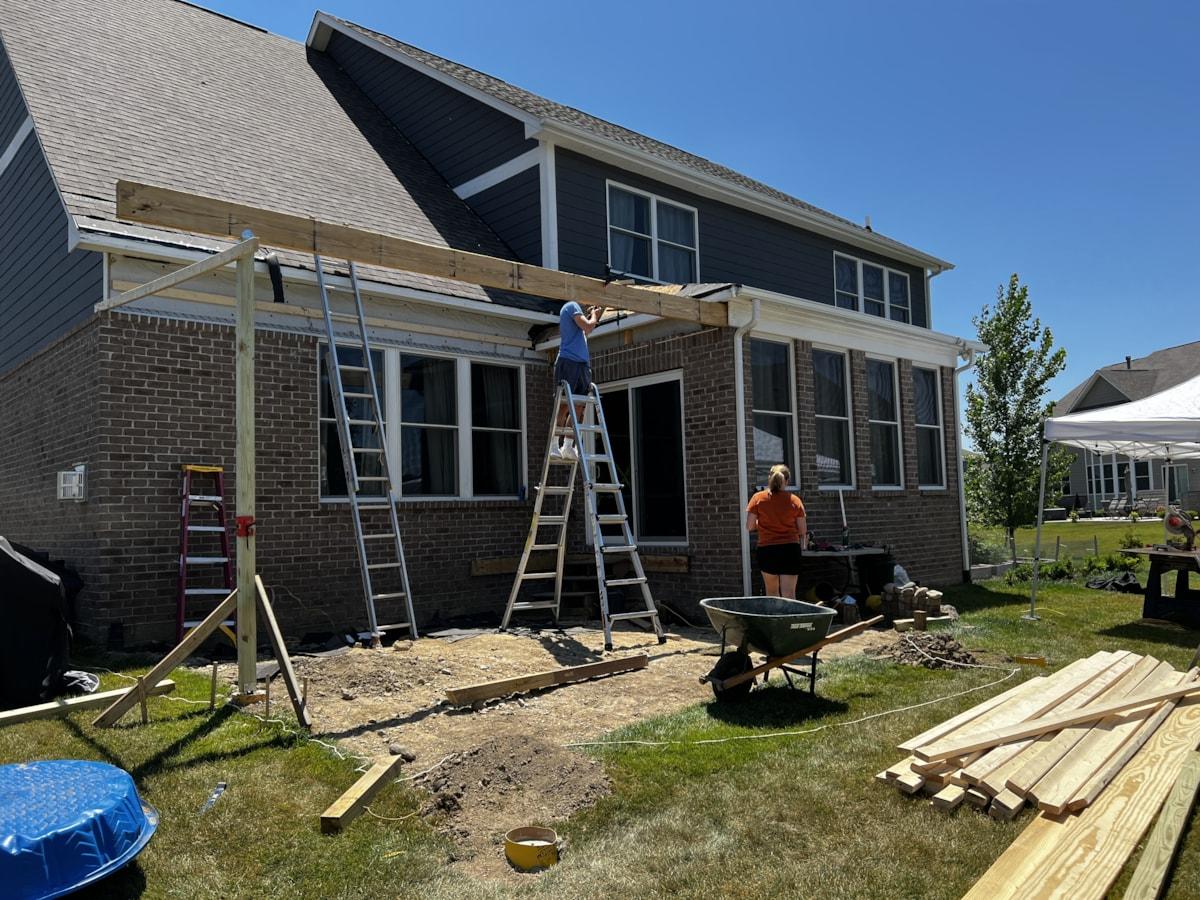
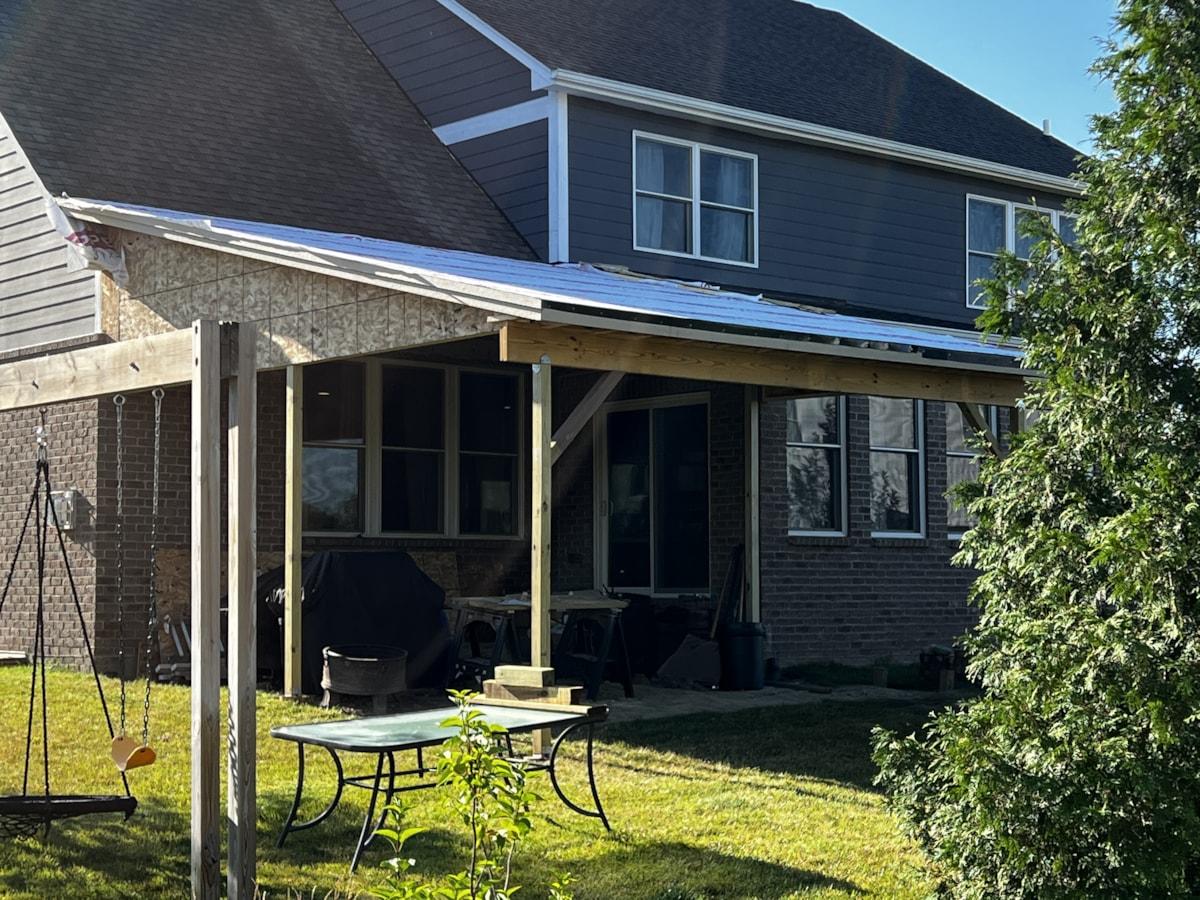
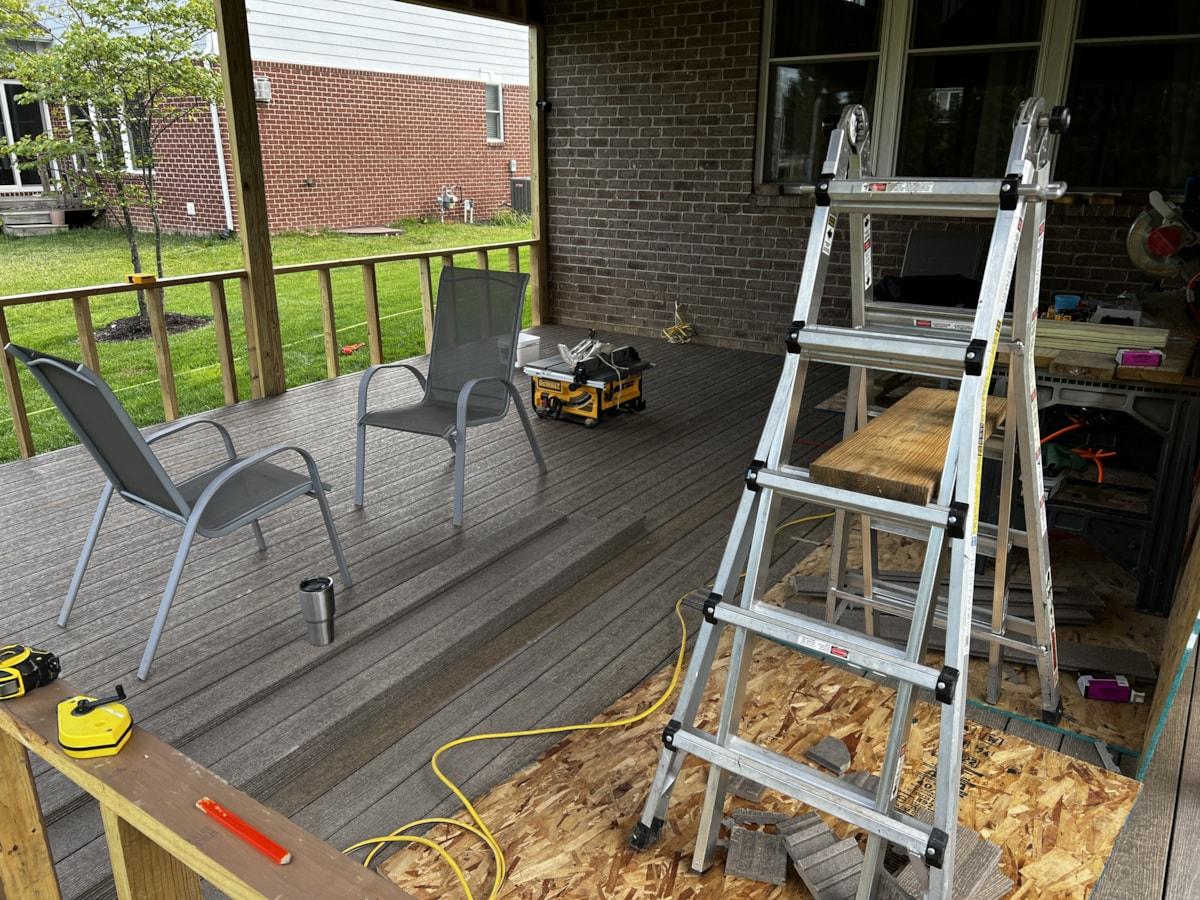
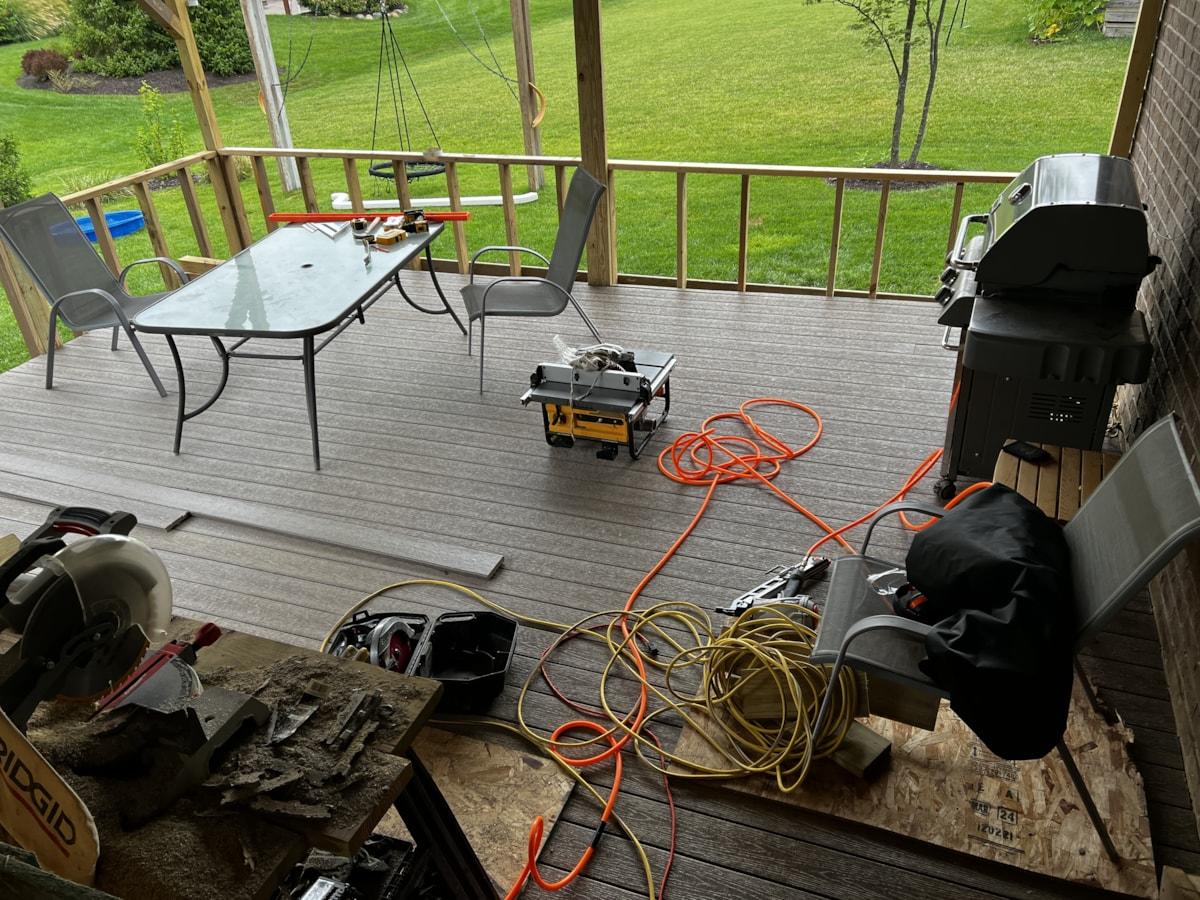
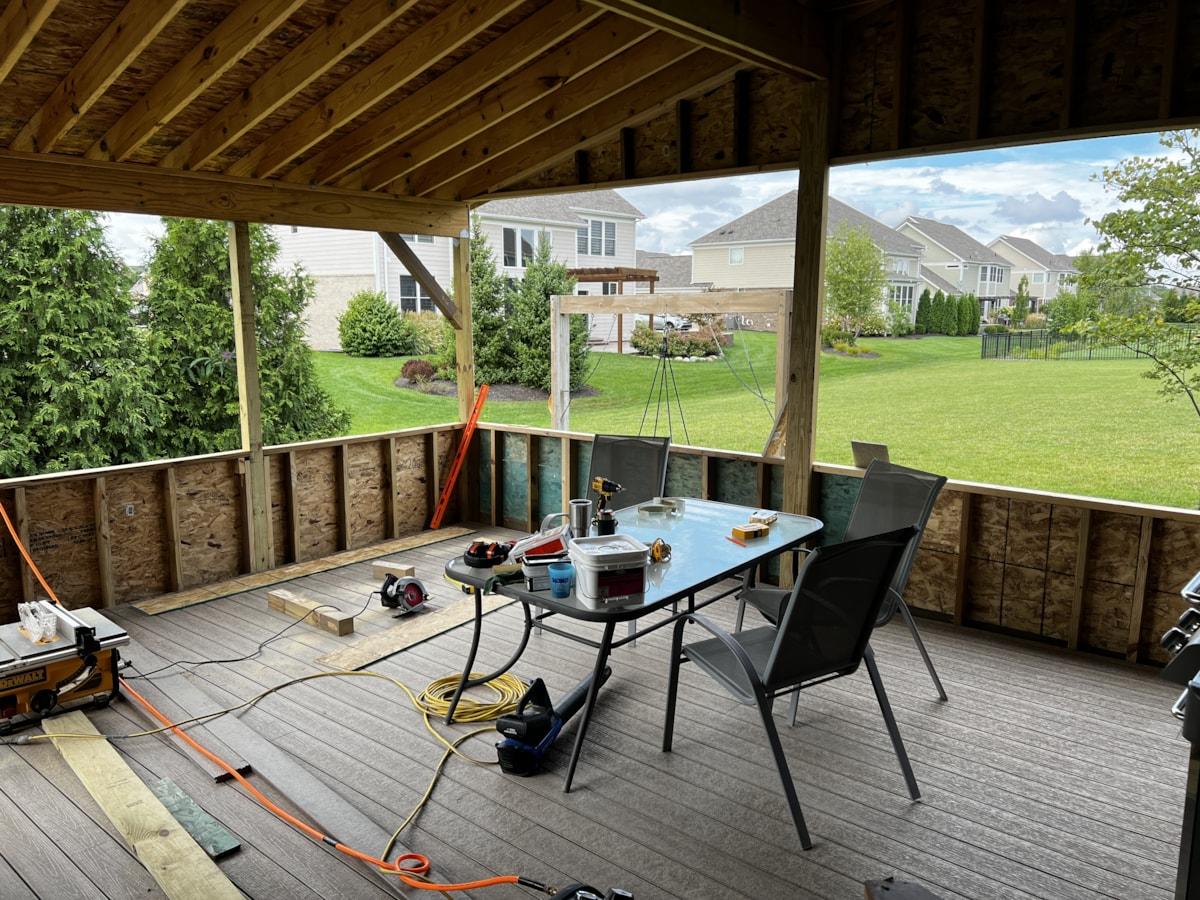
Old Deck Demolition
I salvaged as much of this as I could. I was able to reuse all floor joists, beams, and about half of the deck boards.


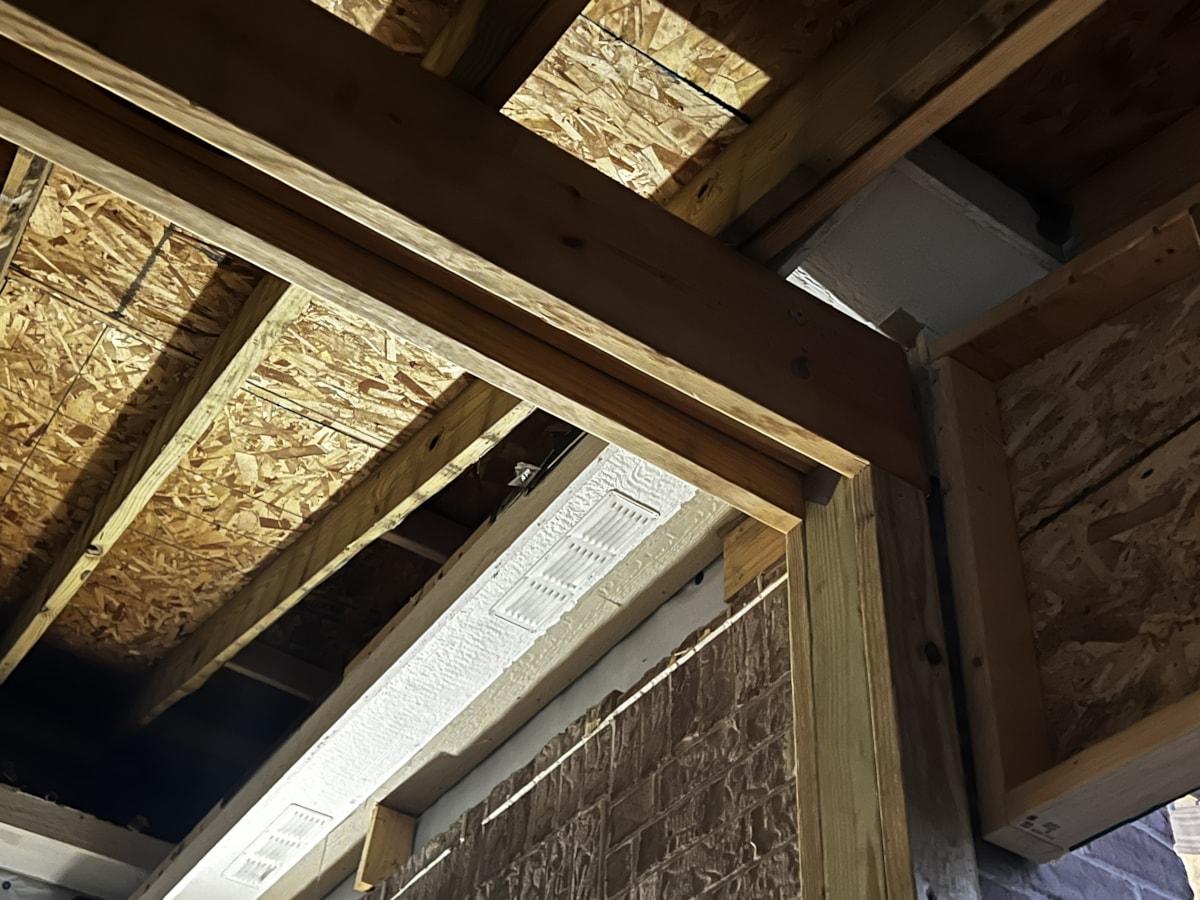
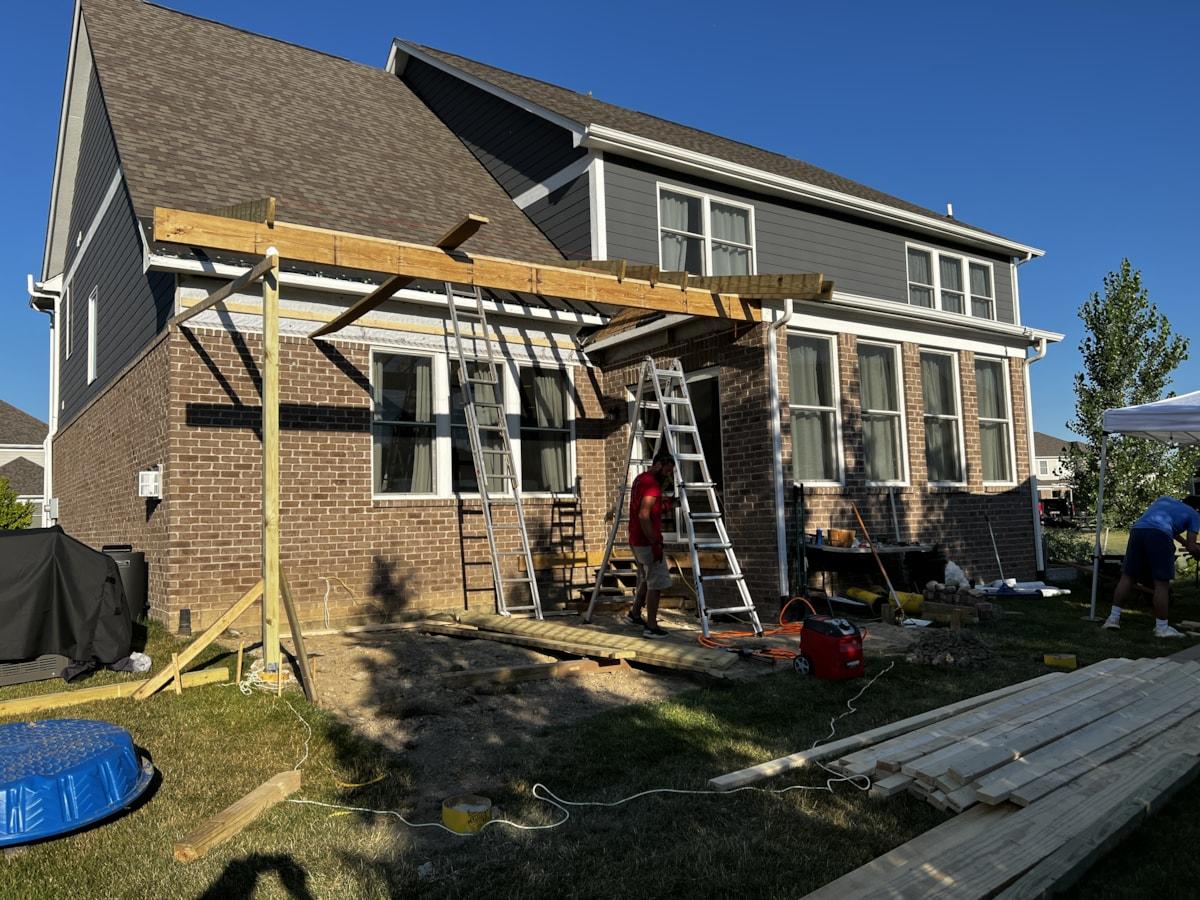
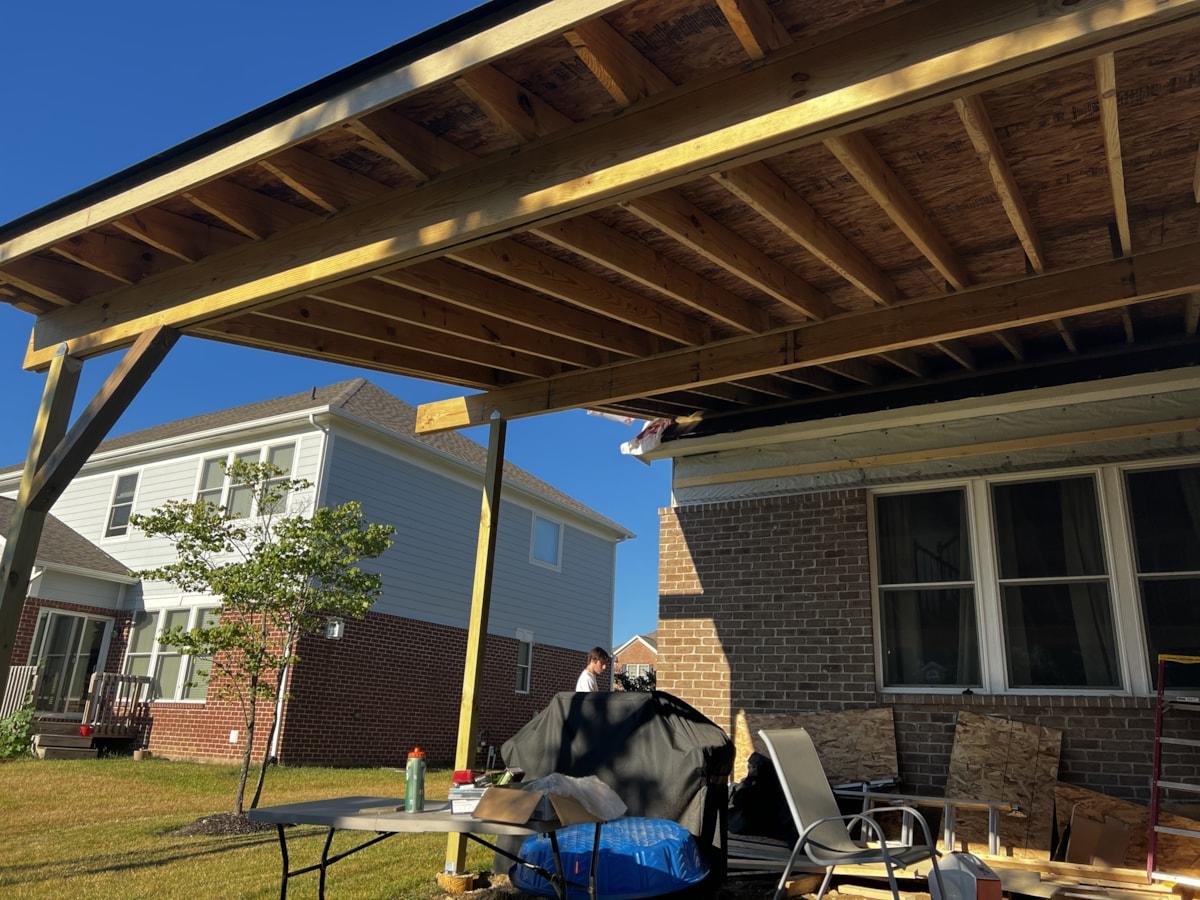
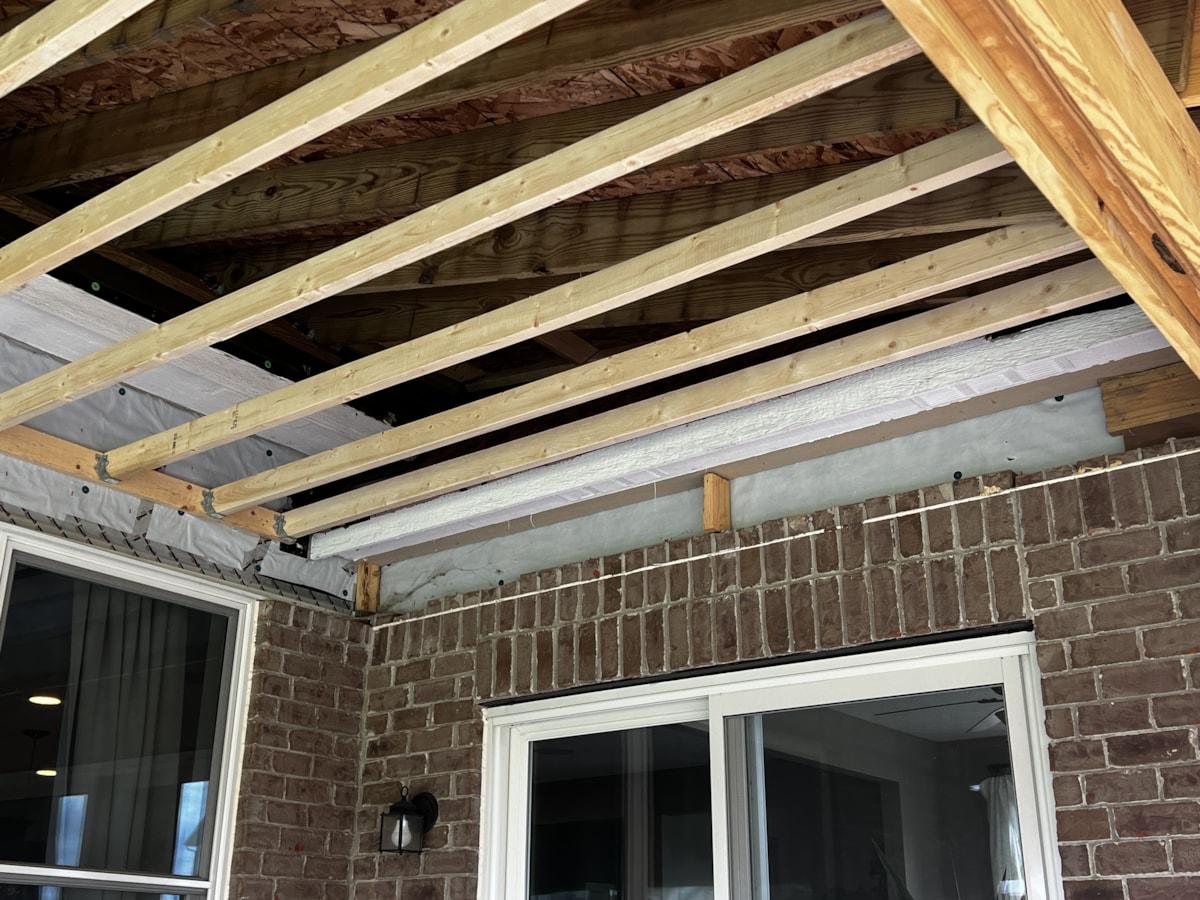
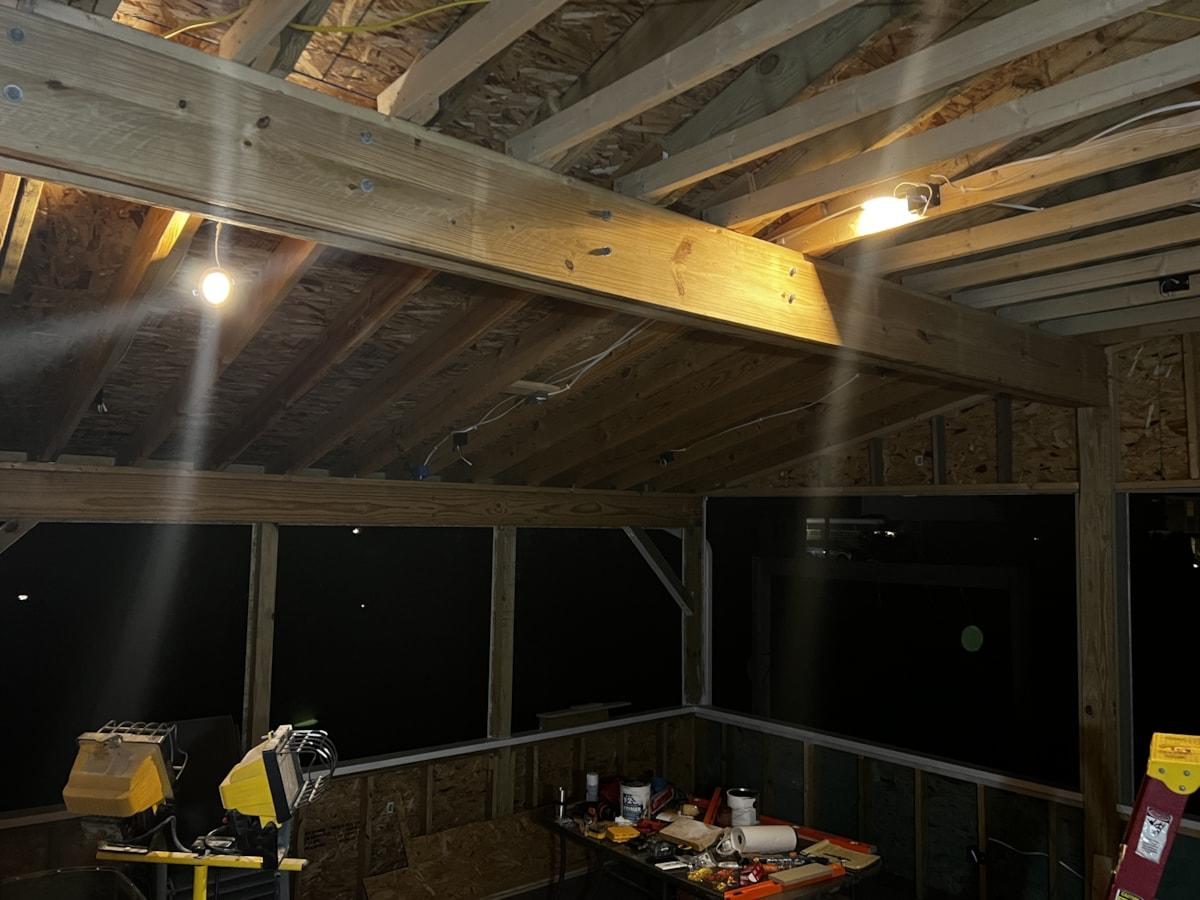
Roof Framing
This was the trickiest part for me and the phase that kept me up at nights long before we decided to pull the trigger. Tying into the big roofline wasn't a big deal. It was a basic gable roof. The sun room however was a hip roof. This meant varying roofline angles and an underlying structure I wasn't fully sure of.
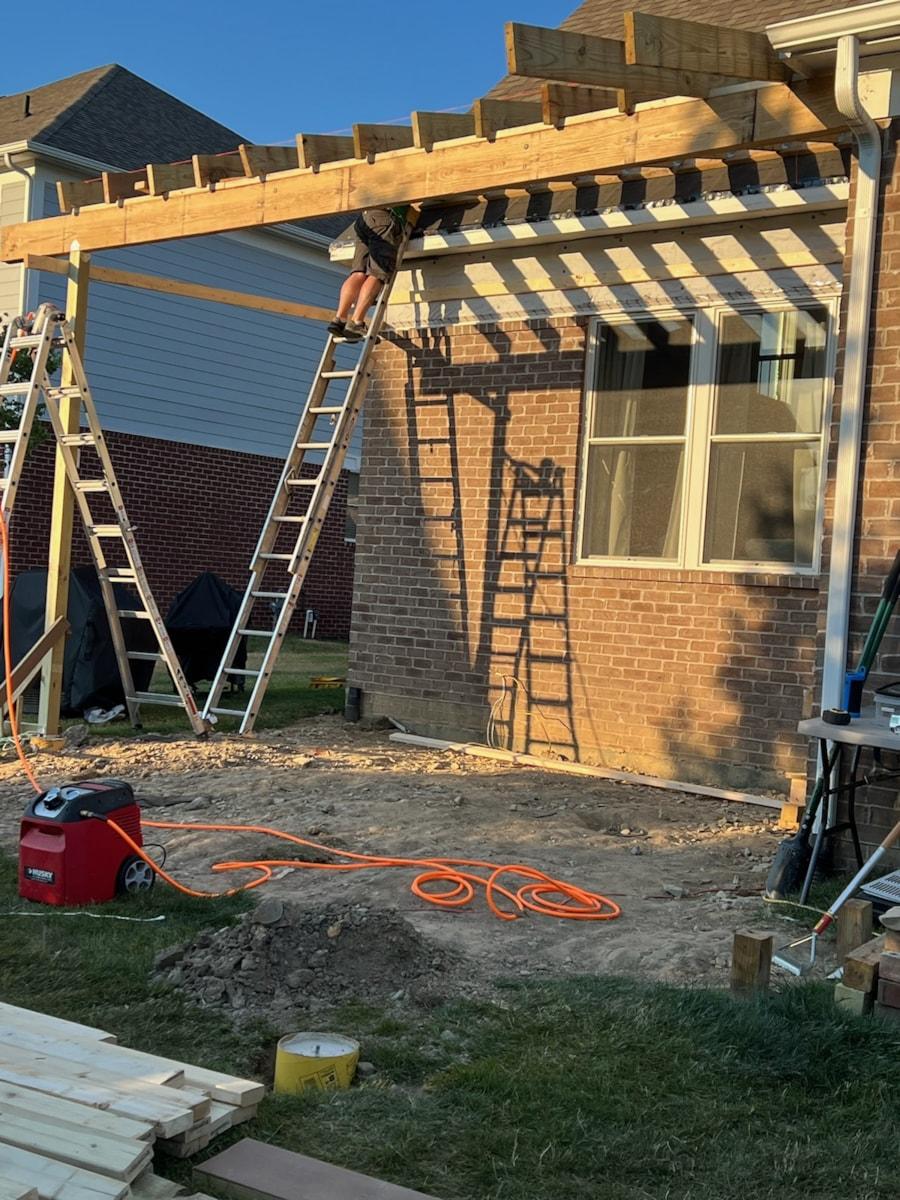
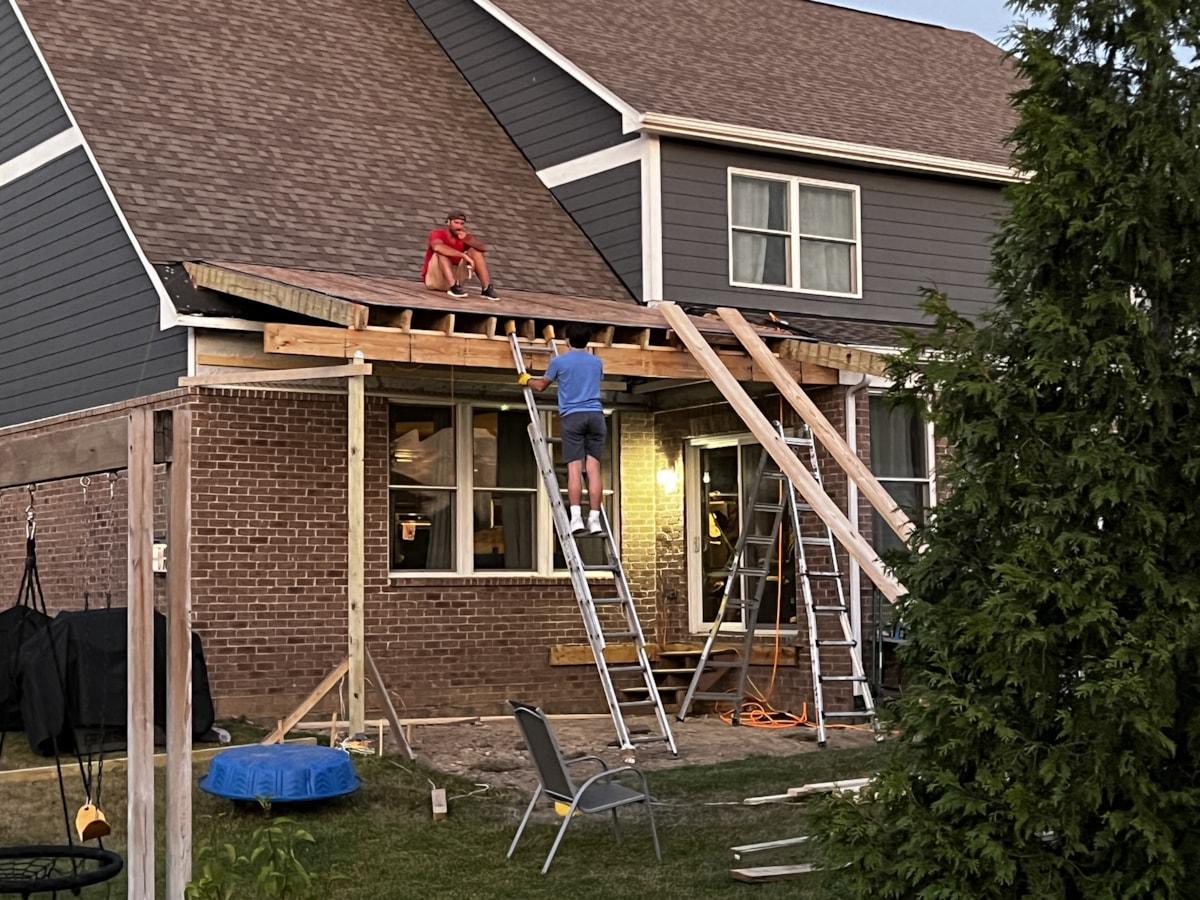
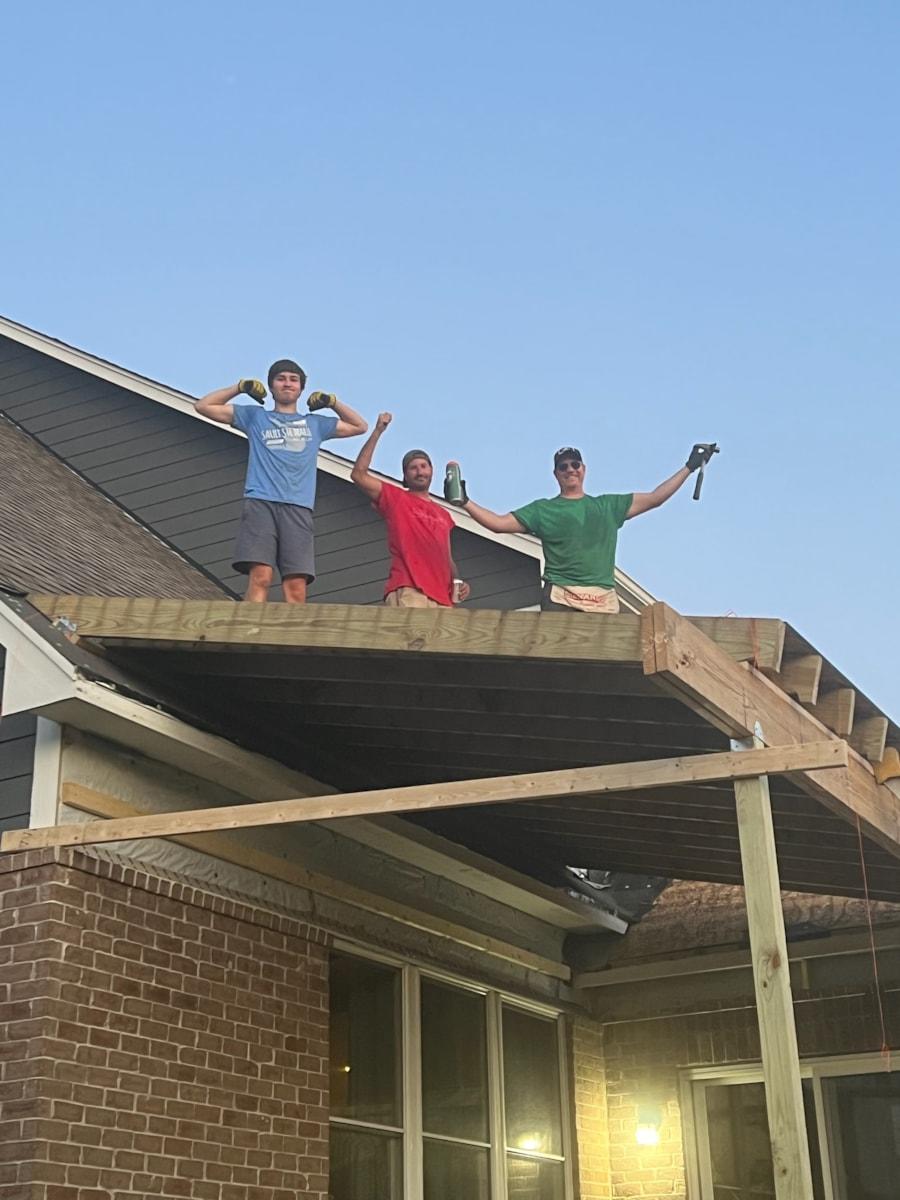
The primary goal was to get the roof on and some underlayment so there were no leaks into the house. Greg, Ethan, and I worked in 95+ degree heat for several days straight. I drank gallons of water and couldn't stay hydrated enough. Somehow Greg drank beer all day (many beers) and was perfectly fine.
On the evening of July 3rd we got our first roof decking up and were able to sit up there, have a celebration cigar and bourbon, and watch fireworks for miles around. It felt amazing and was a glorious way to end a long, tiring day.
Same thing on the 4th of July after putting up the rest of the decking for the first half of the roof. That is a memory I hope to never forget. Exhausted, dirty, smelly, and in the company of my son and best friend watching fireworks, listening to great tunes, and indulging in good bourbon and cigars.


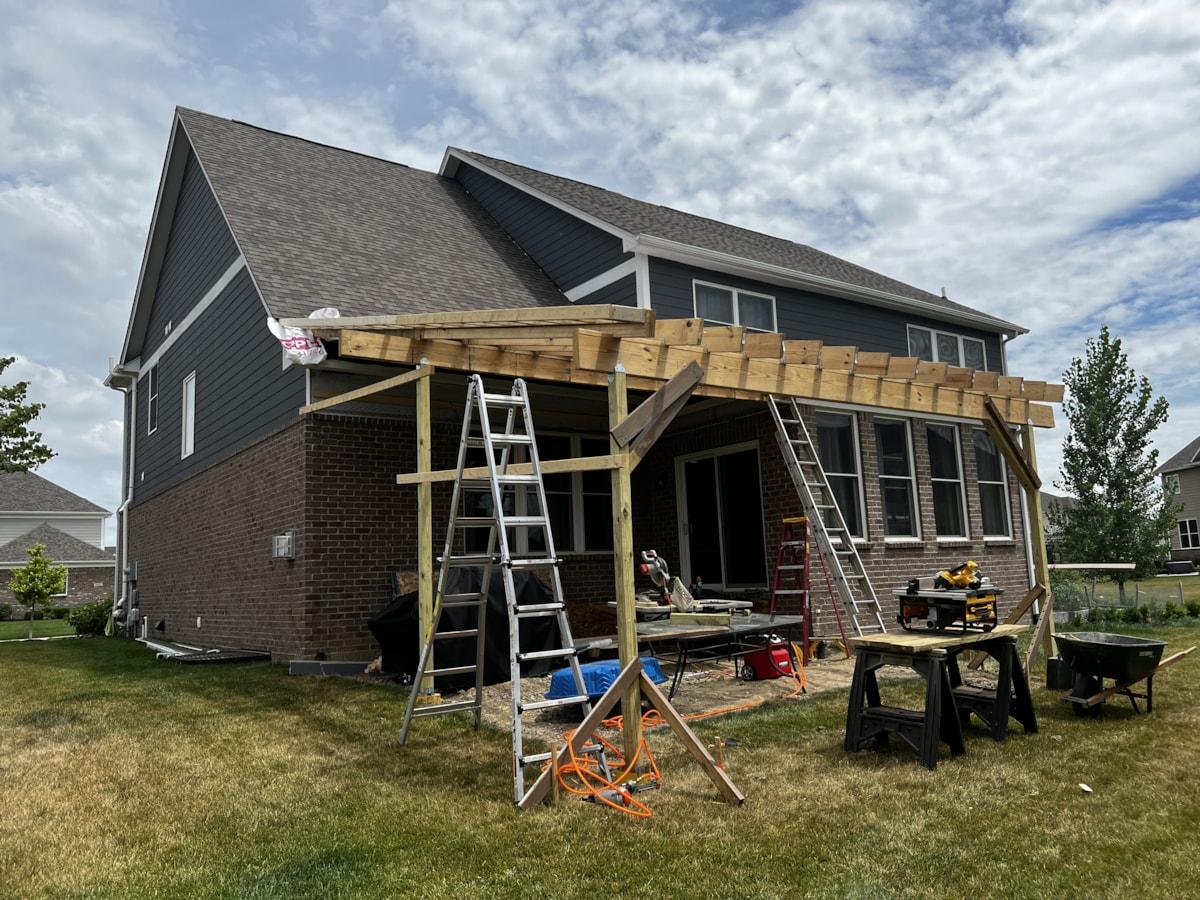
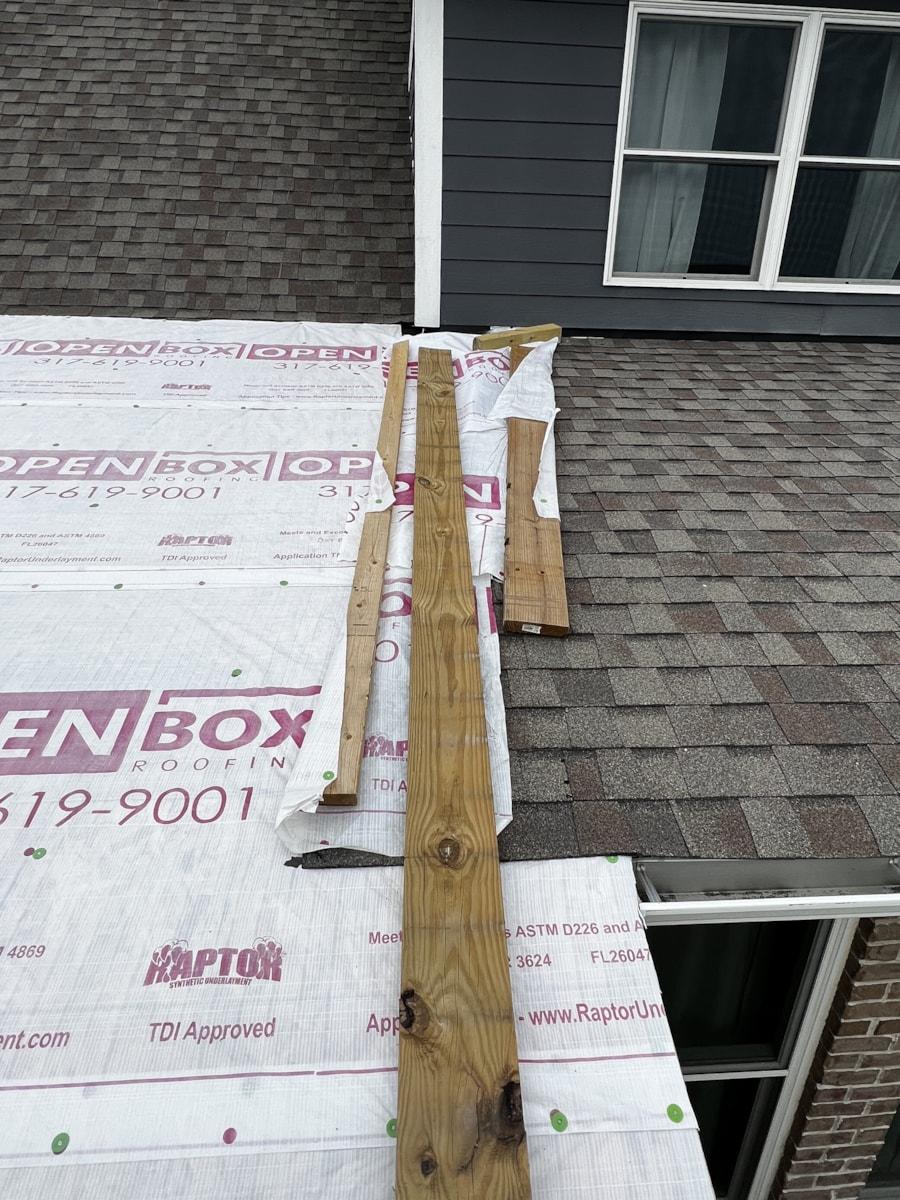
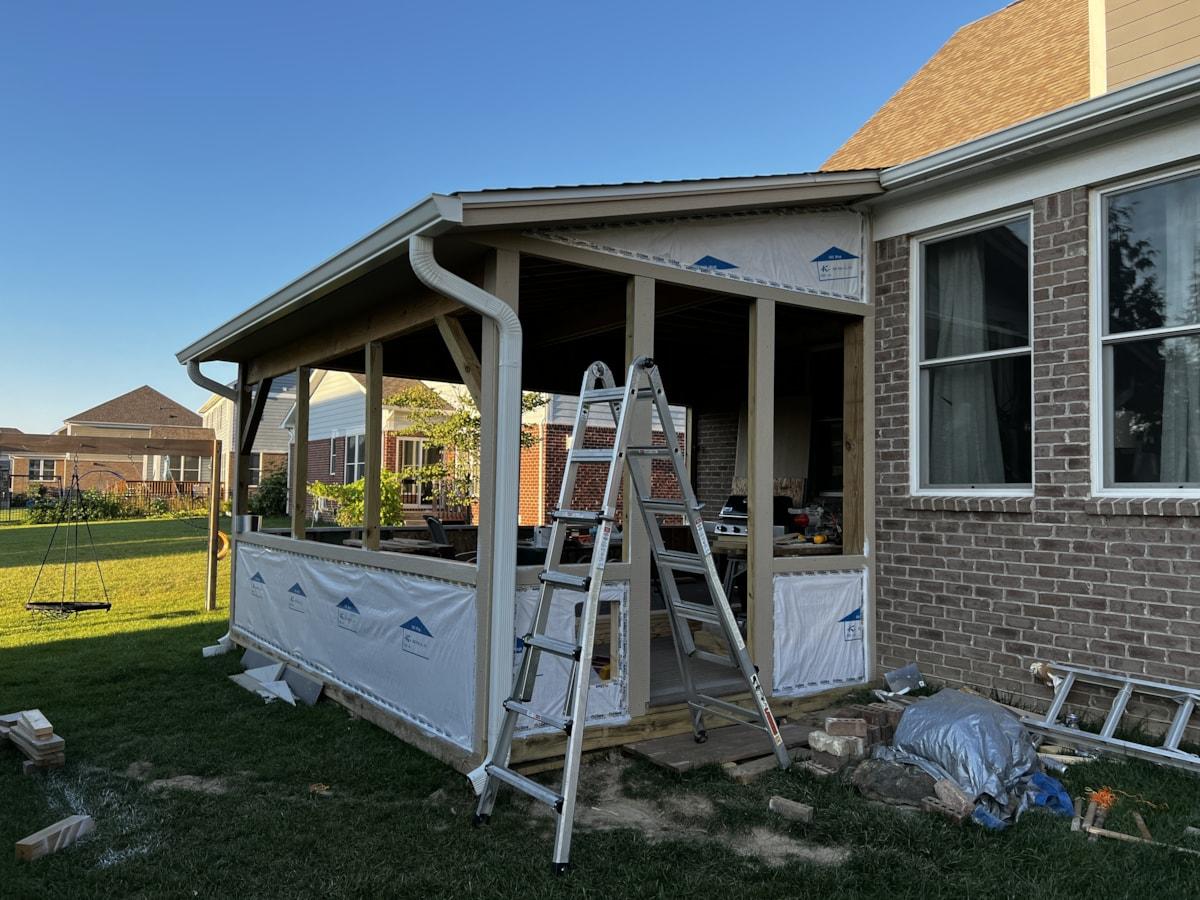
Rakes and Soffit
This was really part of the roof framing but we were a bit premature with the decking on the first half of the roof. There were no rakes yet so when I did add the rakes I had to take out some of the decking and redo it. I could have simply added more decking to fit the rakes but I wanted to make sure the 5/8's plywood sheets extended over the rake, adding to their durability.
The rakes were simply 2x4 construction, matching the rest of my house. I put these all up myself by clamping one end and then raising the other end up for fastening. I was pretty happy with the result.
Once the rakes and soffit were installed. I immediately began to trim them all out with textured trim - stupidly expensive stuff but less than cedar, I suppose.


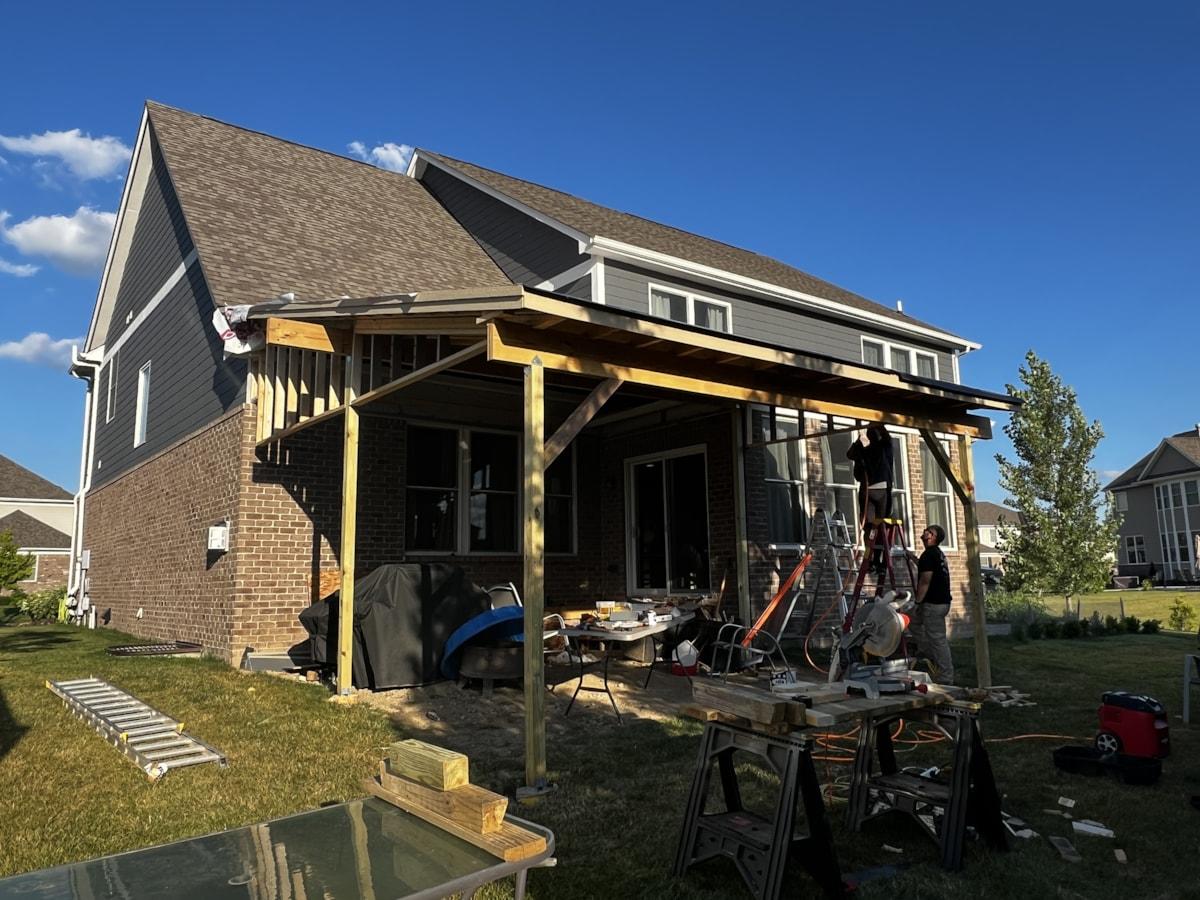
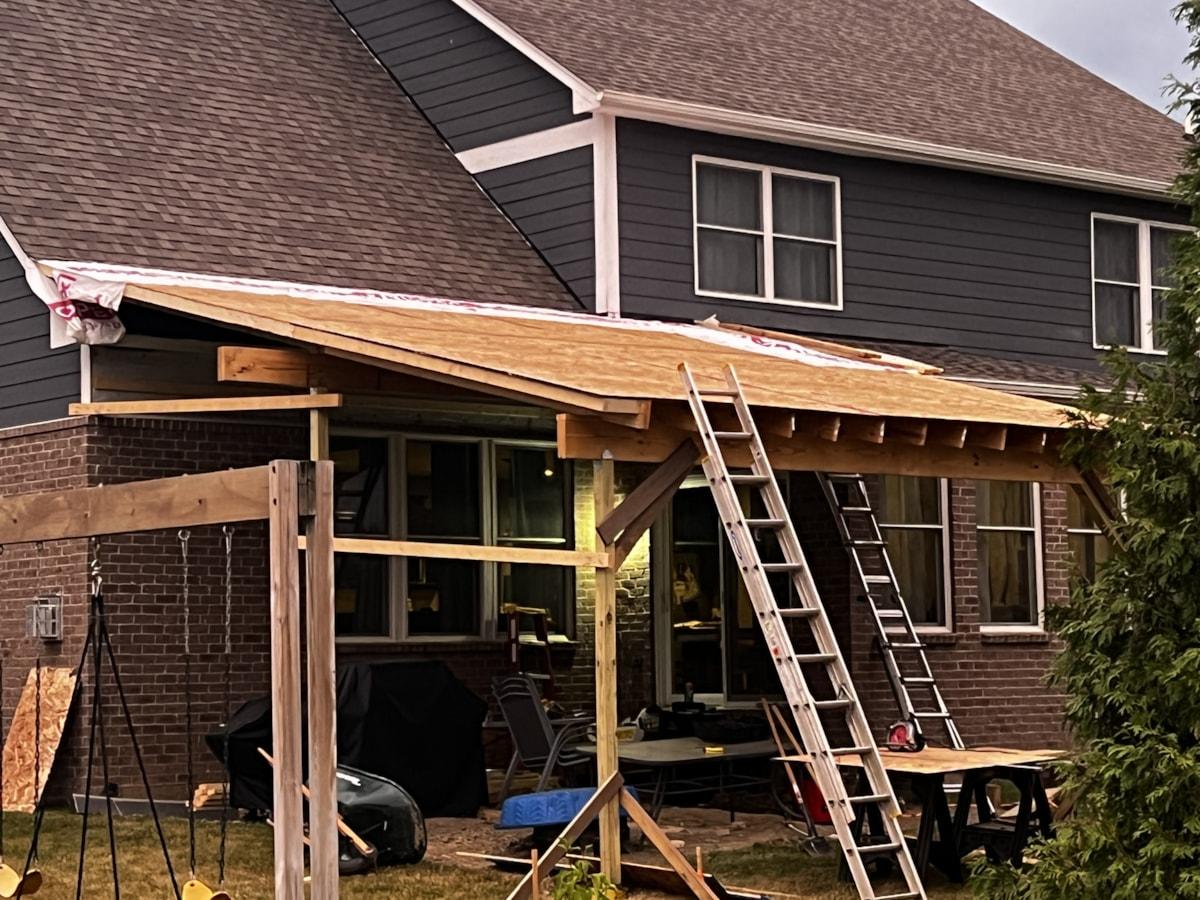
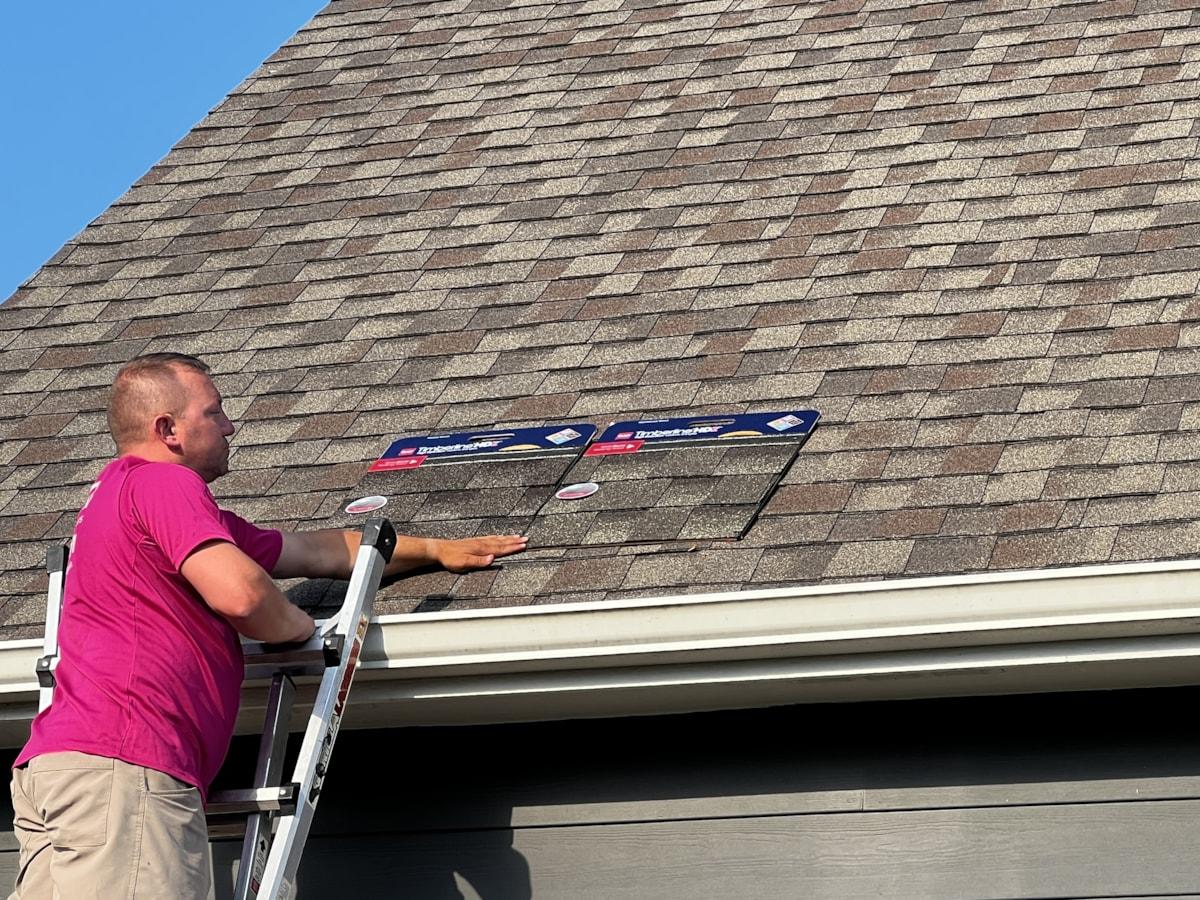
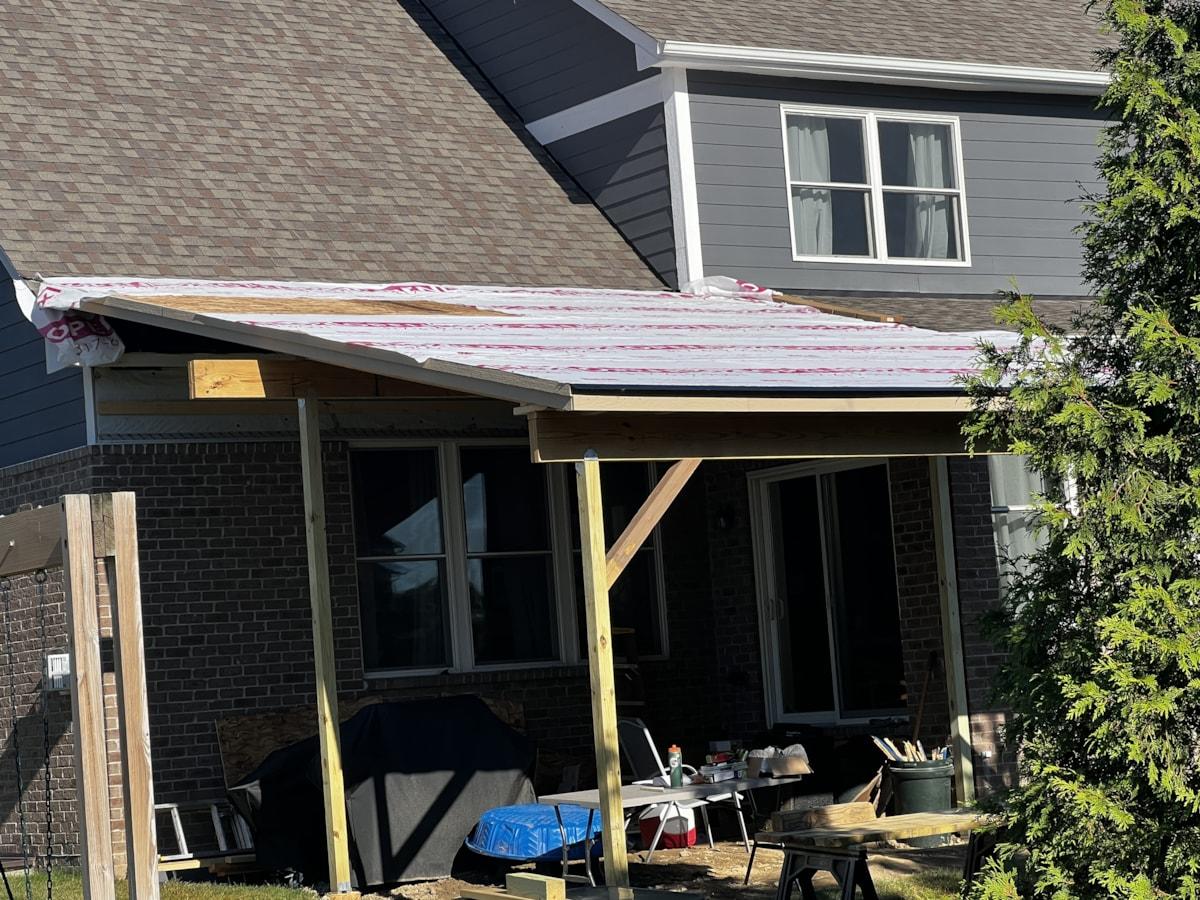
Underlayment and Shingles
My biggest goal once I started the roof construction was to make sure there were no leaks into the house. That meant I had to hustle to get the main structure up and ready for underlayment and shingles.
The rakes, soffit, trim, and underlayment was all completed by July 10th. This provided great protection from the rain. The shingles were installed by Open Box Roofing while I was in Alaska on July 30th.
Matching the shingles was a bit of a pain but after consulting with several neighbors who had similar projects, I realized every single neighbor around me had the exact same shingle - GAF Timberline Natural Shadow - Weathered Wood.


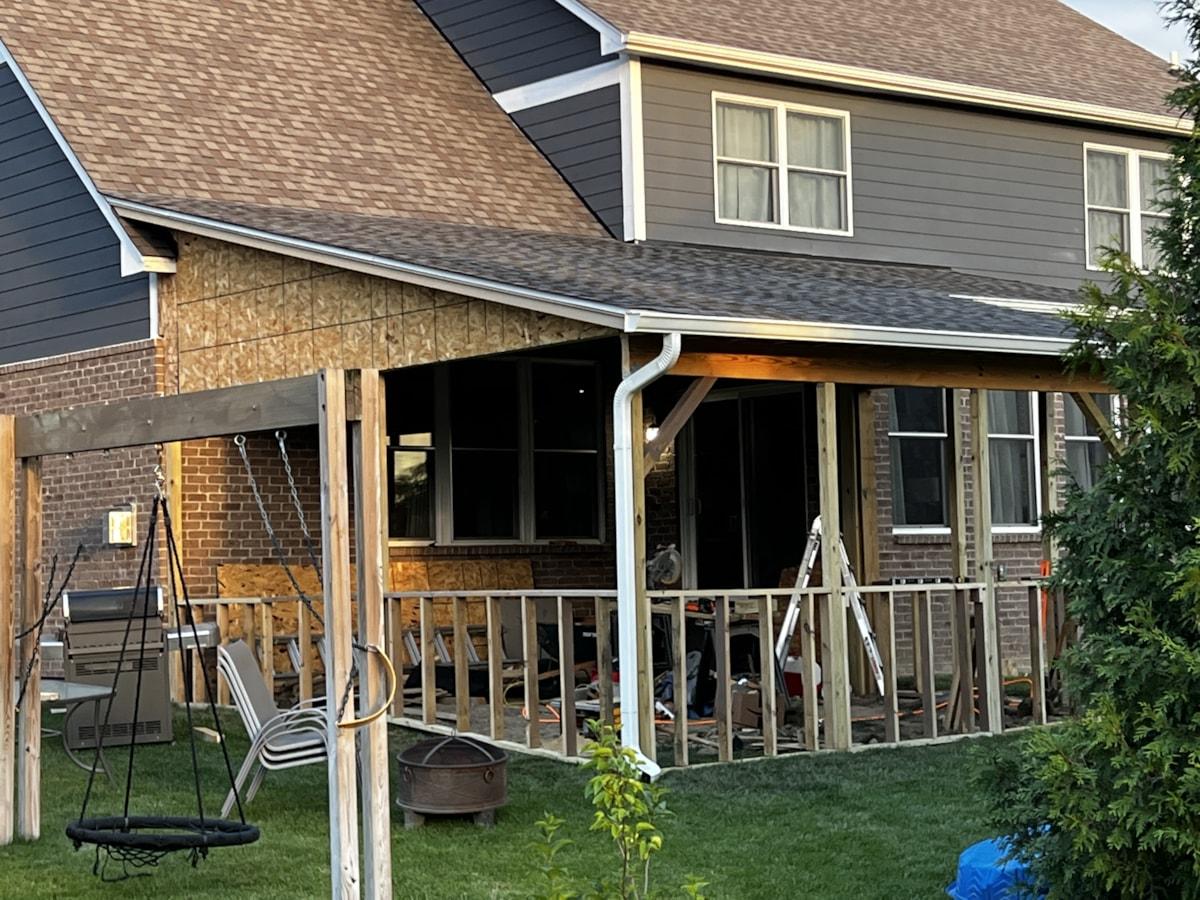
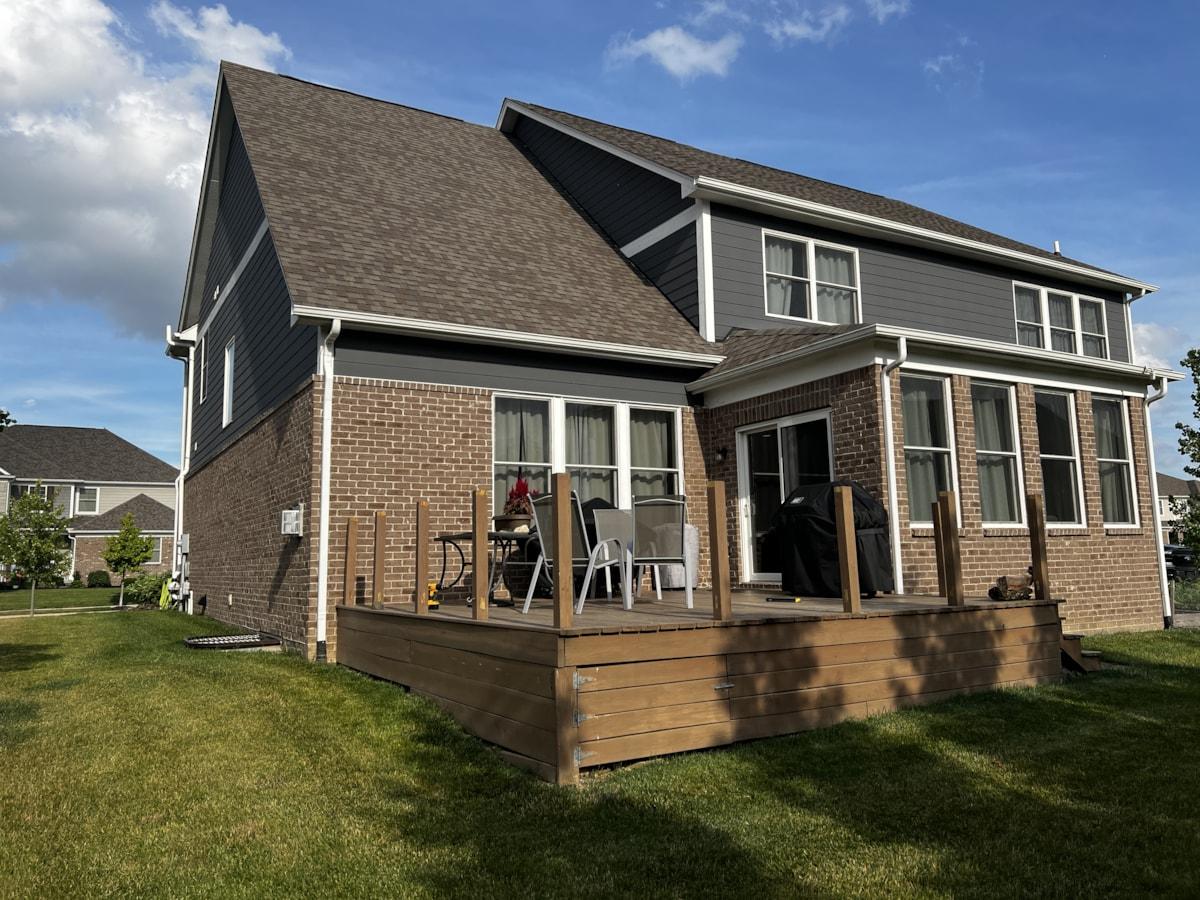
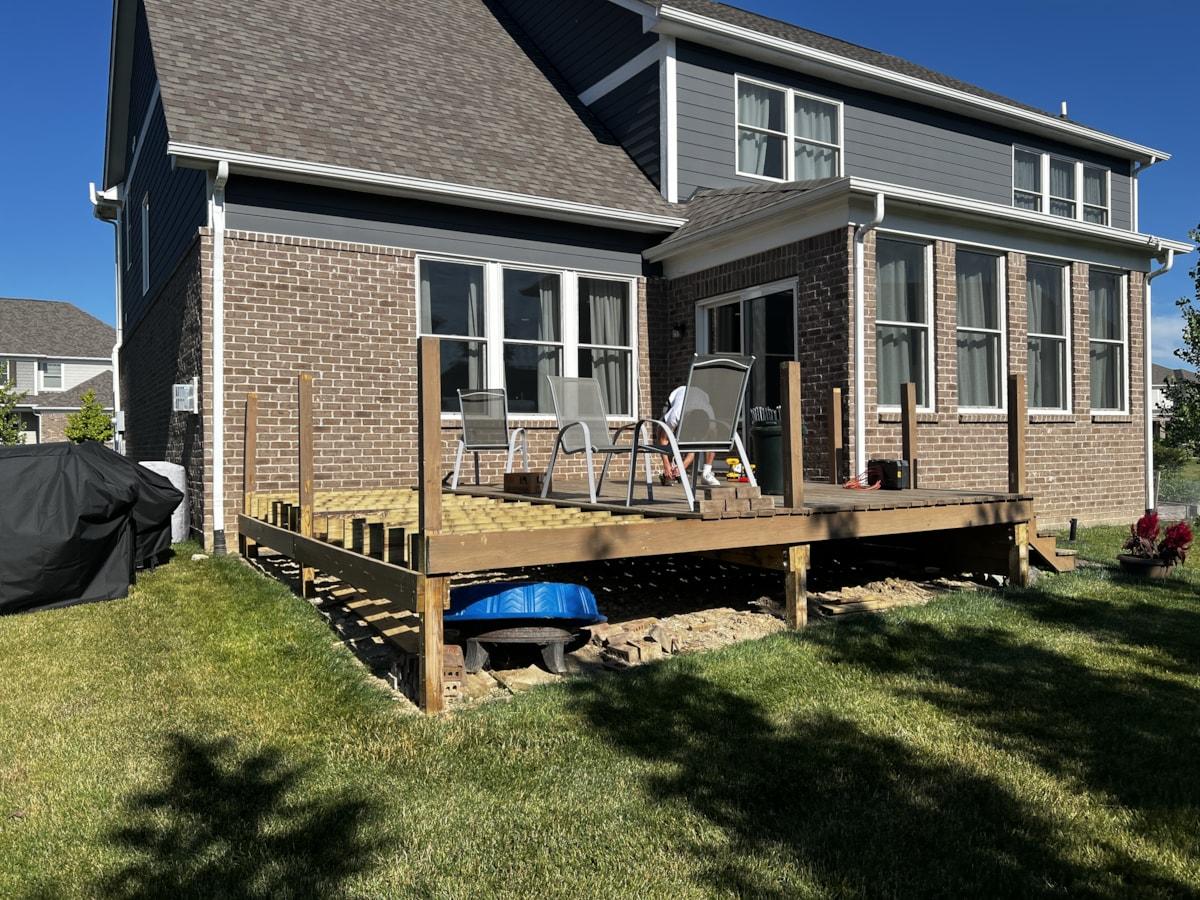
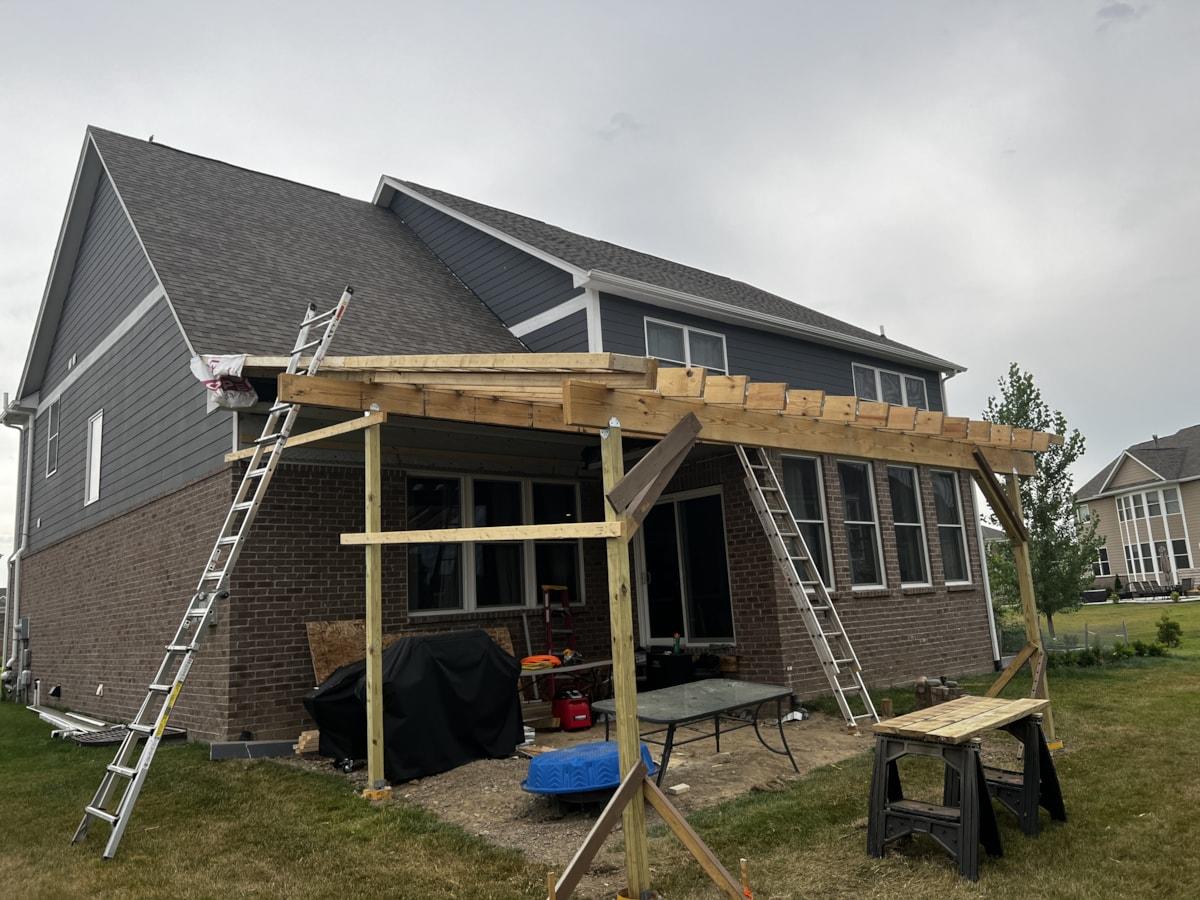
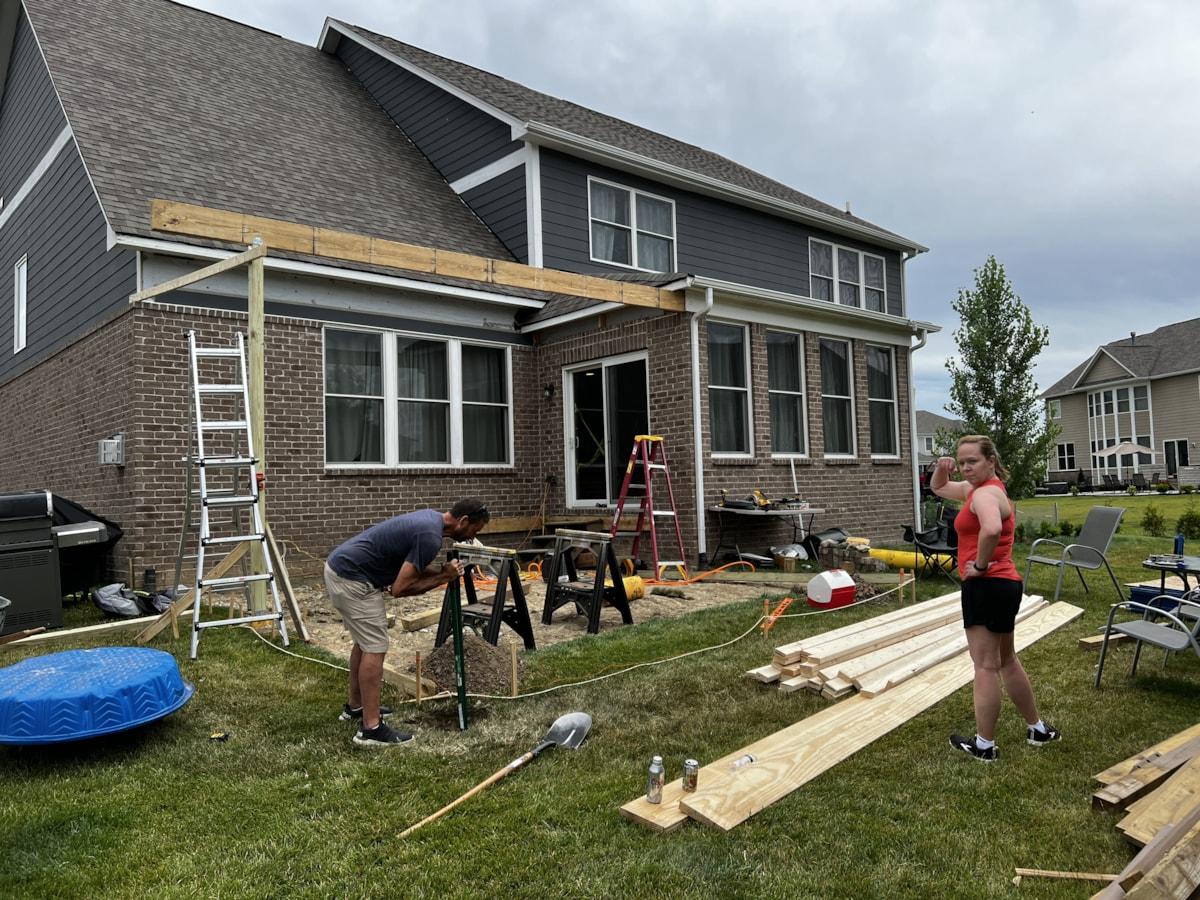
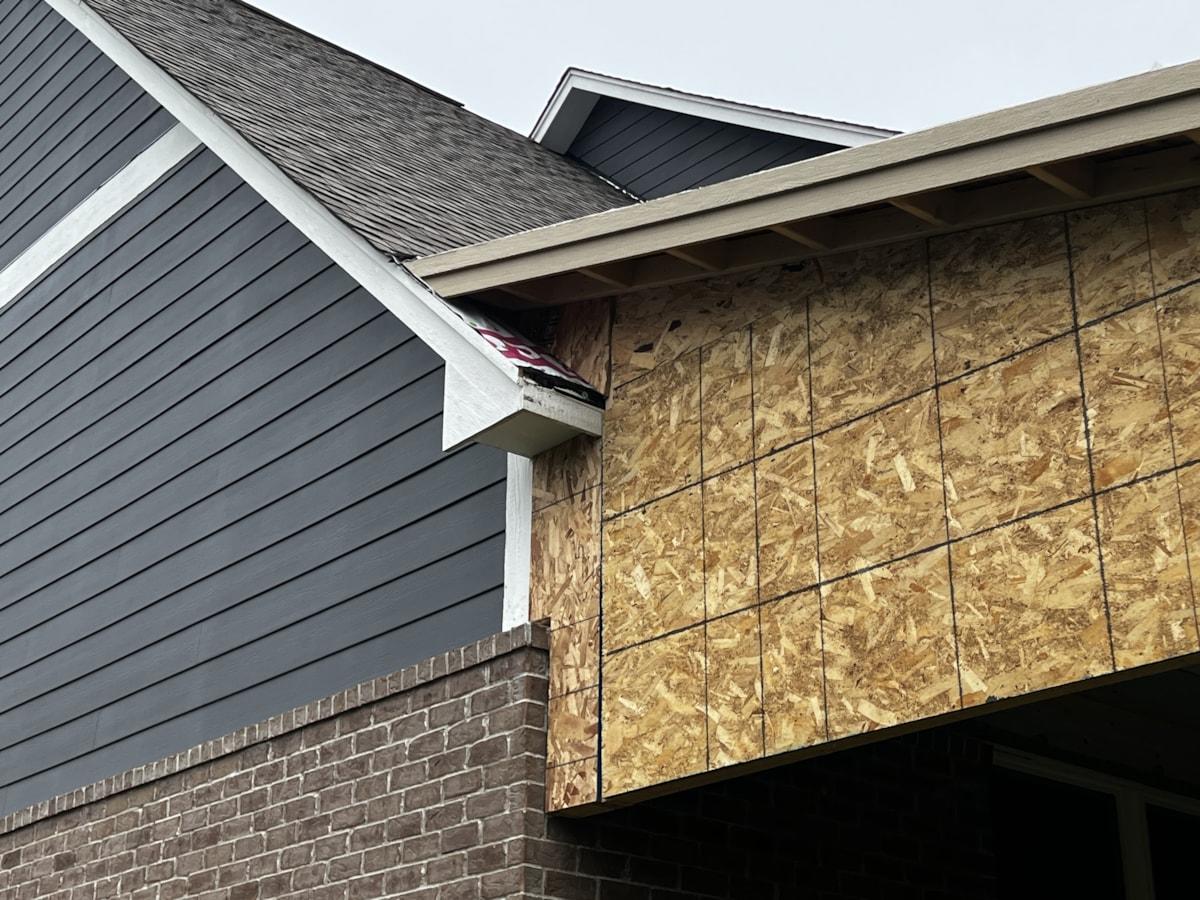
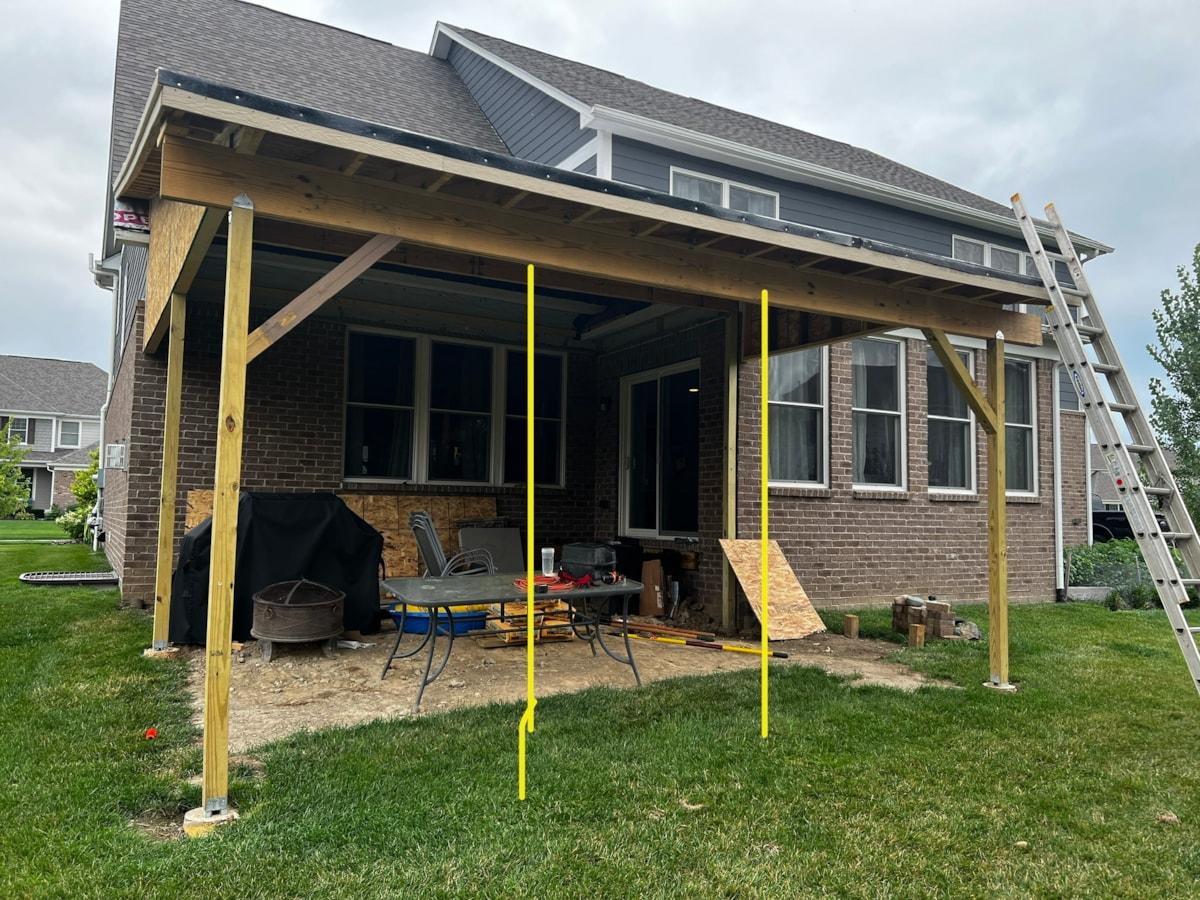
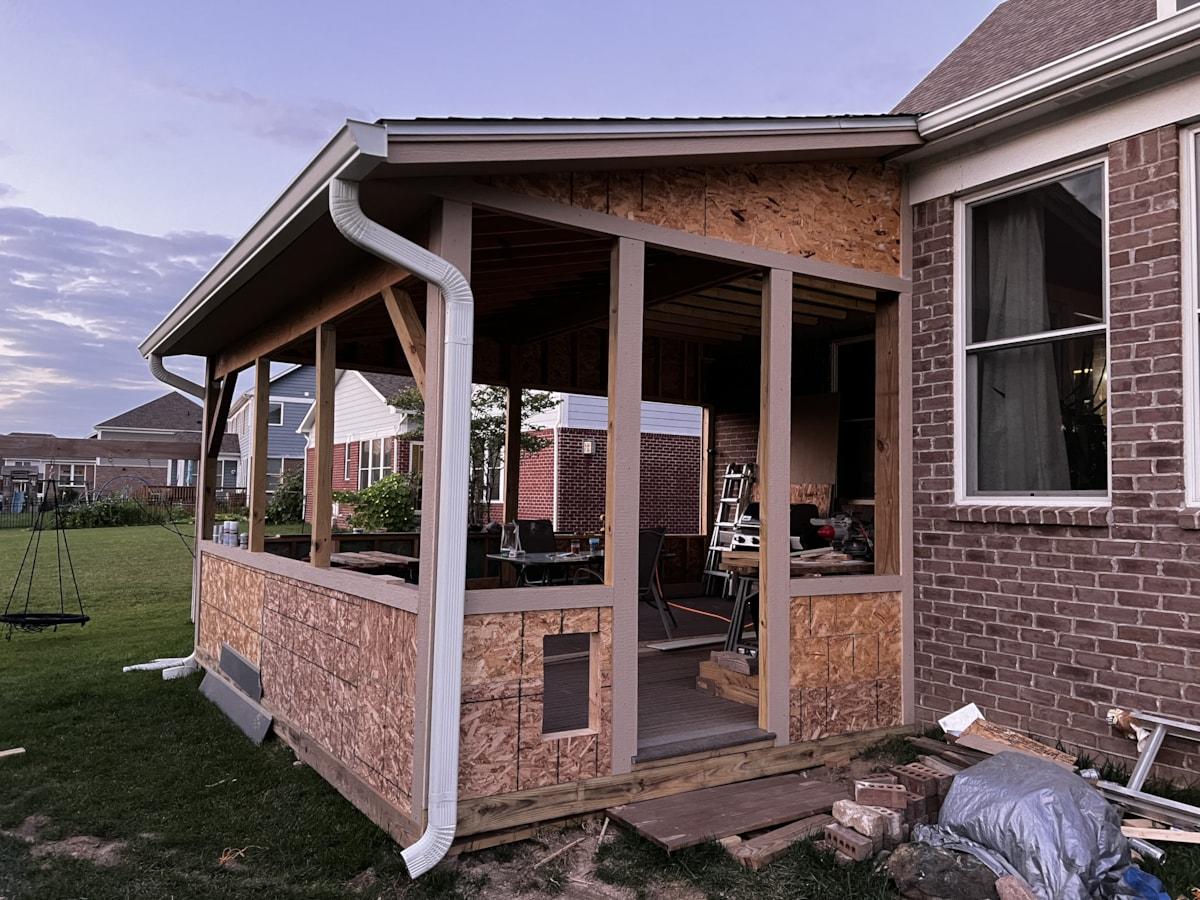
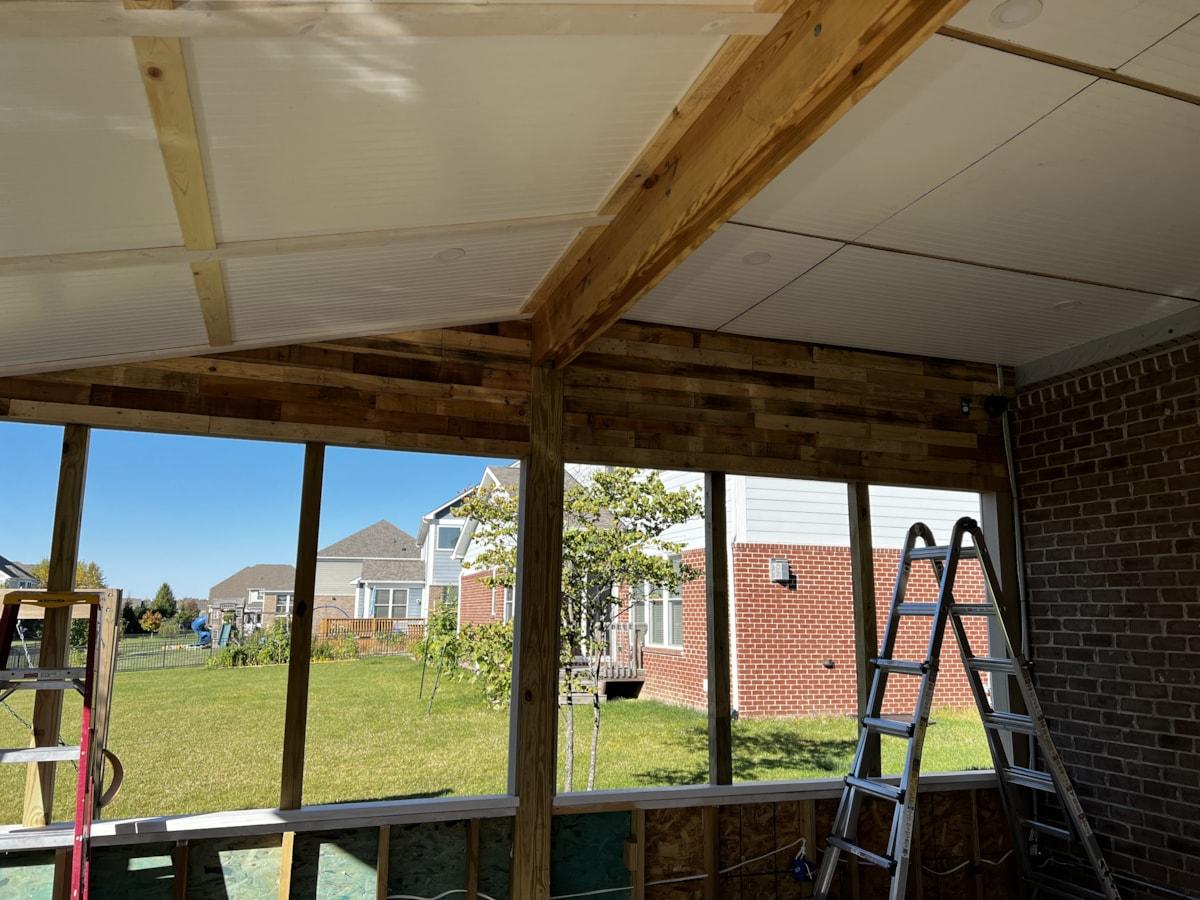
Wall Framing
Not many pictures of this phase. And they are somewhat mixed with roofline finishing pics. Built the upper and lower walls. Covered the upper walls with OSB but left the lower walls uncovered so I can more easily access the decking when installed.


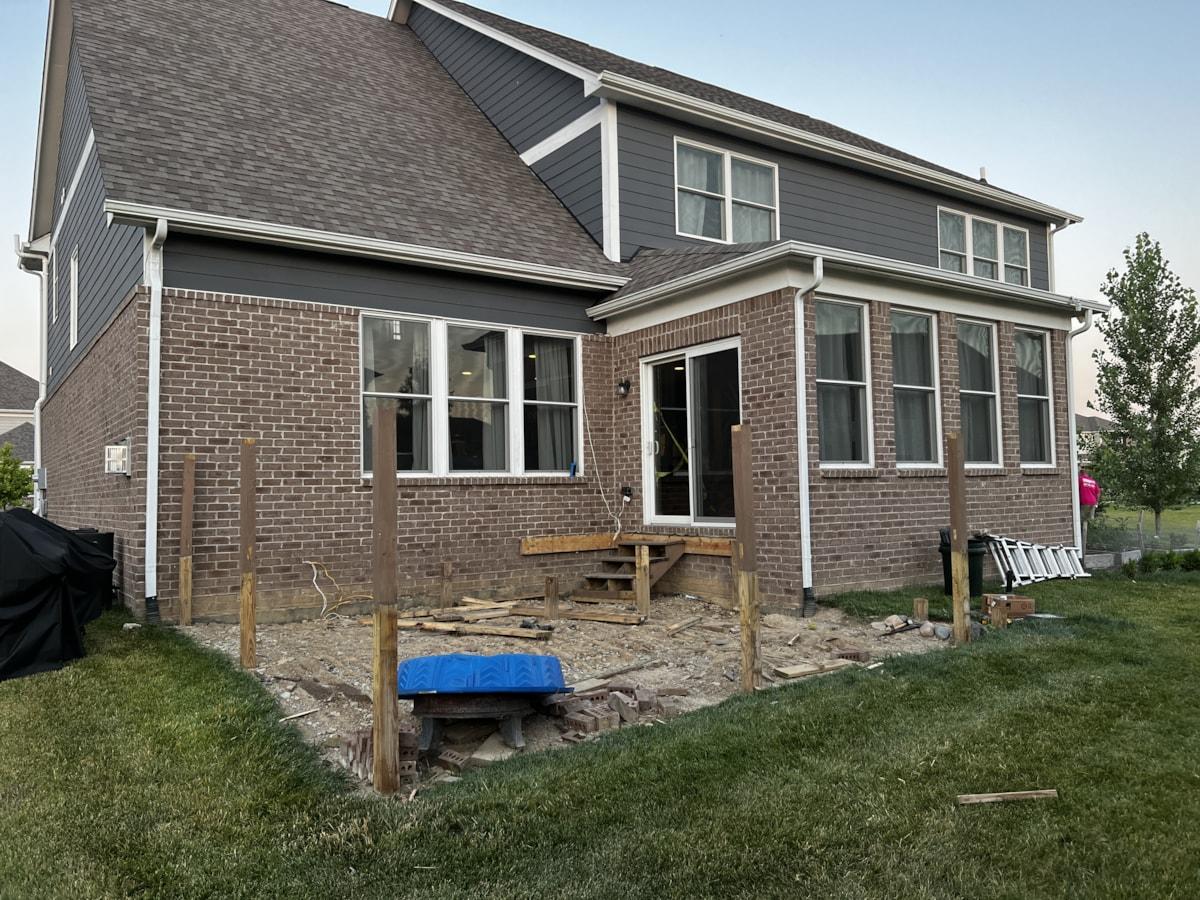
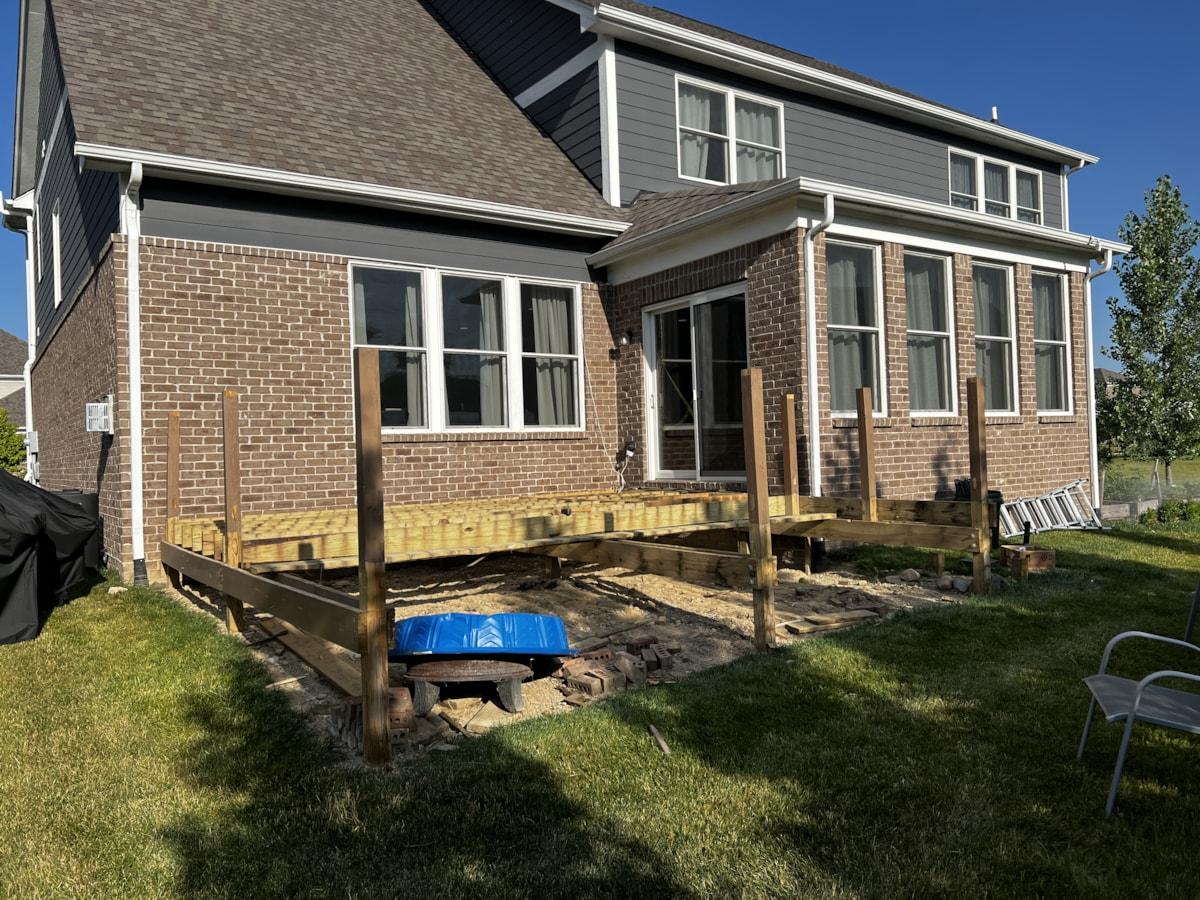
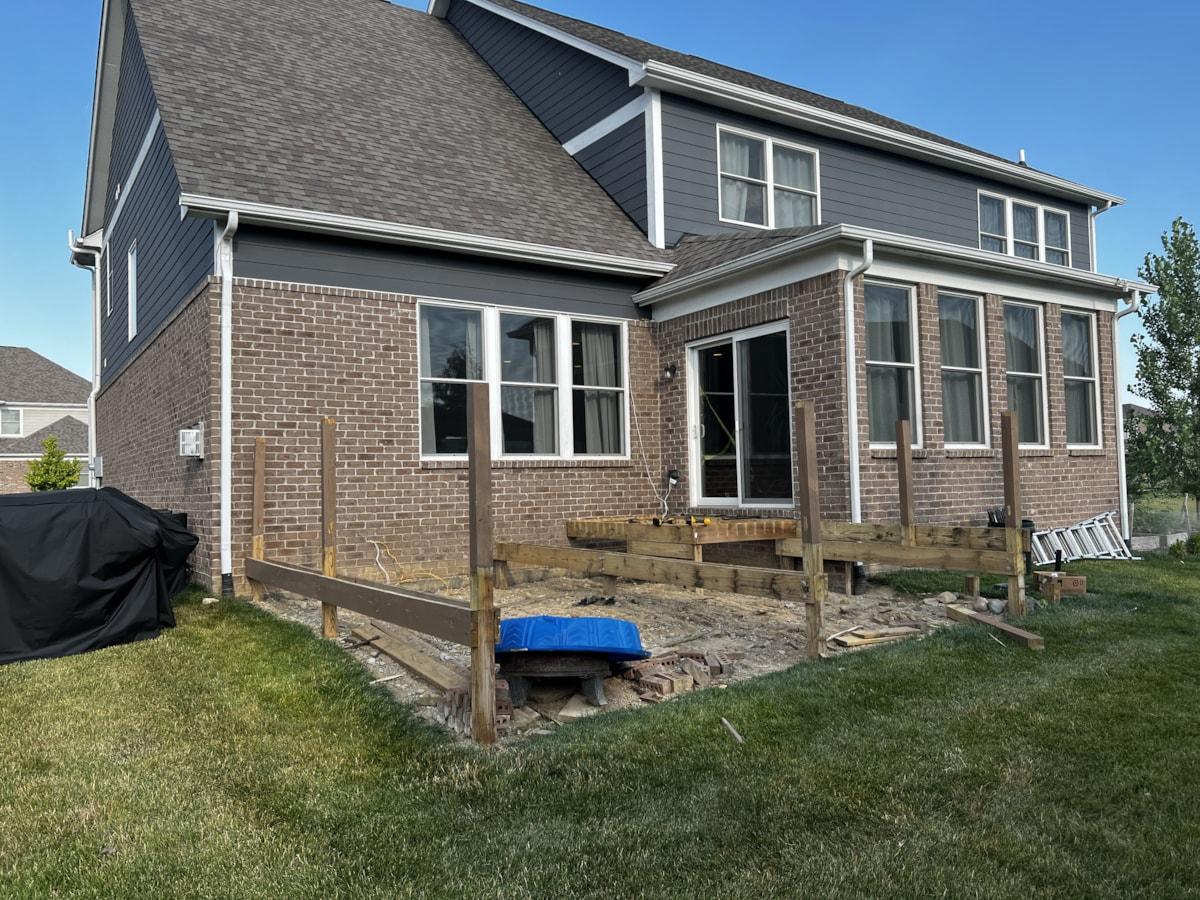
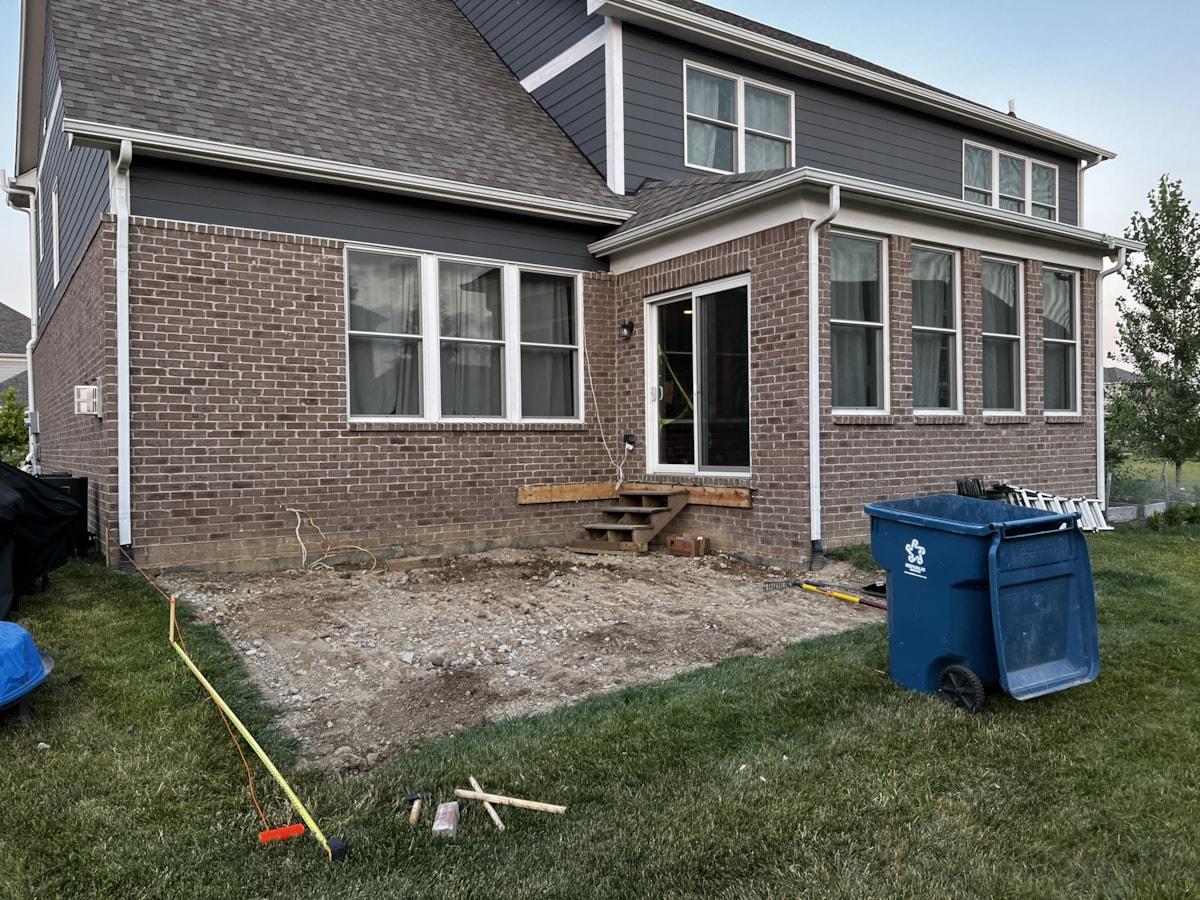
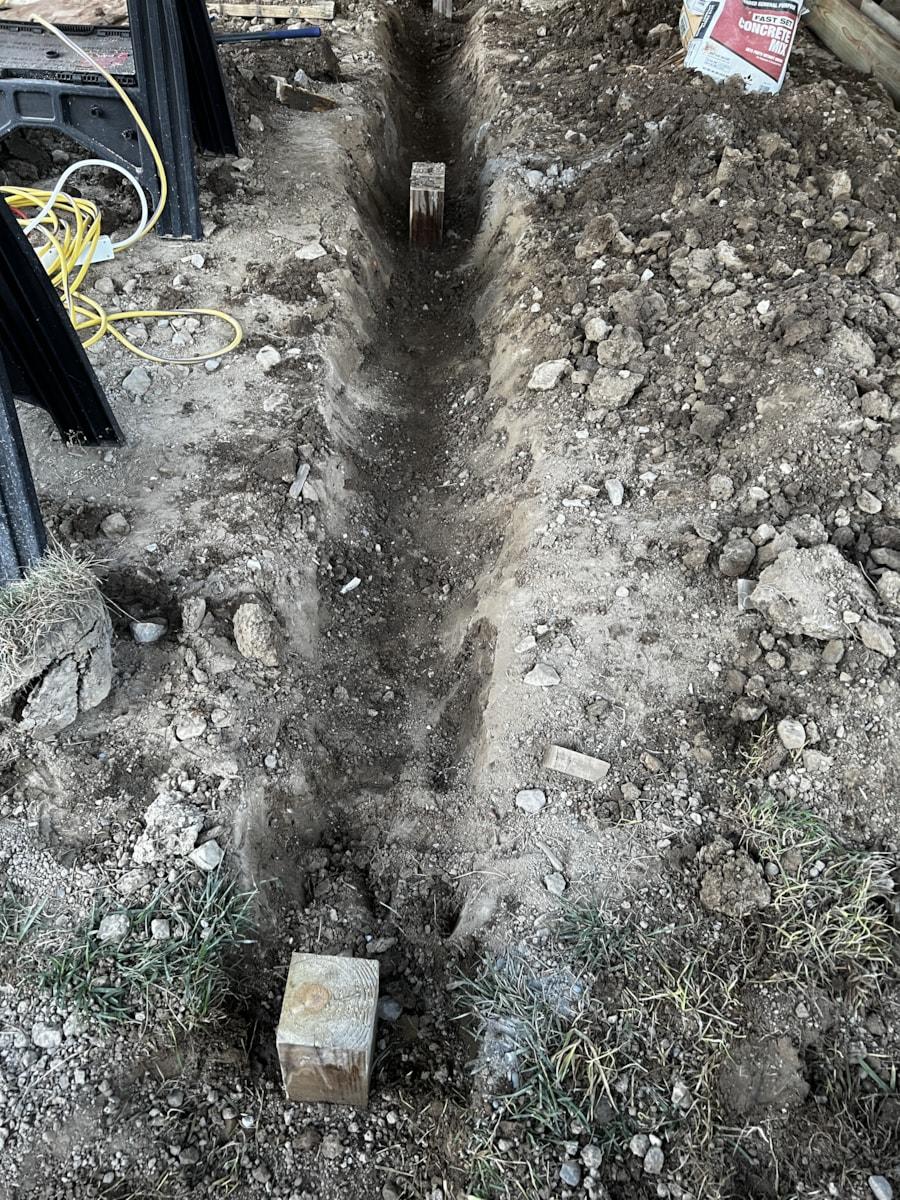
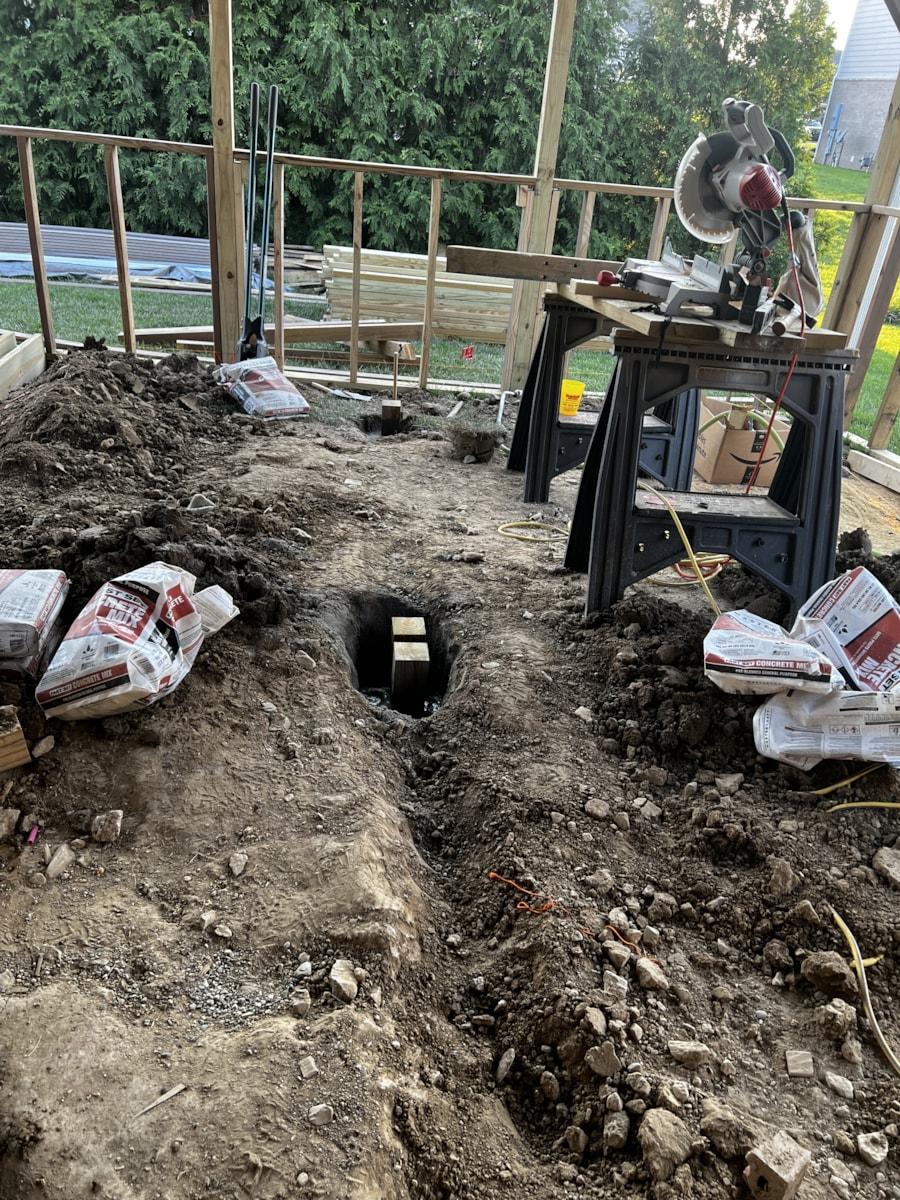
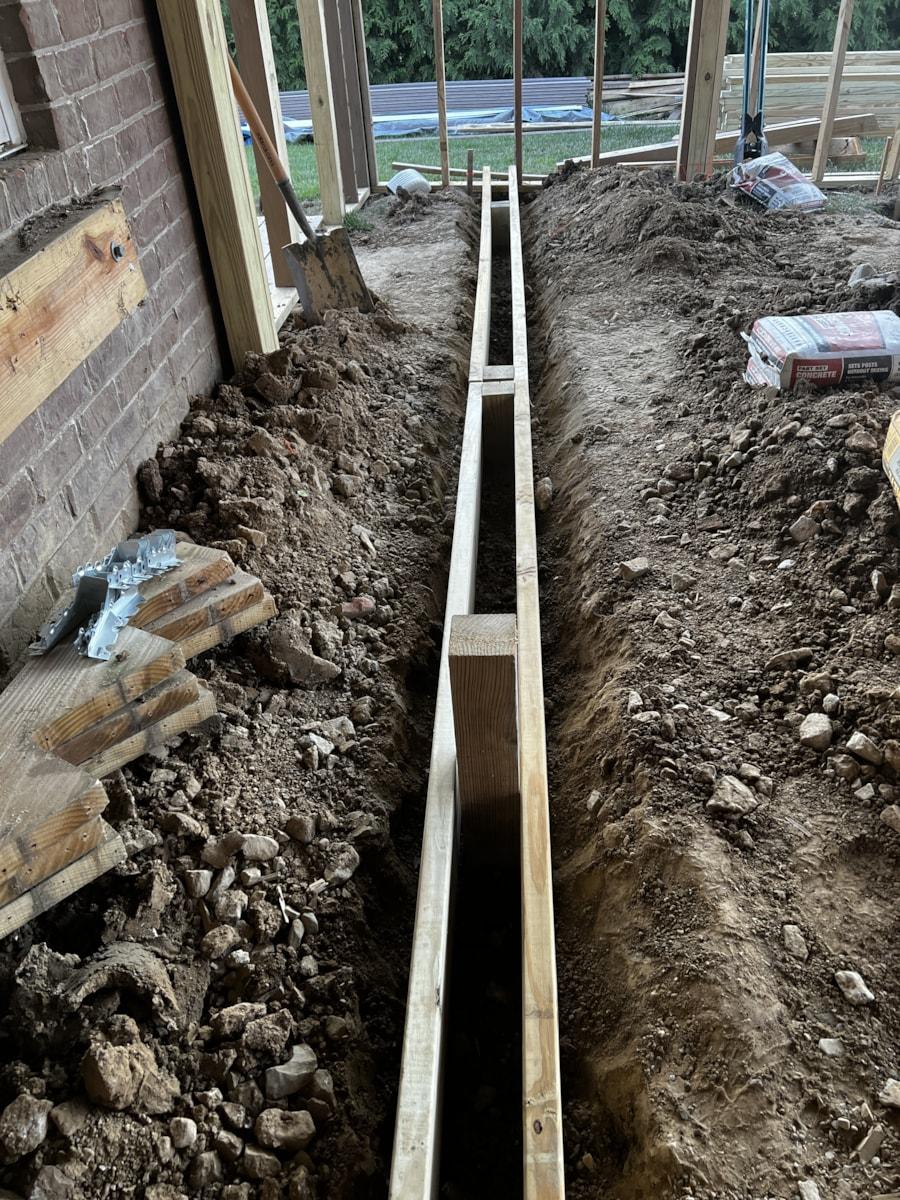
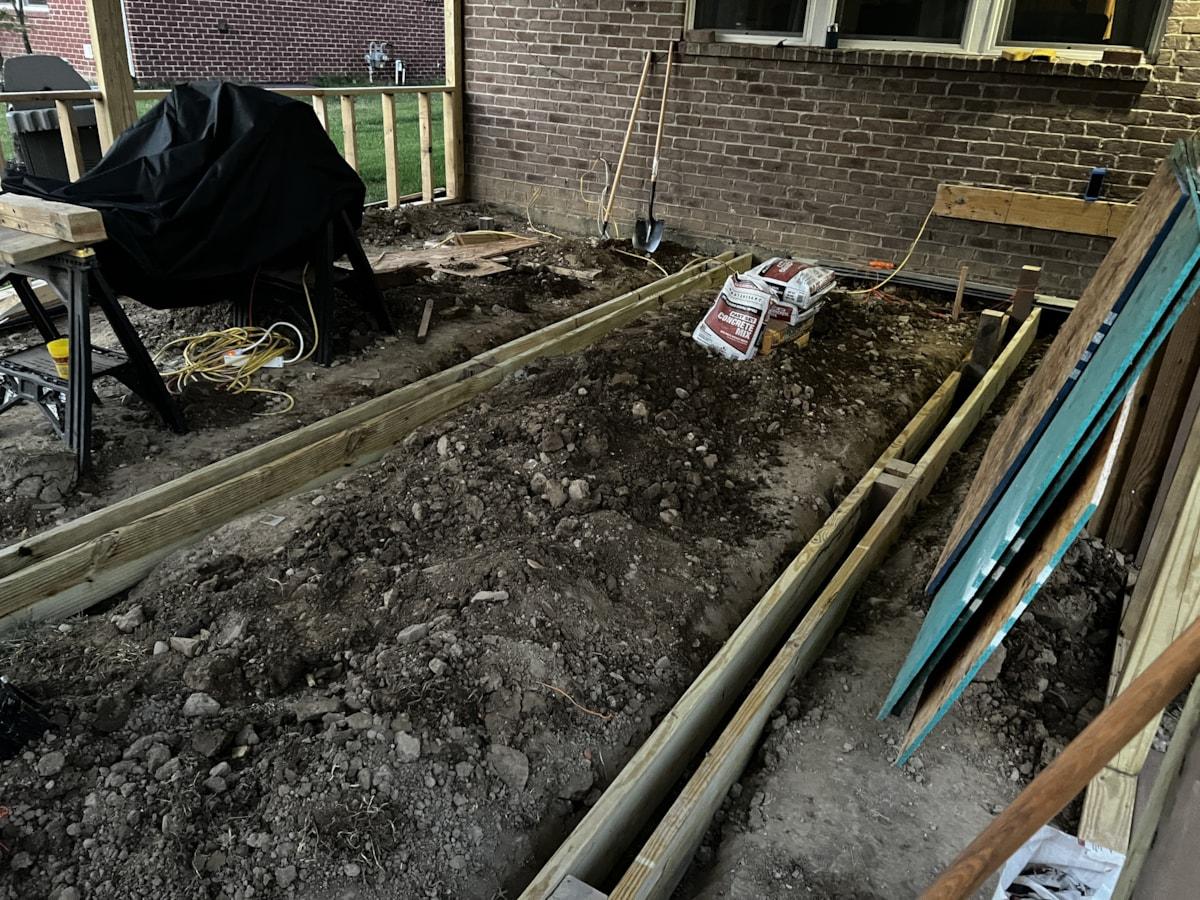
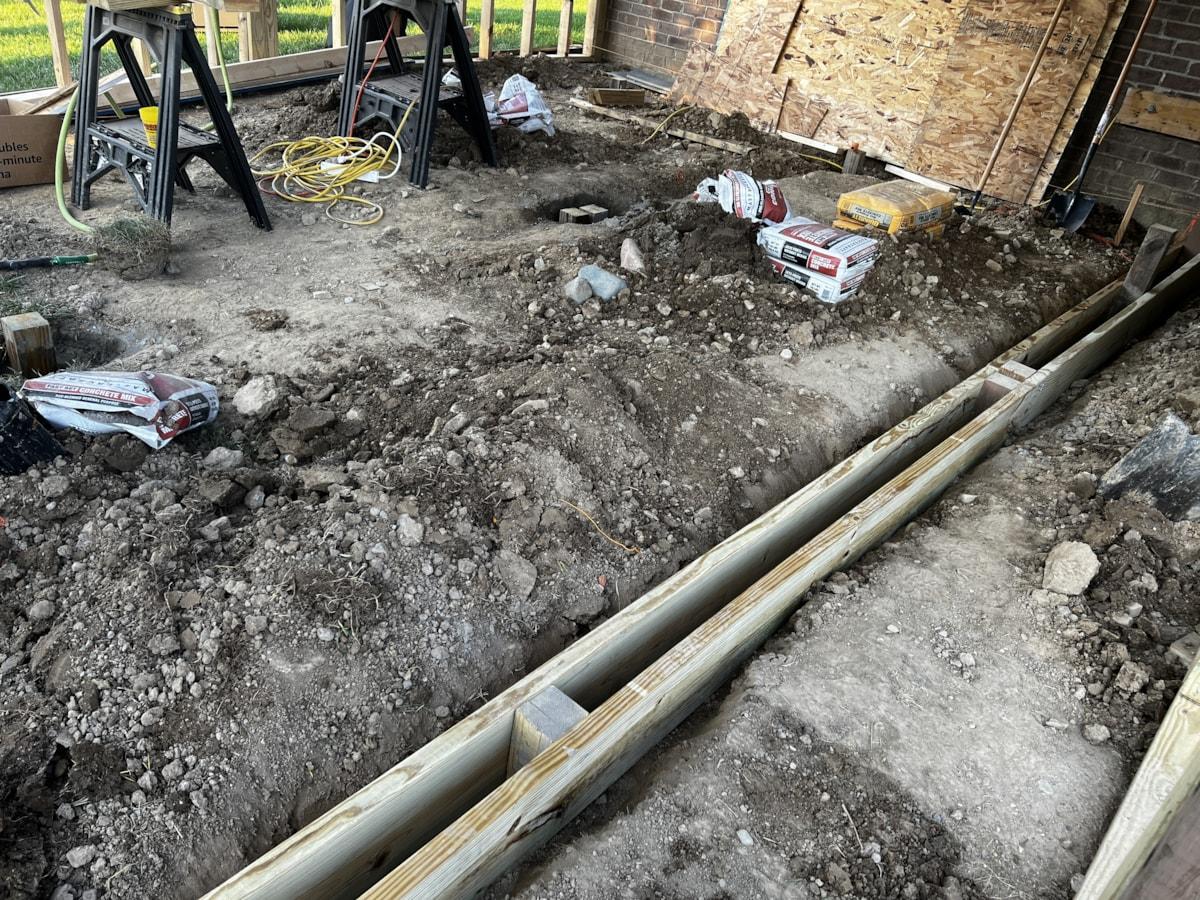
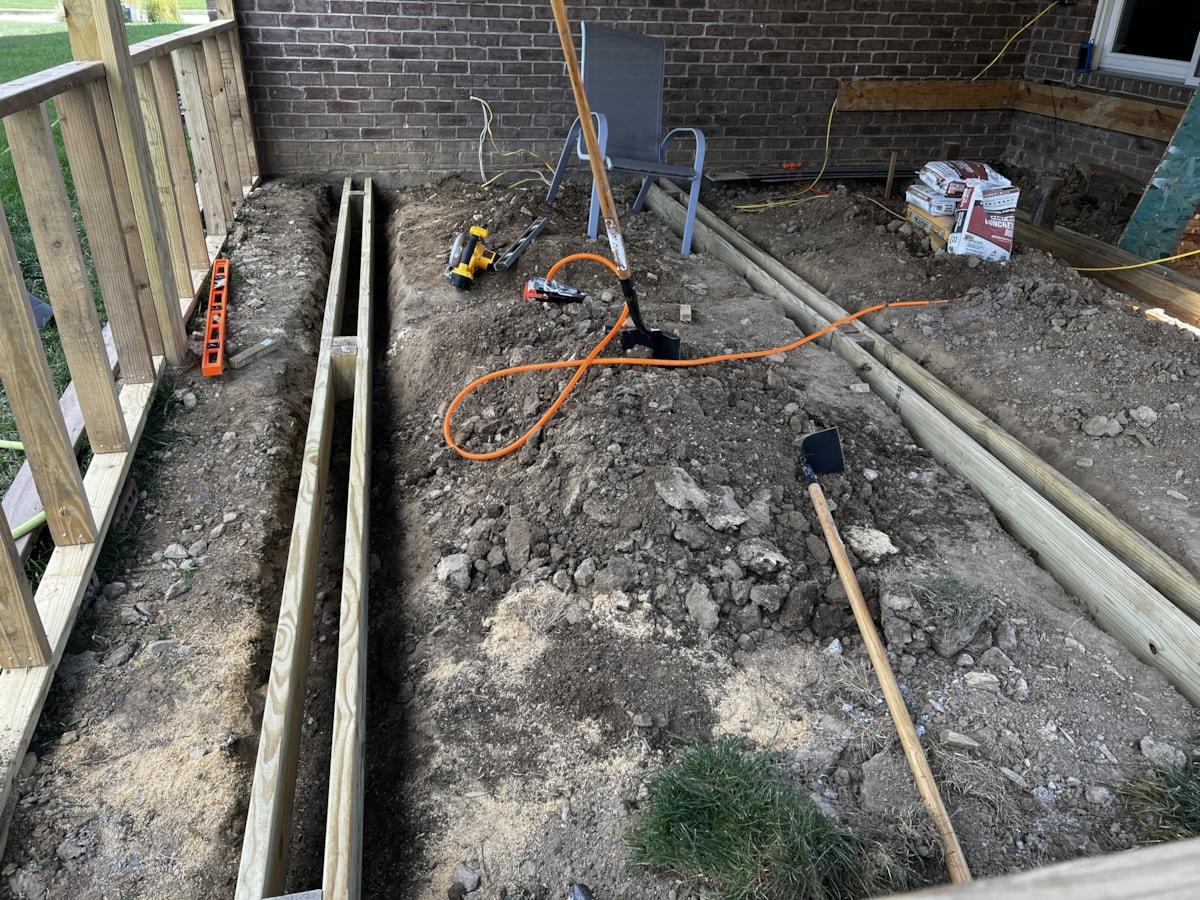
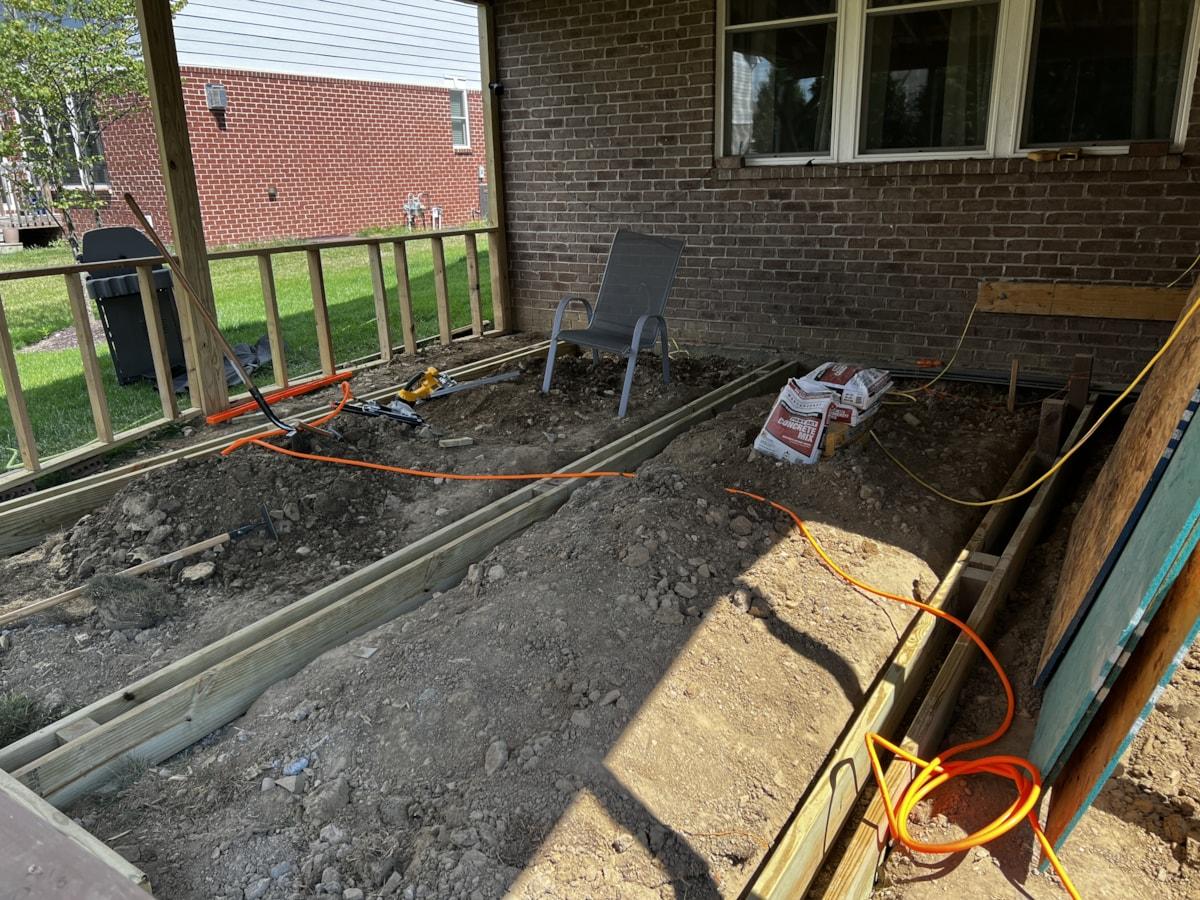
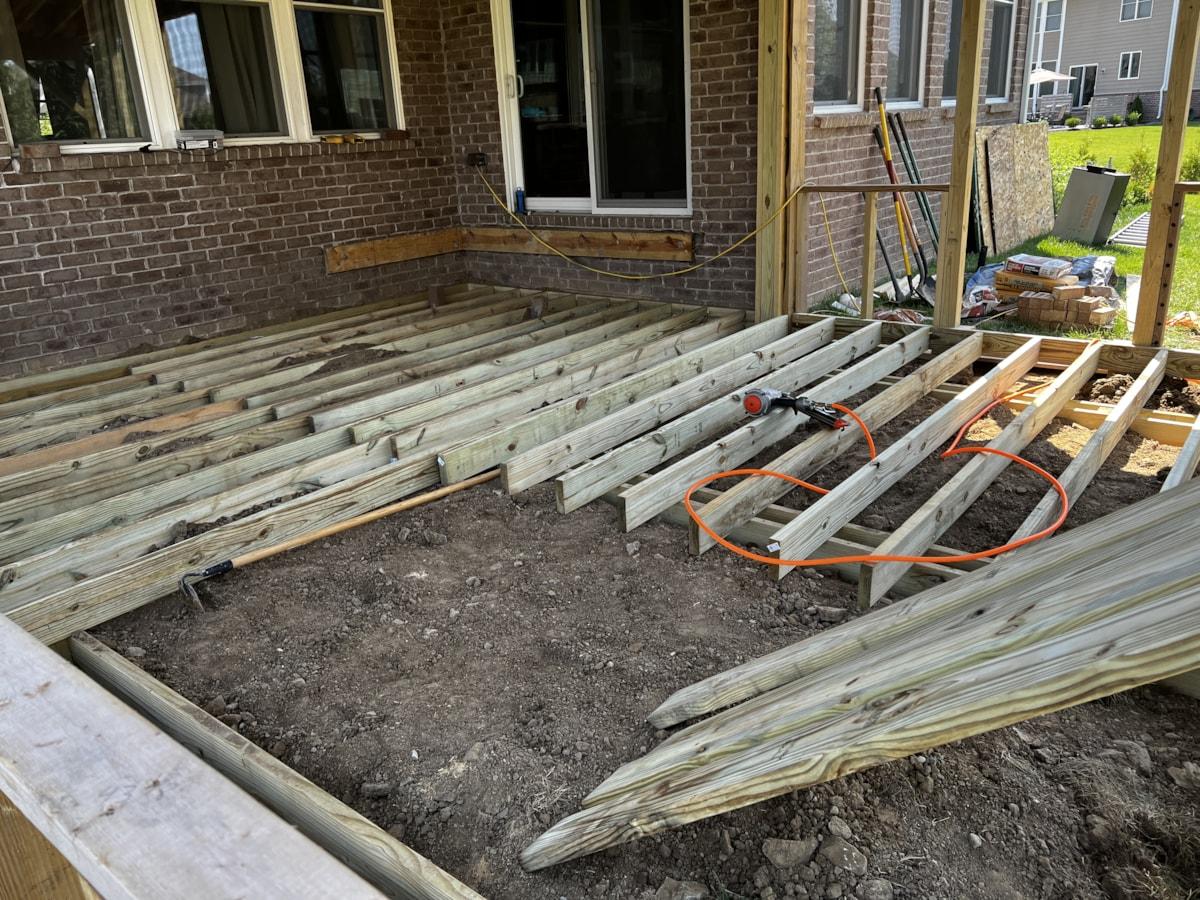
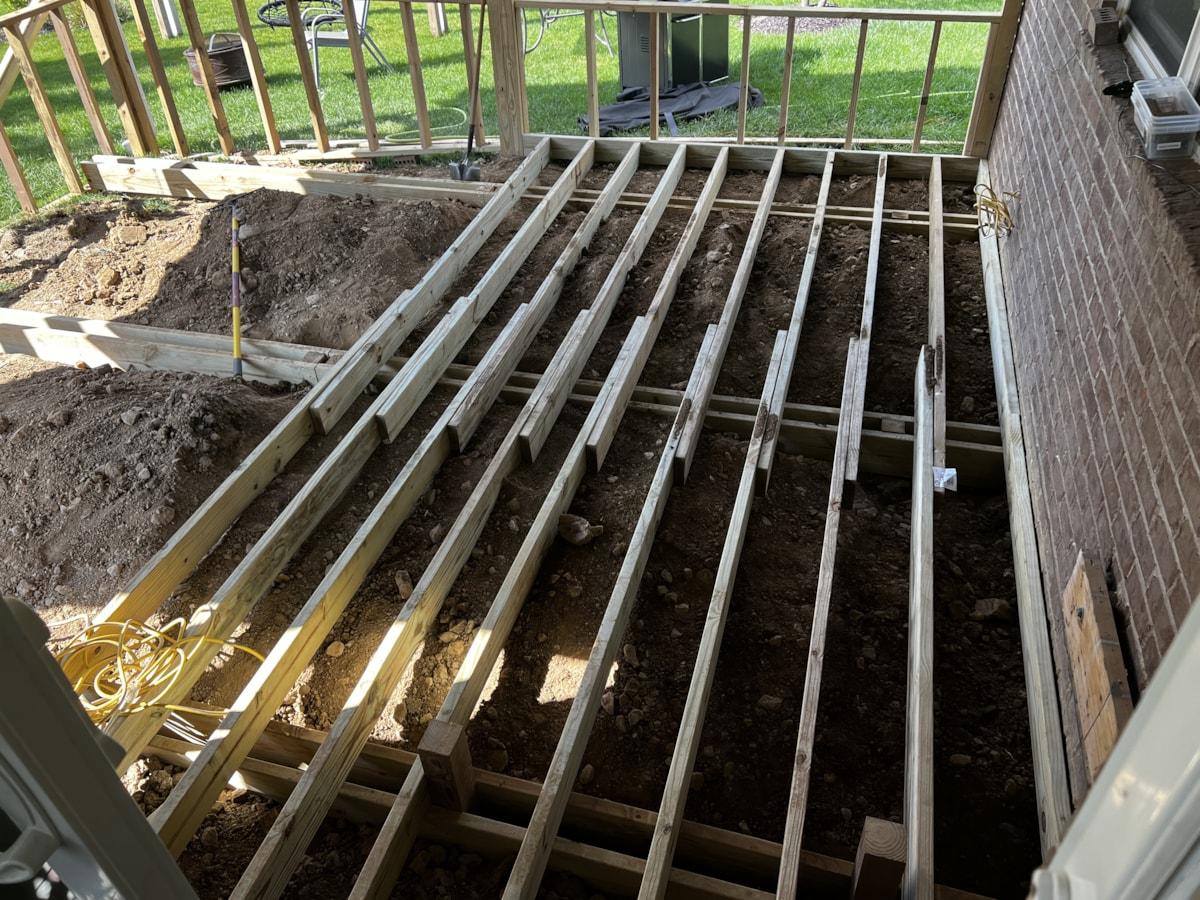
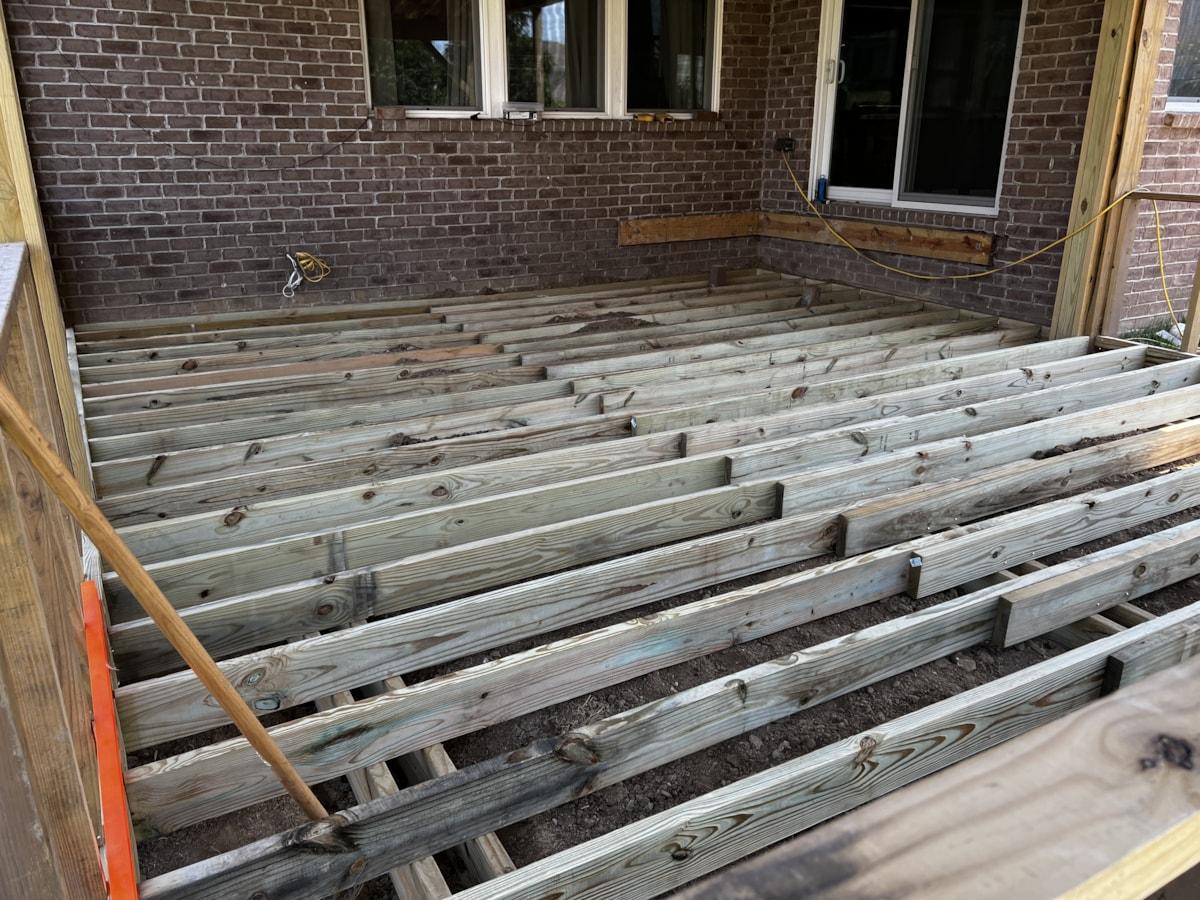
Floor Framing
My original plan was to put in pavers but I was somewhat overruled on that. Jess and Greg both pushed to put in a deck. My biggest reservation on that was that I wanted a wood-burning fireplace and a paver patio would be safer. So, a deck it is!
I put in the walls with a preset height for the top of the decking. My plan was to cheap out, use treated 2x4's for the floor joists that sat on top of bricks or some underlying support with the ground. But then we decided to get comosite decking and that changed the plan.
With the much more expensive composite I wasn't going to risk the floor sagging. Regular decking could be more easily fixed - cut out the sag, reinforce it, and add more decking. No problem.
But with composite I wanted it properly supported which meant I had to build beams and use larger floor joists. I ended up using treated 2x8 beams and joists. This also meant, I had to dig down so the decking top still matched with the walls. Lots of digging.
I have never despised digging more than when I dug the trenches for these beams. Why there are so many GD large gravel rocks next to the house, and even up to 10+ feet away from it, I cannot fathom. I know why there was large gravel near the driveway but the back of the house? I don't get it. Perhaps that's what they used under the basement floor and outside the basement walls for drainage.
This was backbreaking work and it easily added an extra 2-3 weeks to the project.
One additional surprise, the compisite decking required a maximum of 12" between joists. When this stuff gets hot it tends to bend much more easily (it has plastic in it after all).


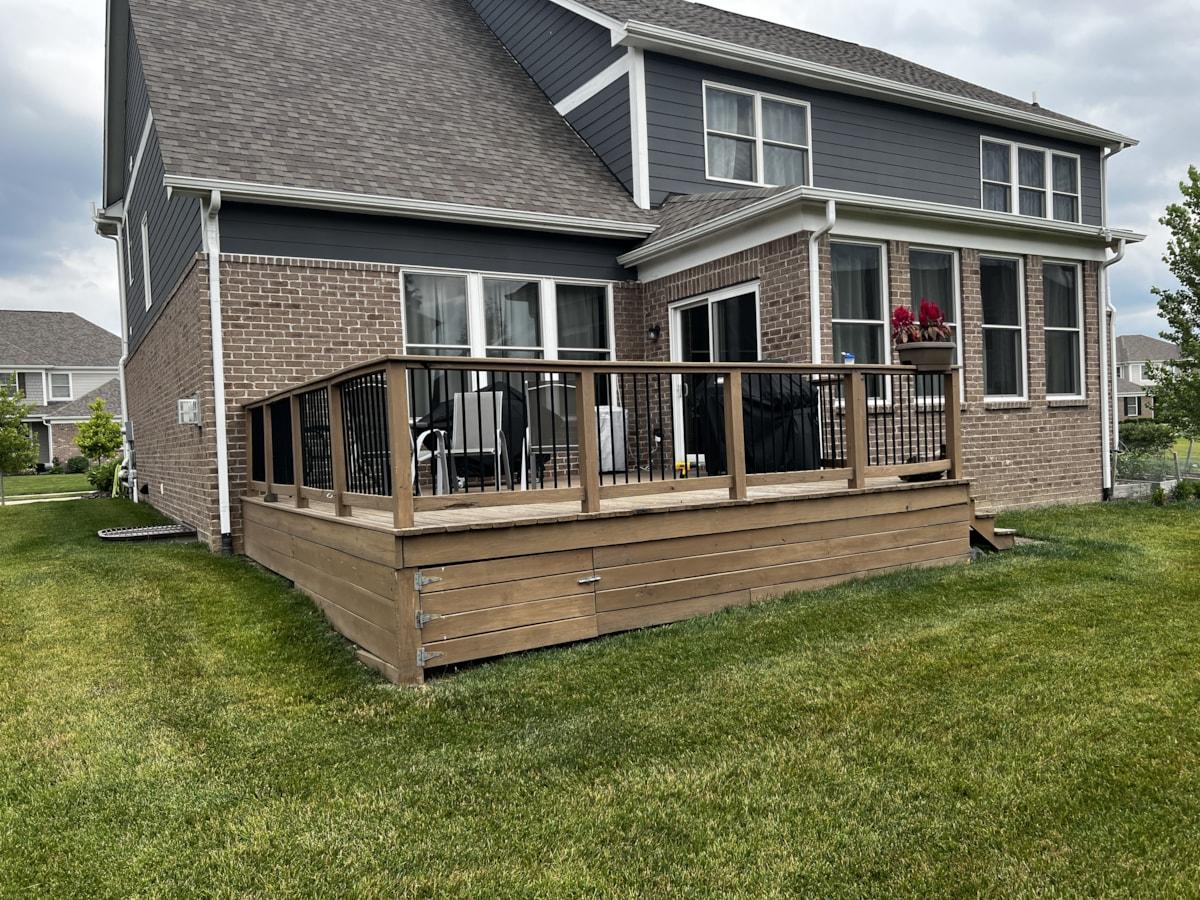
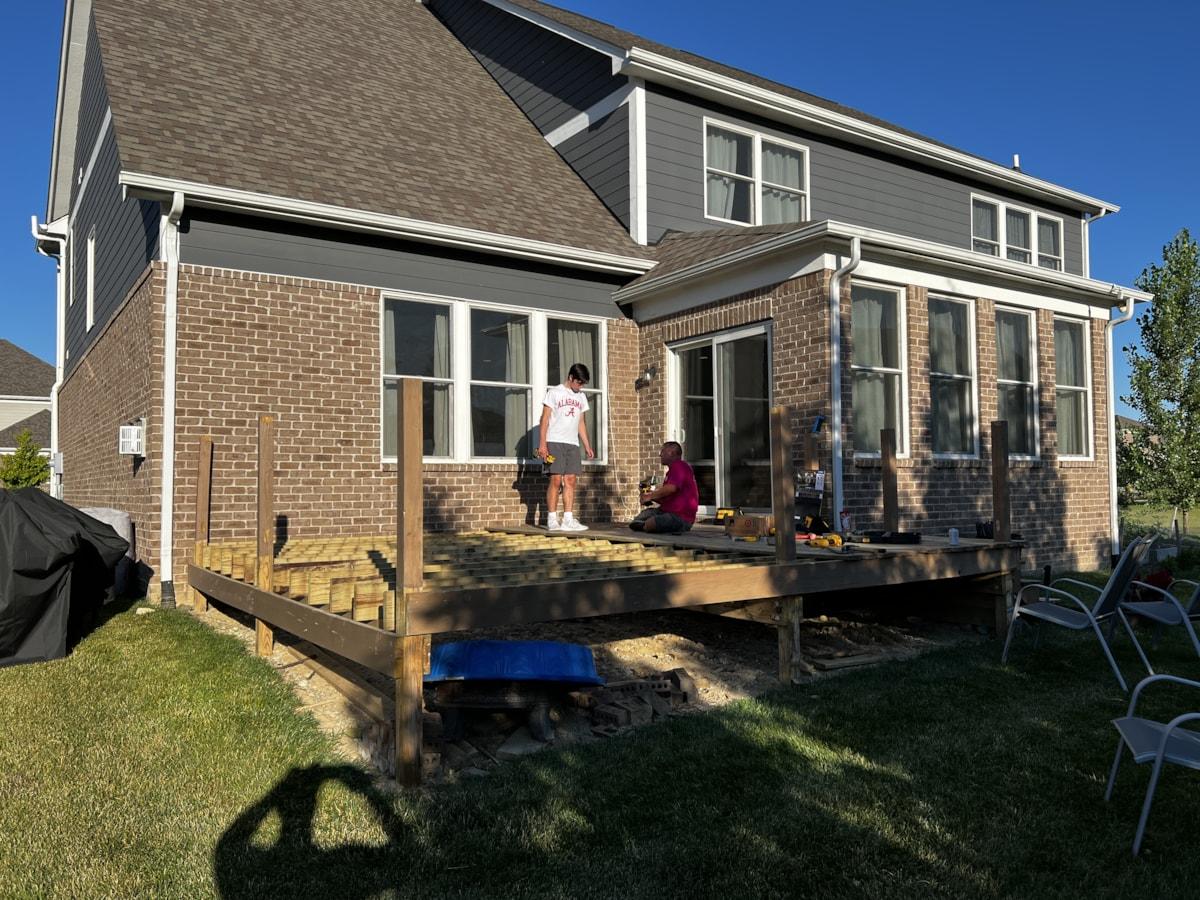
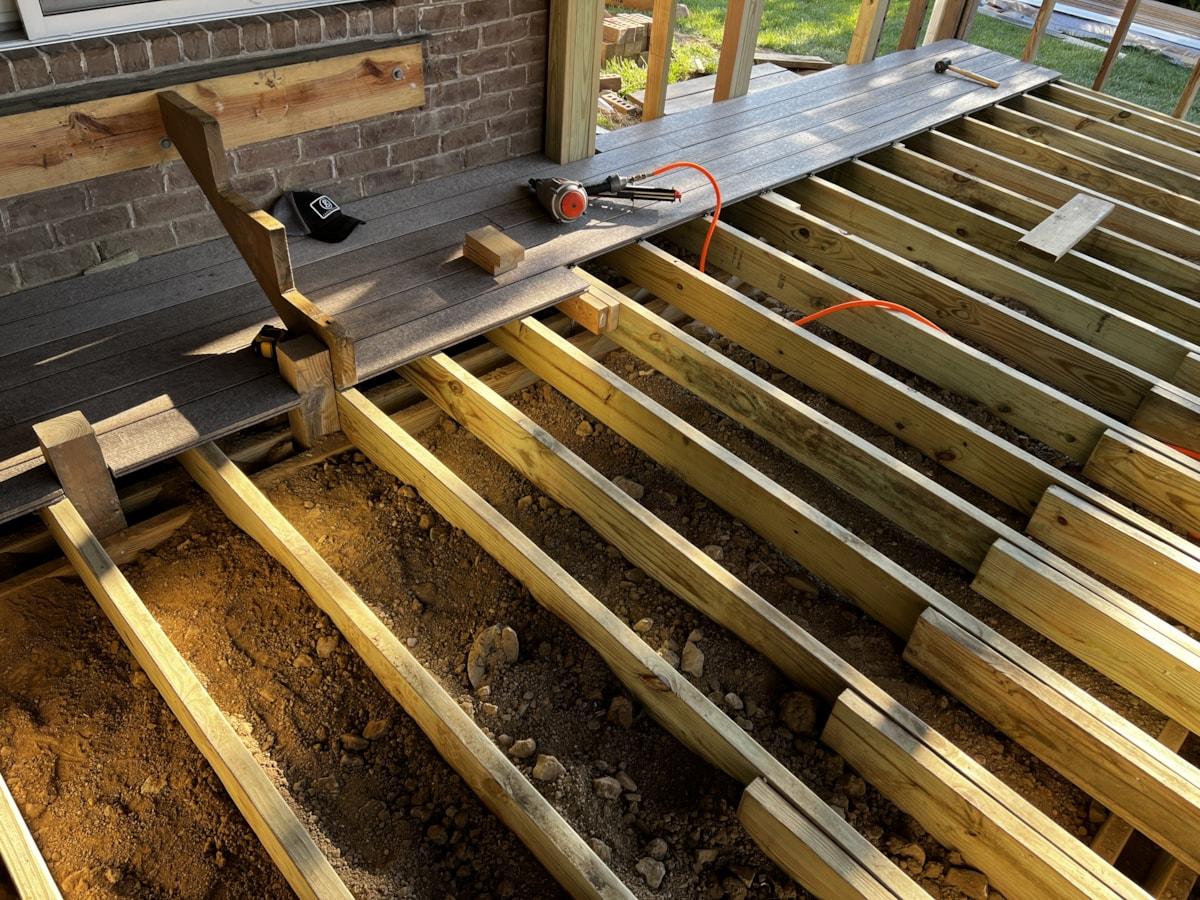
Decking
The composite decking installation was fairly tedious. I used the hidden fastener technique, which requires more precision and time when installing. This took me 1-2 weeks, whereas regular decking would have been done in a day. The end result was worth it, though.
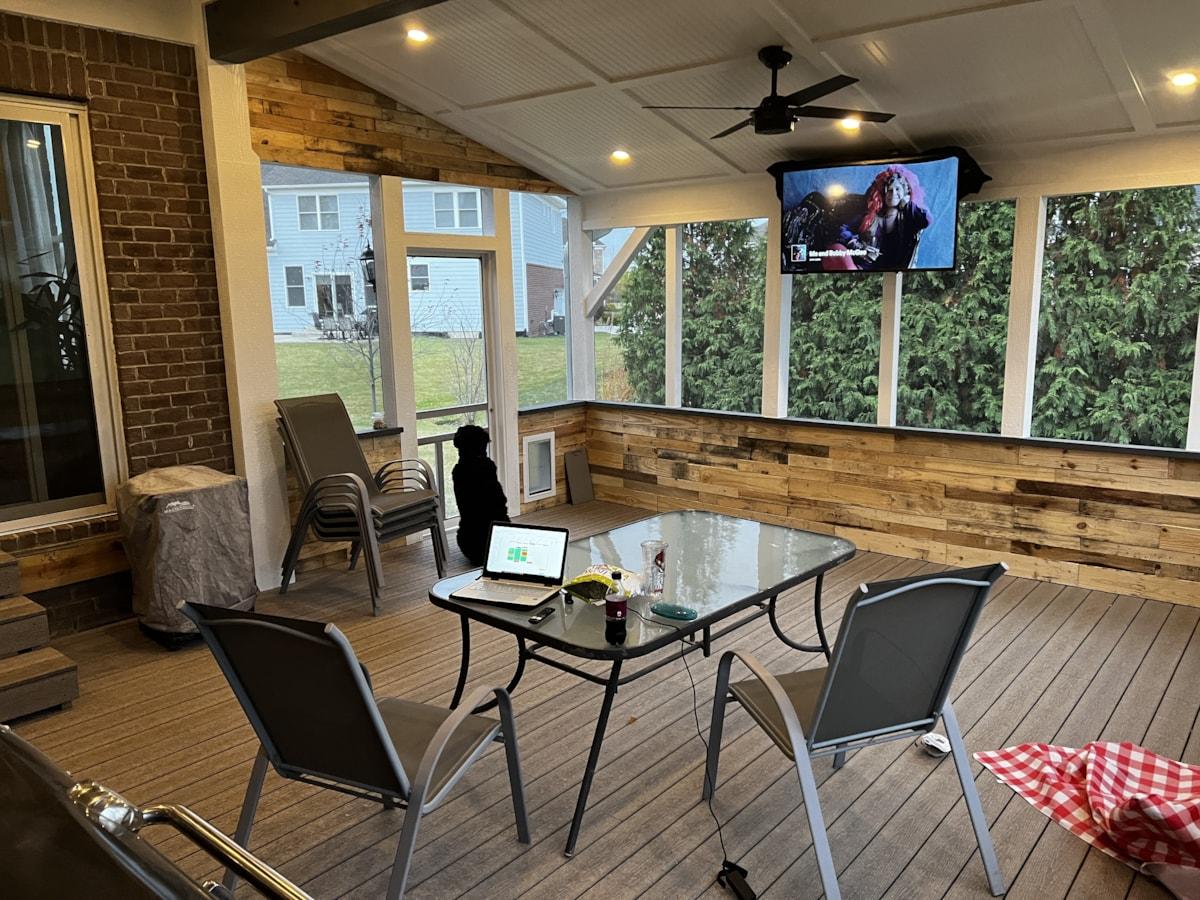
The decking was from Menard's - UltraDeck Rustic Gray. I'm pretty sure they used a dull kitchen knife to trim the ends because every single end needed to be cleaned up. Additionally, any damage to these boards shows more than traditional decking.
All said and done, I was very happy with the final outcome and Jess loved it. So, it's a win.


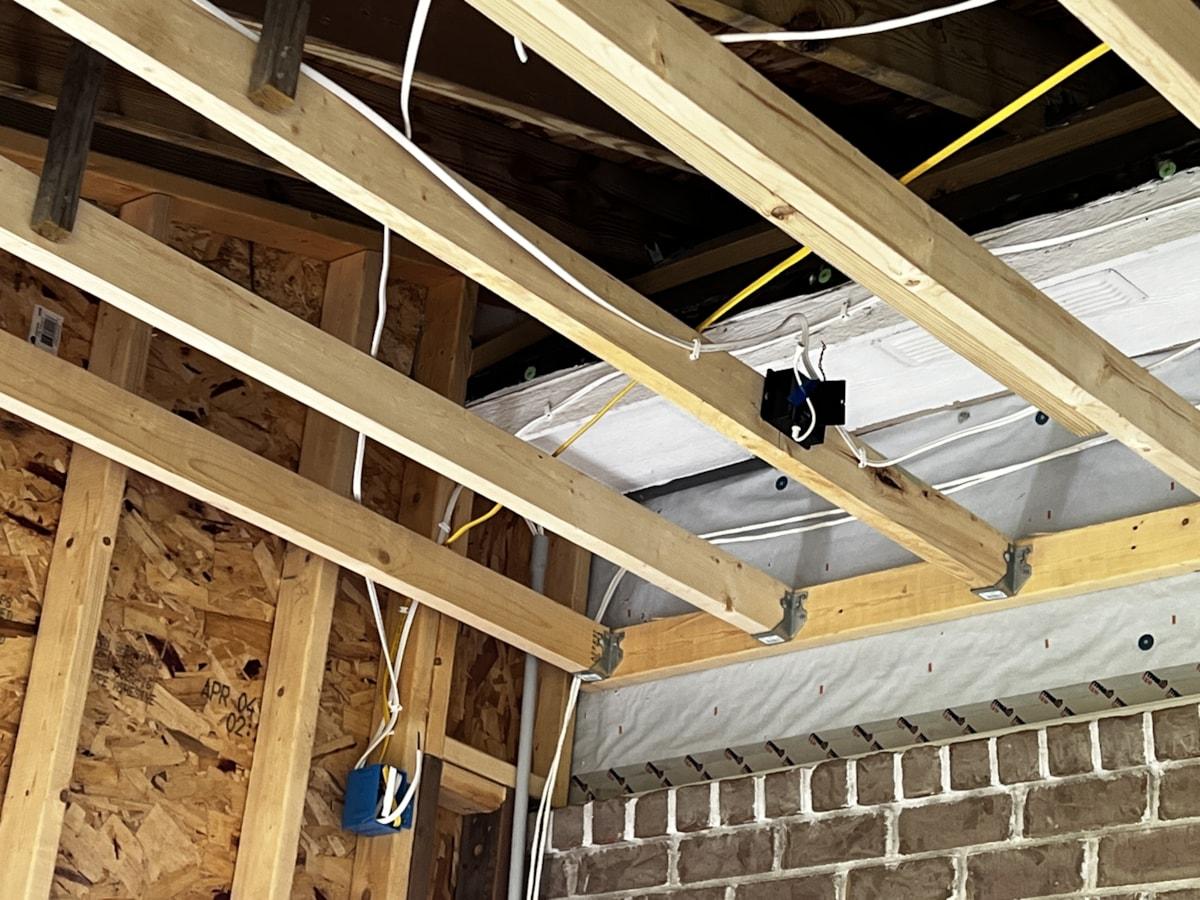
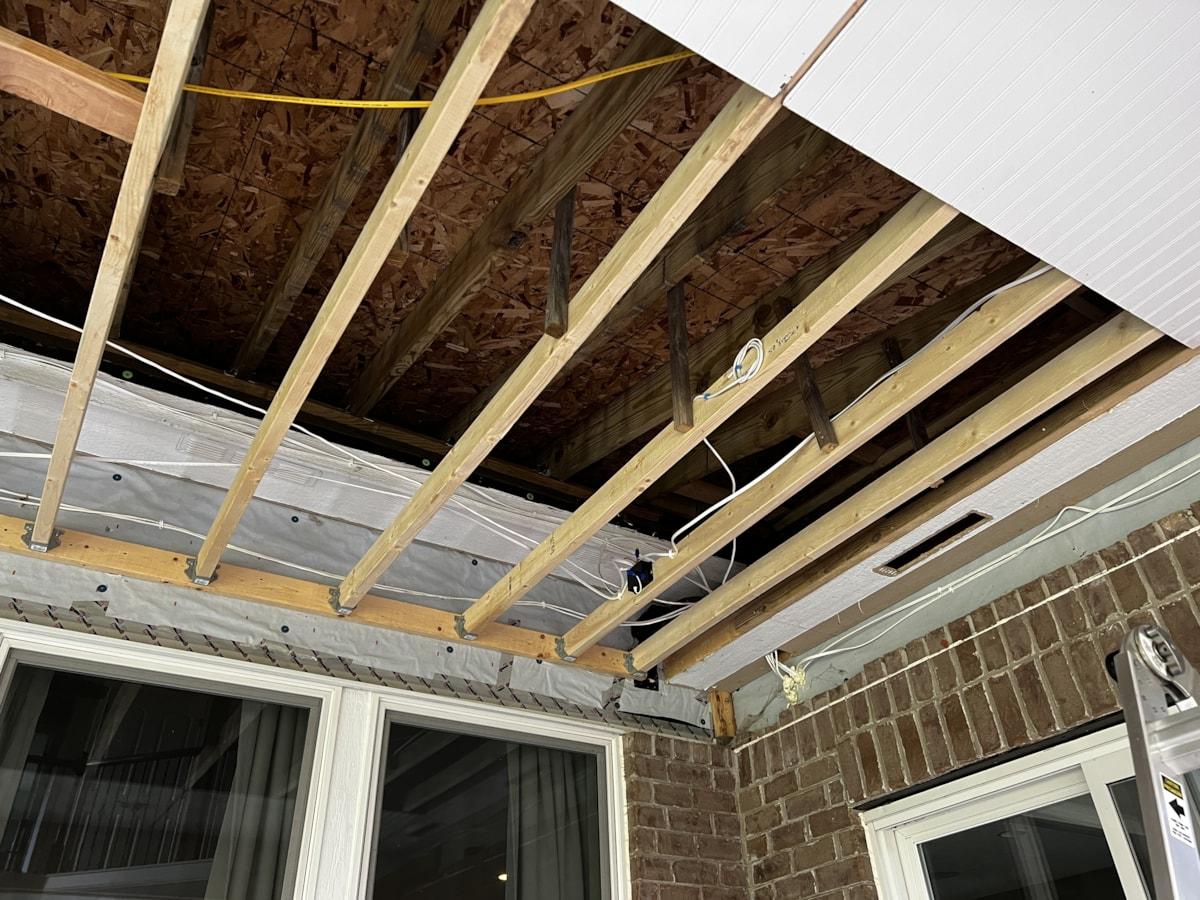
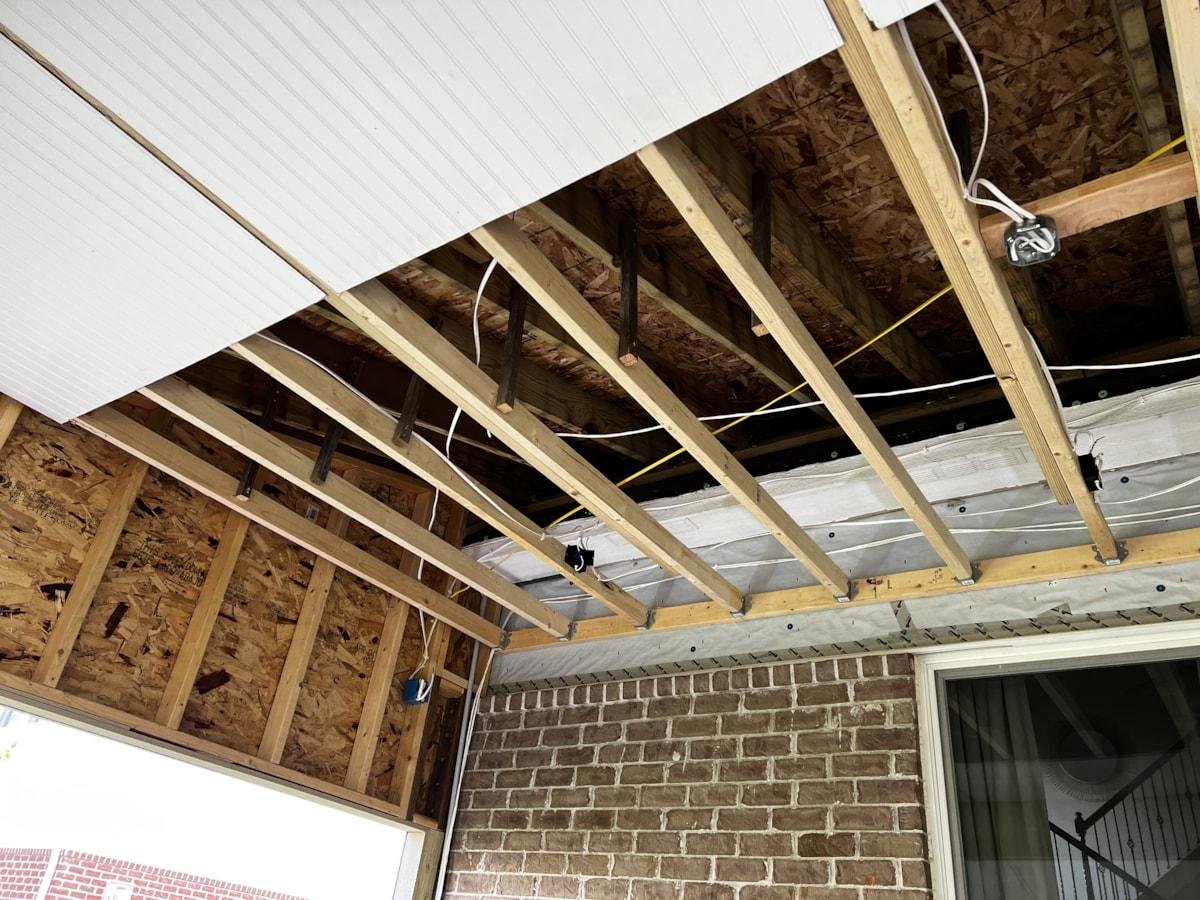
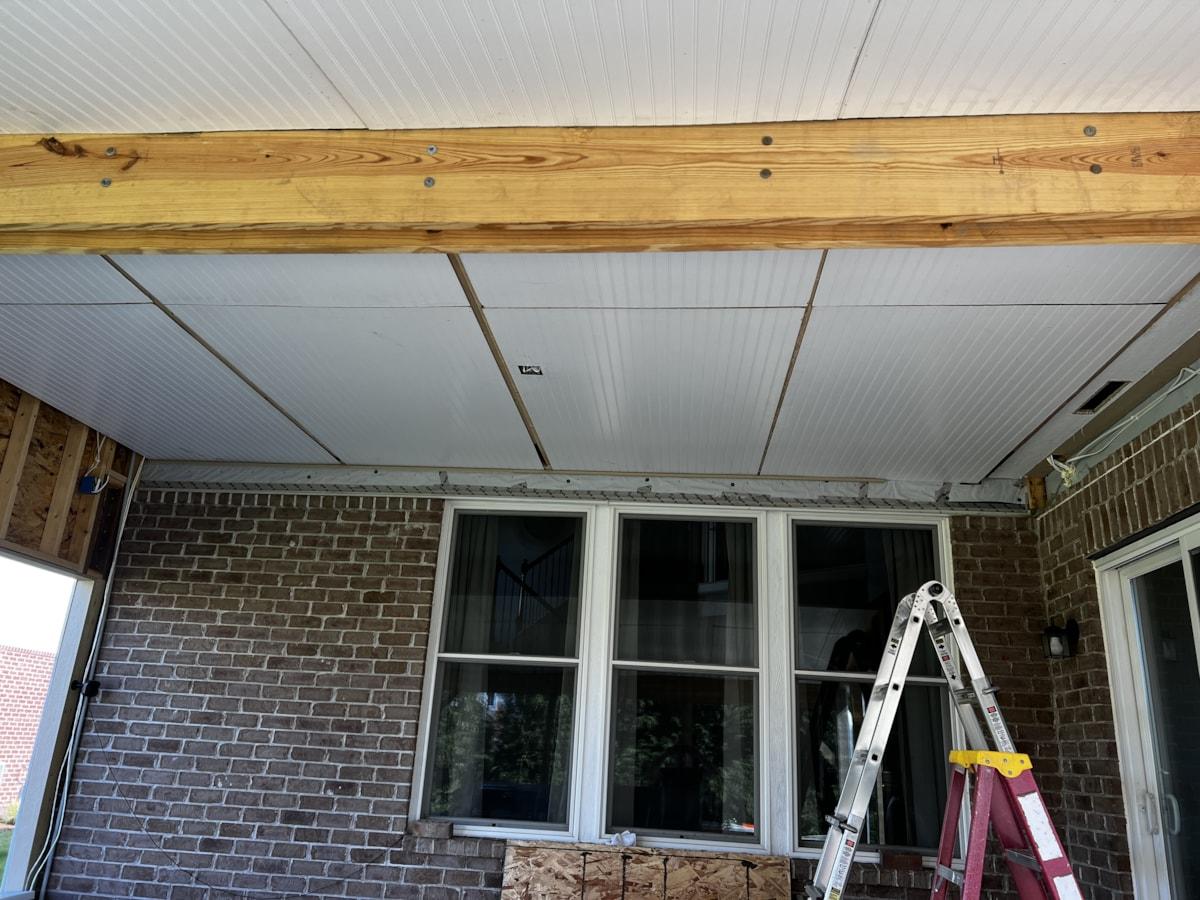
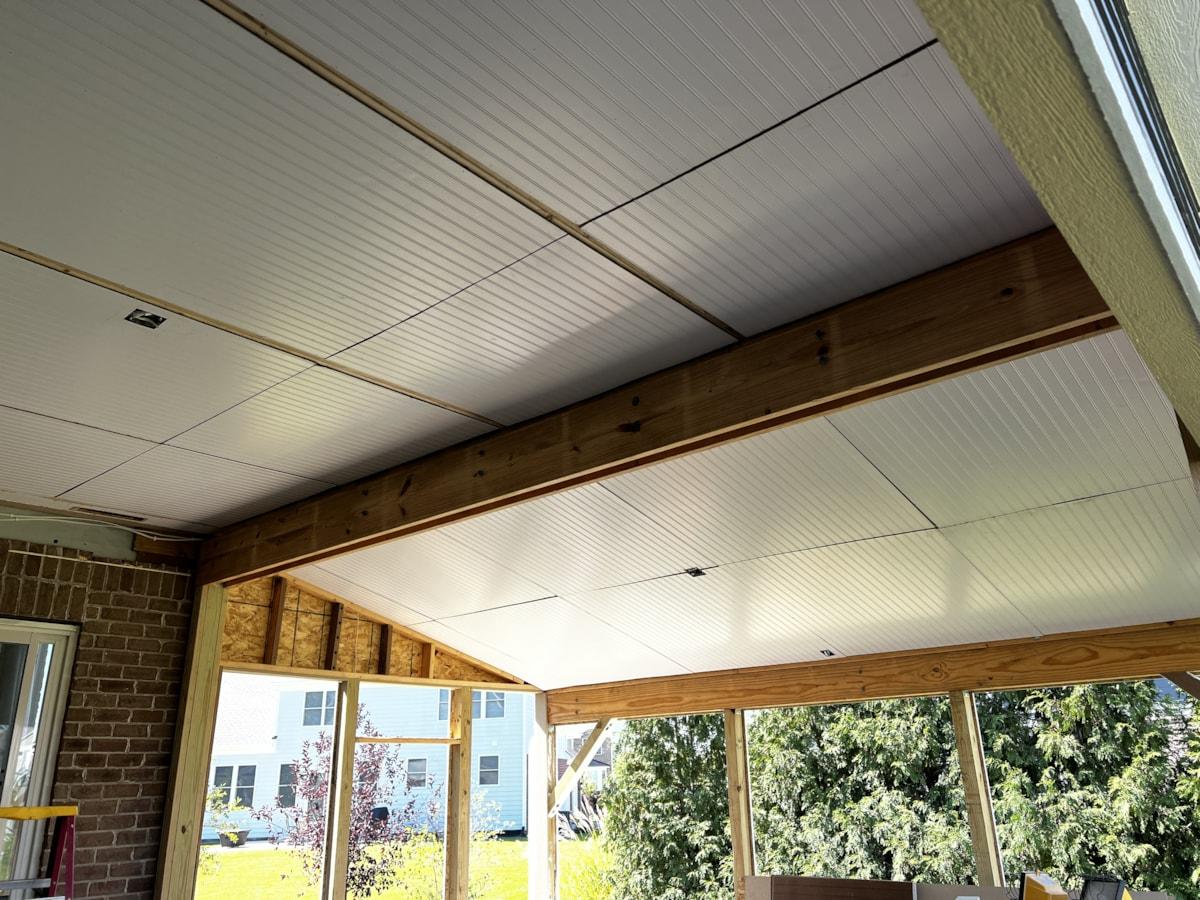
Ceiling Framing
It was raining one day so I put up the ceiling joists (2x4s). I ended up adding bracing to the middle of these that tied to the 2x8 roof rafters.

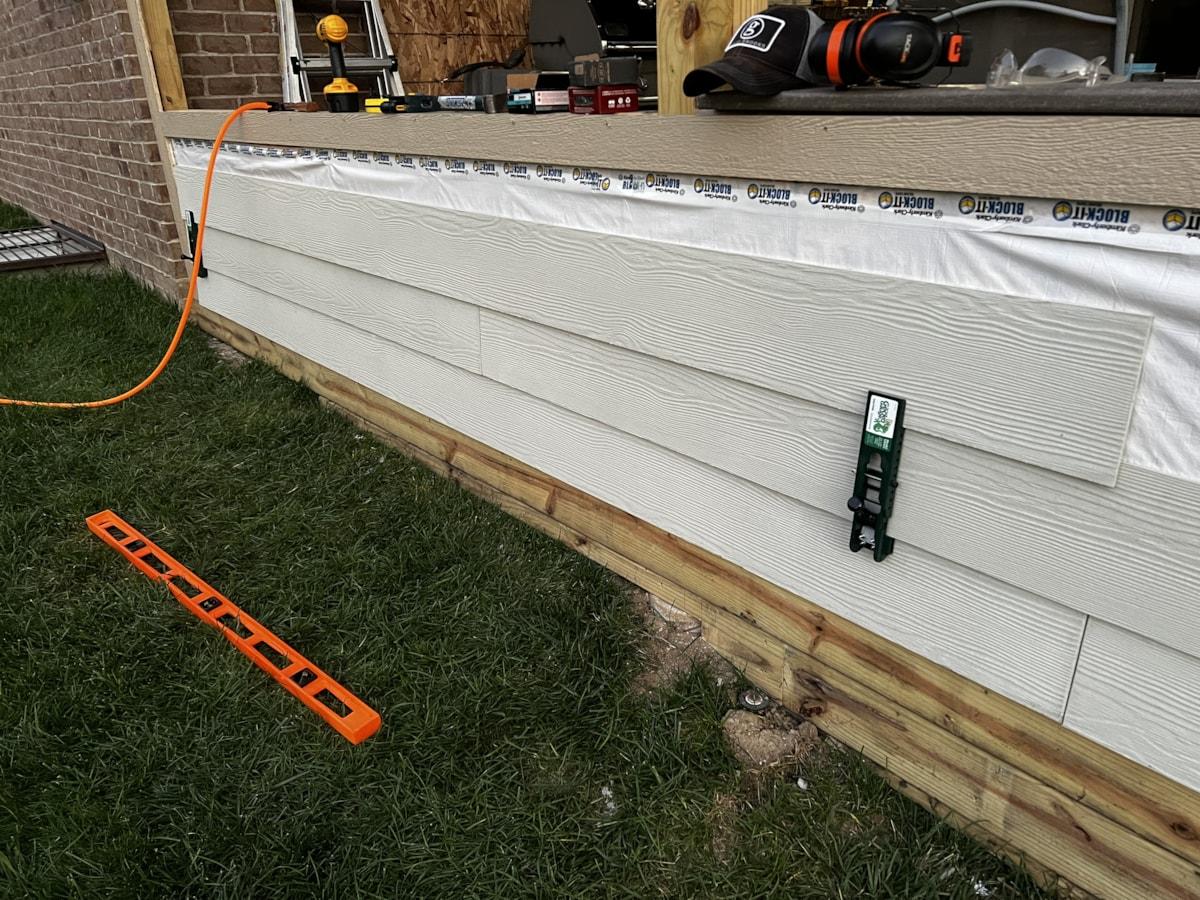
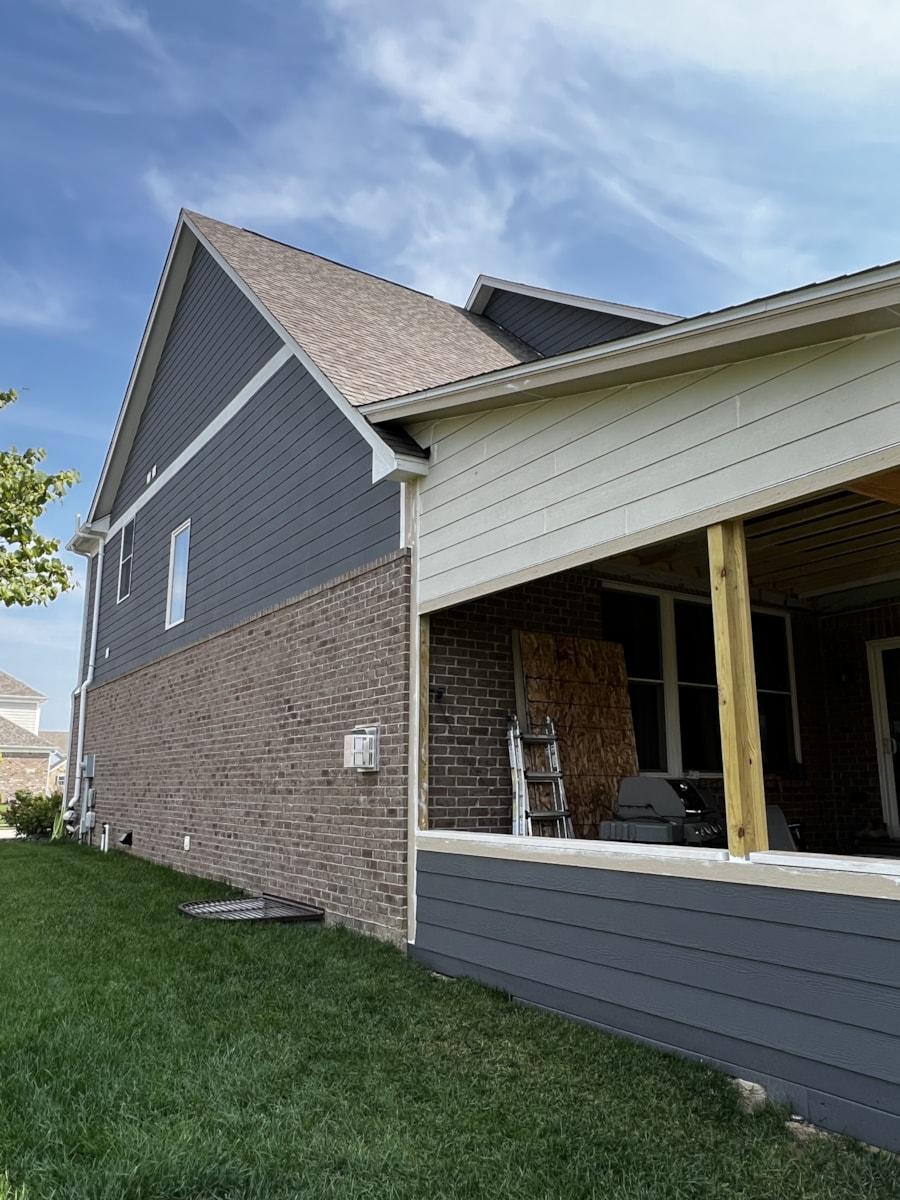
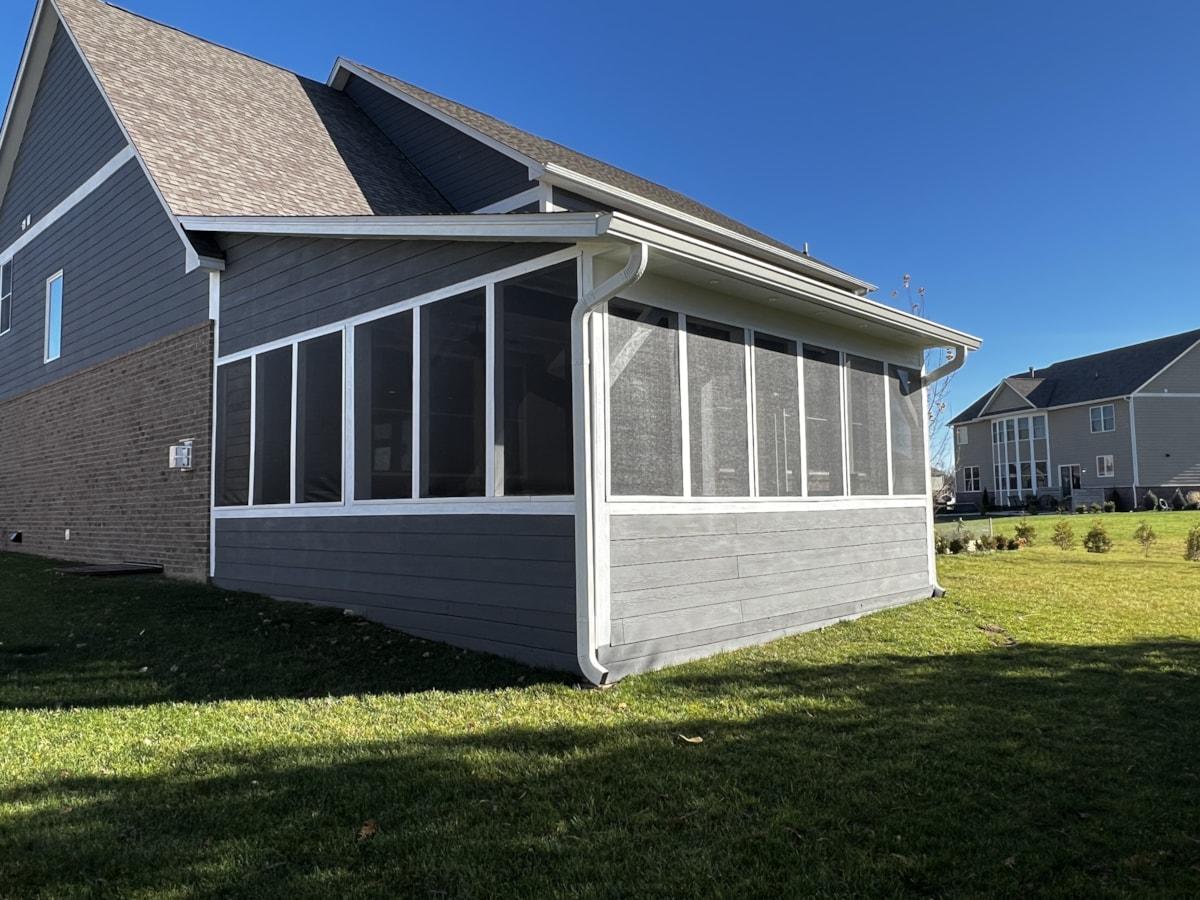
Outside Wall Finishing
Added OSB to the outside walls and finished with Allura 5/16" x 8 1/4" Textured Fiber Cement Lap Siding. One of my favorite new tools was a Gecko Gauge used for installing the siding. I'm positive this cut my time down by at least half.
I also finished all the outside trim work which gets a little tricky as you get into the transition of the doorway. One question leads to several others.
In the last image there's an upper middle section that was the future home of the fireplace and intended to protect the tv. But we ultimately did not like the obstructed view inside and took it down.


Caulking and Painting
Before we finished the inside we wanted to complete exterior caulking and painting. Soooo much caulking..... I probably used 25-30 tubes of caulk for this entire project.

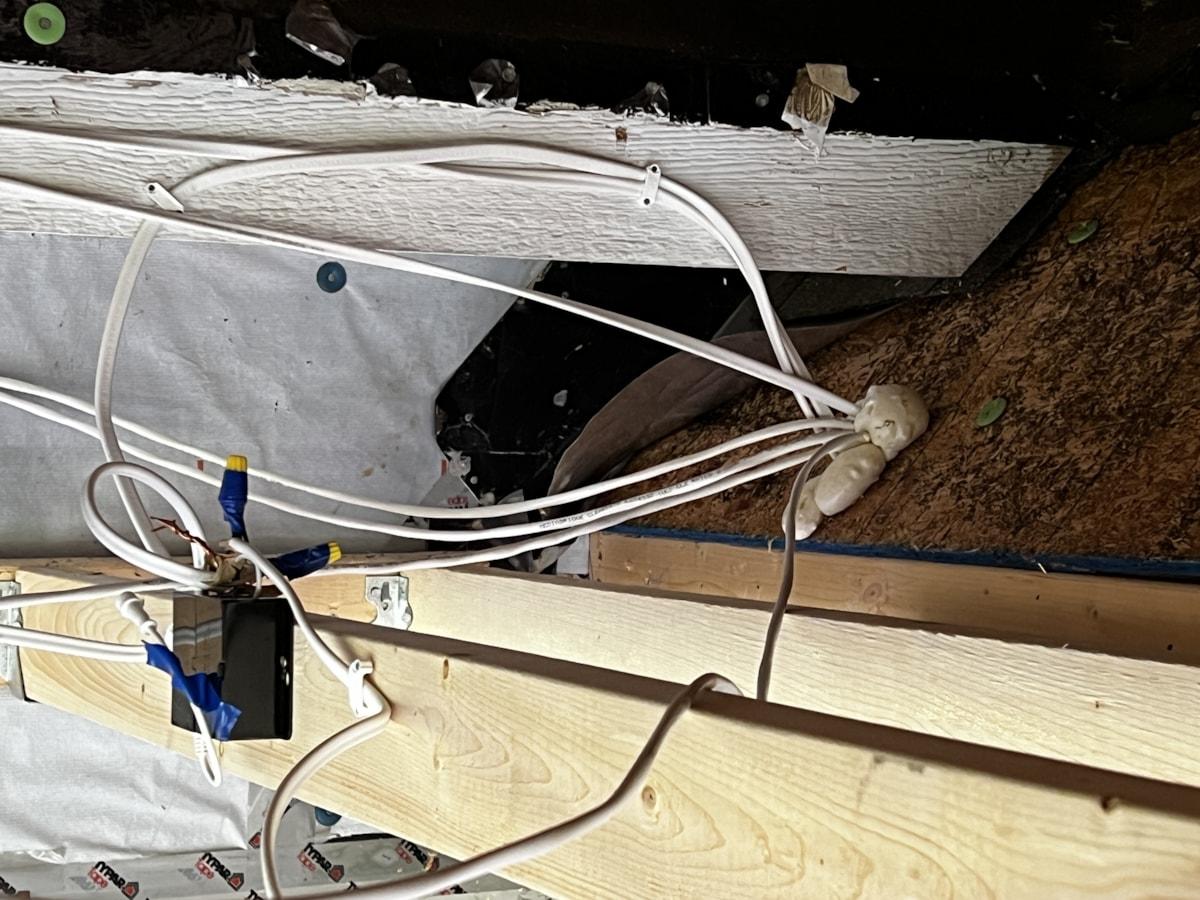
Electrical
Installed 12 4" LED lights, 2 fans, 6 outlets, and 2 speakers. All electrical is fed from a single 15A Arc Fault combination breaker. I've since learned this breaker does not like my electric smoker. So I need to figure that out.


Ceiling Finish
I used bead board for the ceiling and covered the gaps with 1x4" pine trim boards. This is where many of our dimensional imperfections came to haunt me. When your joists are not 16 on center it makes attaching 4x8' sheets much more difficult.
I disliked the bead board at first but once trimmed out, caulked, and painted it looks really nice.


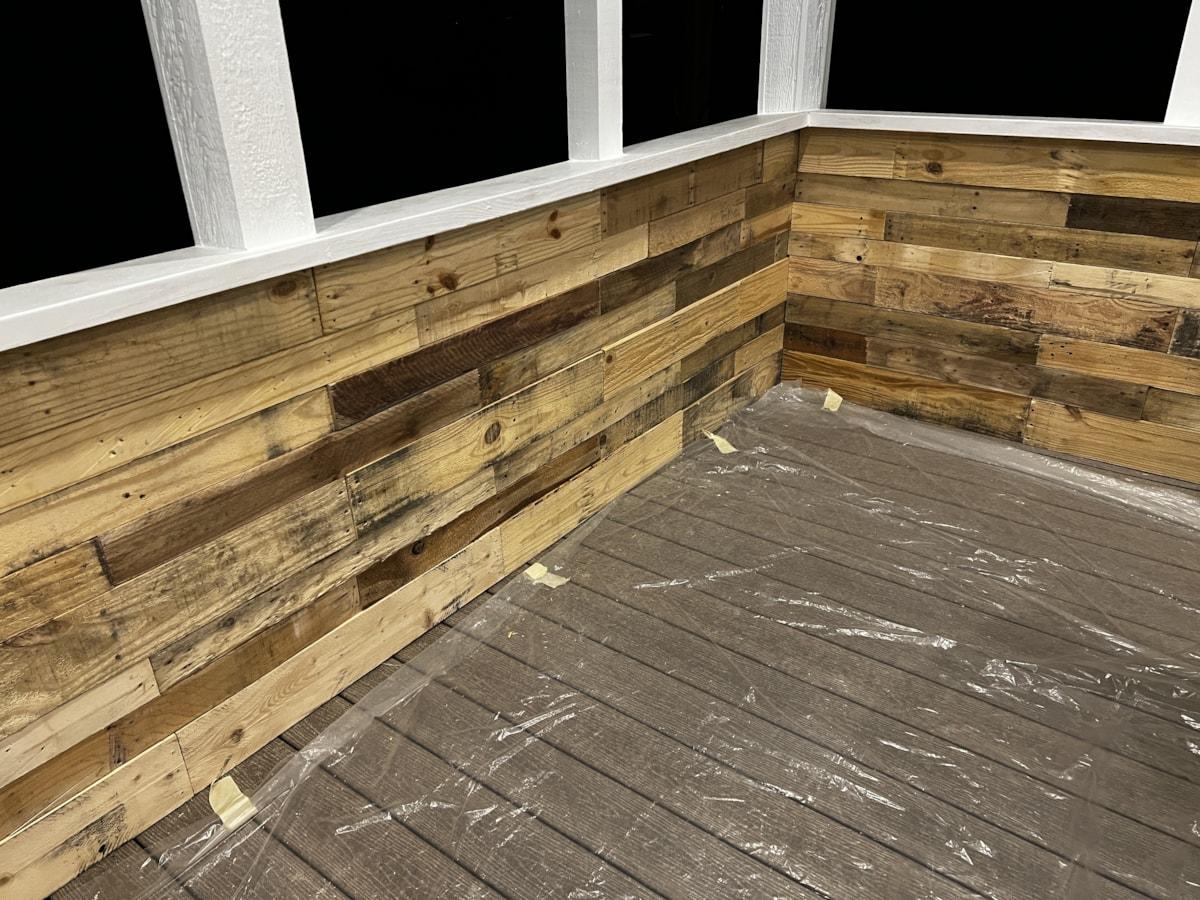
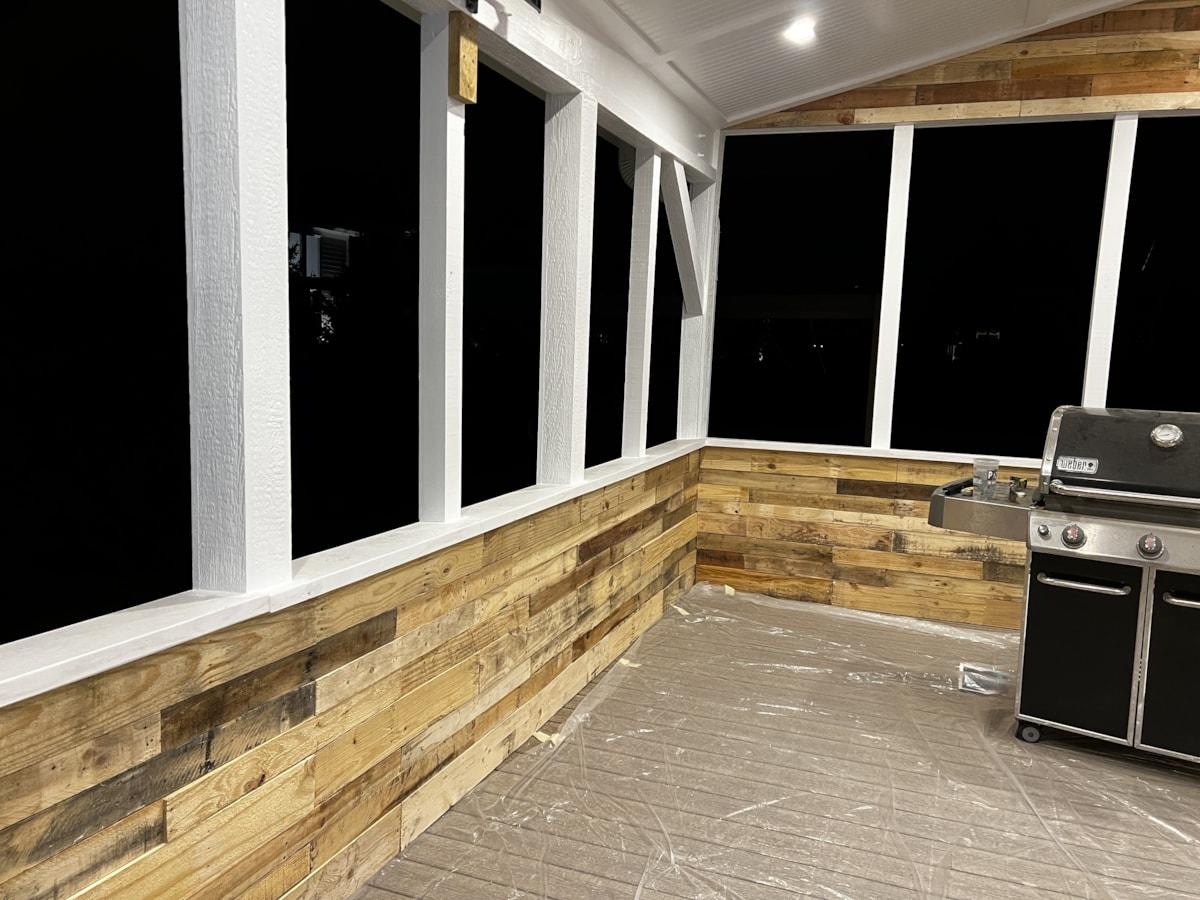
Interior Walls
I bought an entire pallet of pallet wood from a place on the South side for $160. I still have half of it left. These boards are cut at 30" so I had to put backers where they joined.
The plan was / is to whitewash these but we all really like them as is (which works great for me!).


Final Touches
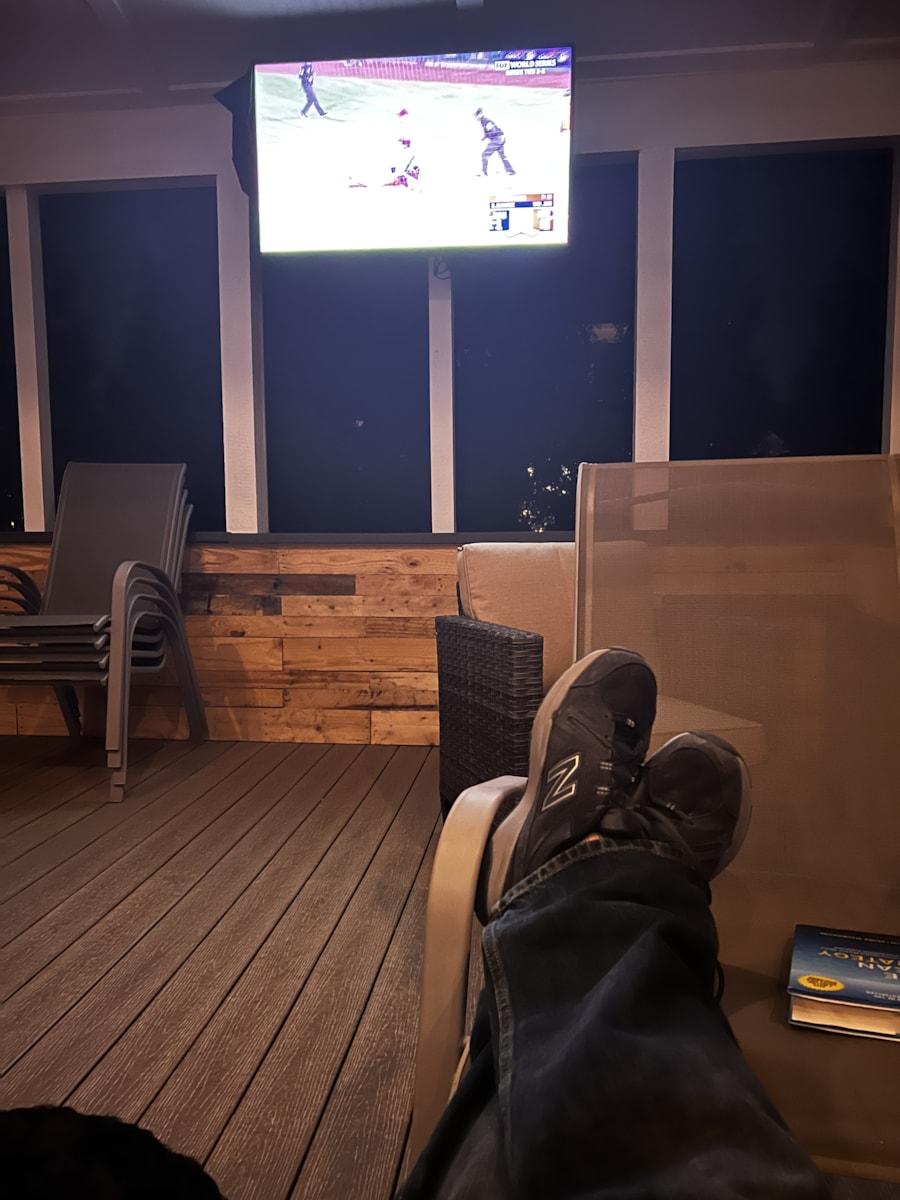
The final caulking, painting, and finishing brought the entire project to a beautiful finish. It was great timing too, because it kept getting colder and colder in October. Luckily, once we finished the weather gods were kind and gave us a couple warm weeks to enjoy the porch.


Close Ups
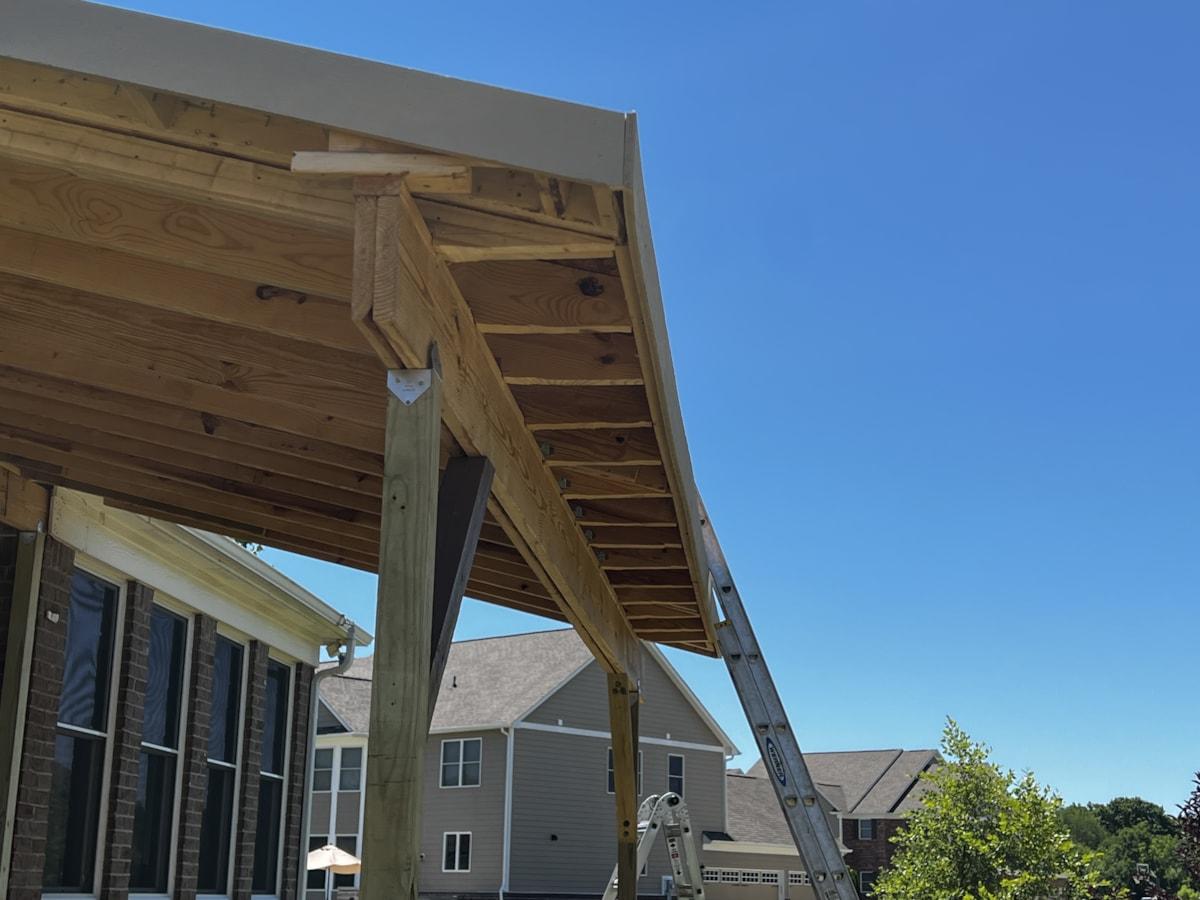
Early on I realized my double 2x10 beam which spanned about 17 ft was inadequate. The max recommended span for a double 2x10 is 11-12 ft. Whoops. So I did a hybrid scab with 2 additional 2x12's on each side. I added about ten 1/2" galvanized carriage bolts through the 10's and 12's for the scab but also added 2 treated 2x4's on each side of the 4x4 posts for additional support. The 2x4's sit directly on the concrete footers.
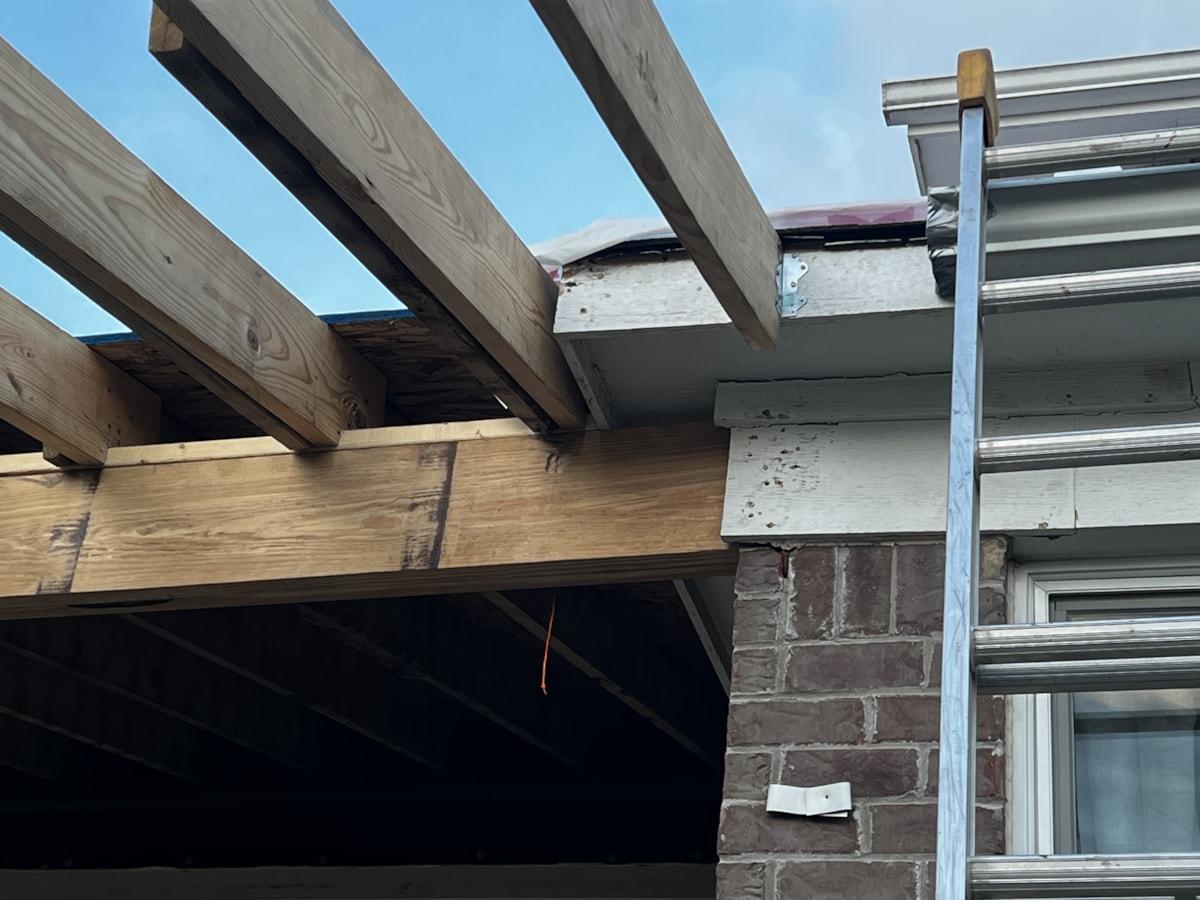
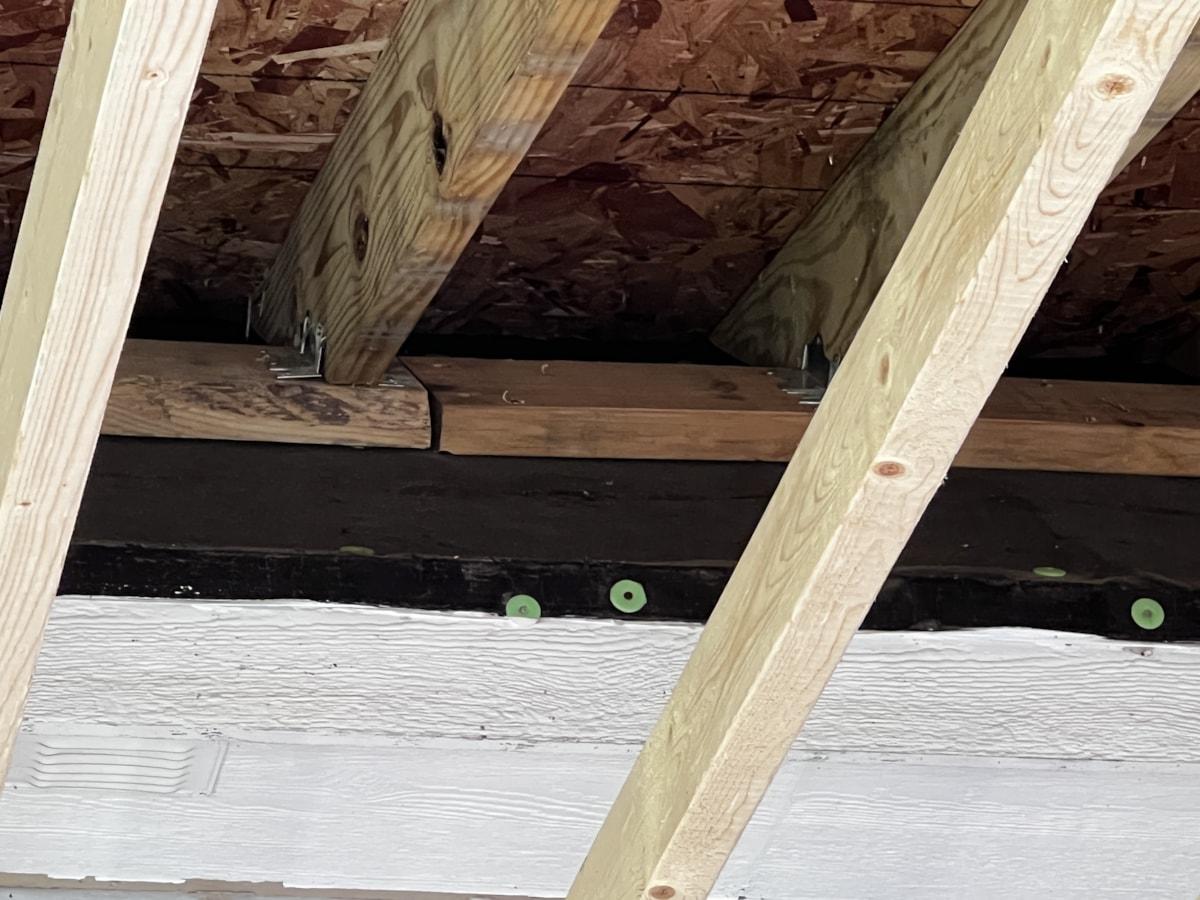
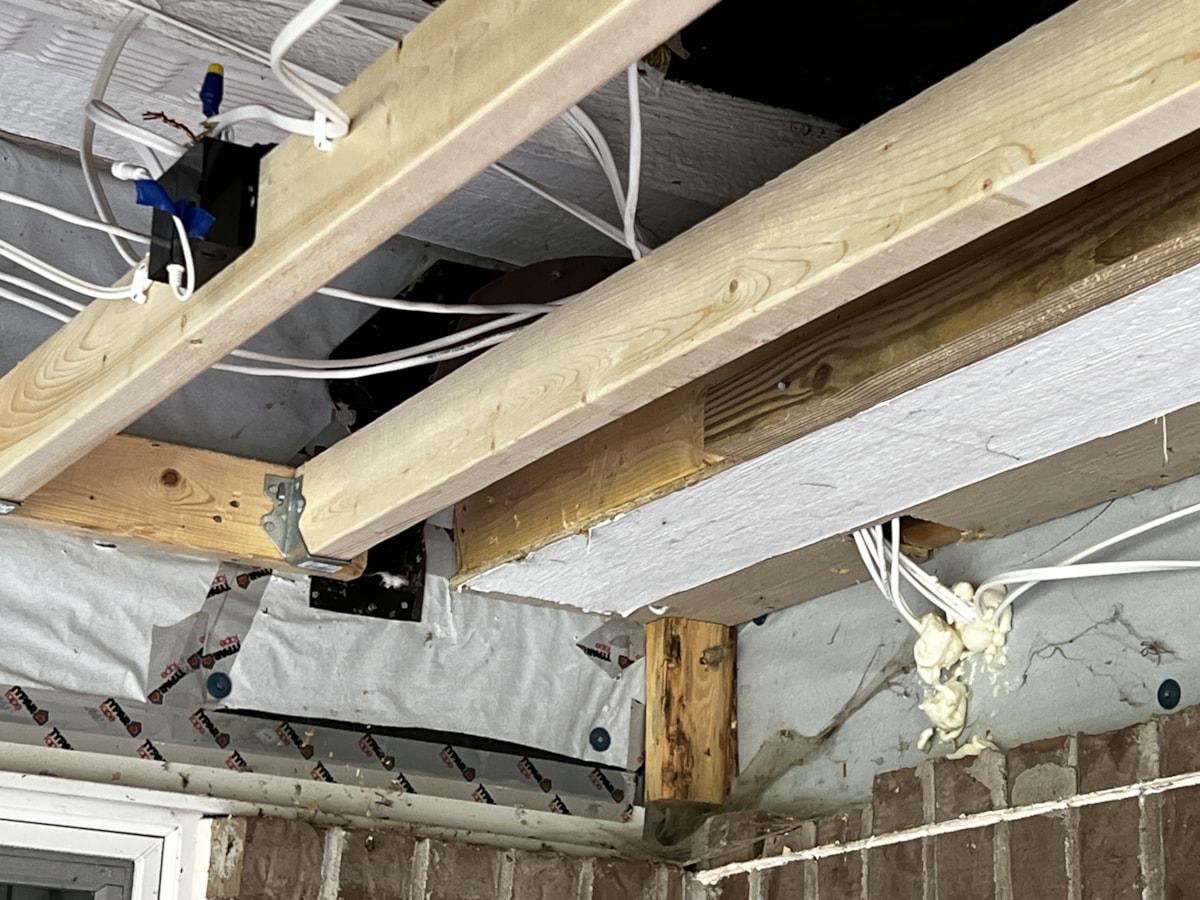
The 3rd image shows a rafter attached to the soffit. This was ok because the soffit has a 2x6 sub-fascia behind it.
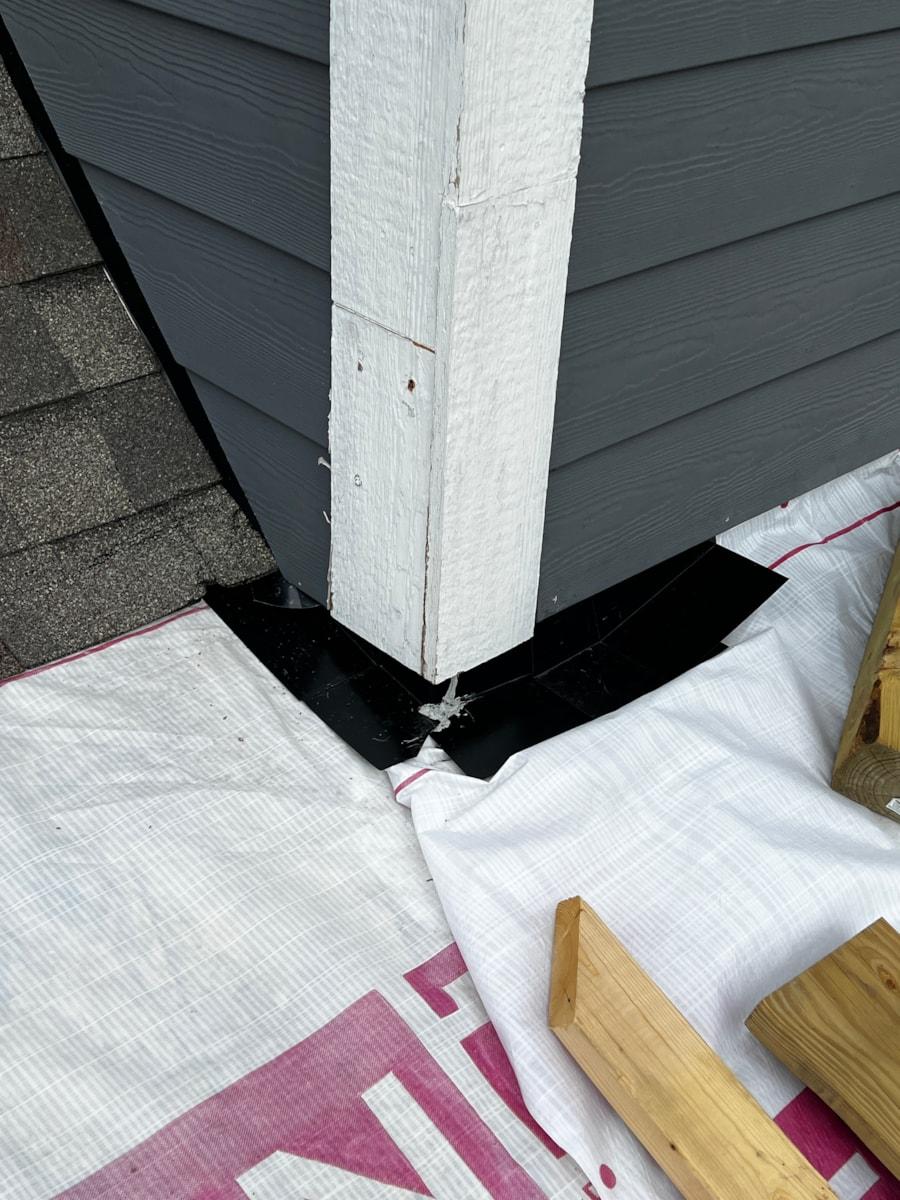
The 4th image shows how I tied the first roof rafters into the roof line. I installed a ledger board across the width of the roof, nailed into the main roof rafters and notched the ends of the rafters to sit squarely on the ledger. The rafters were also attached with brackets on each site.
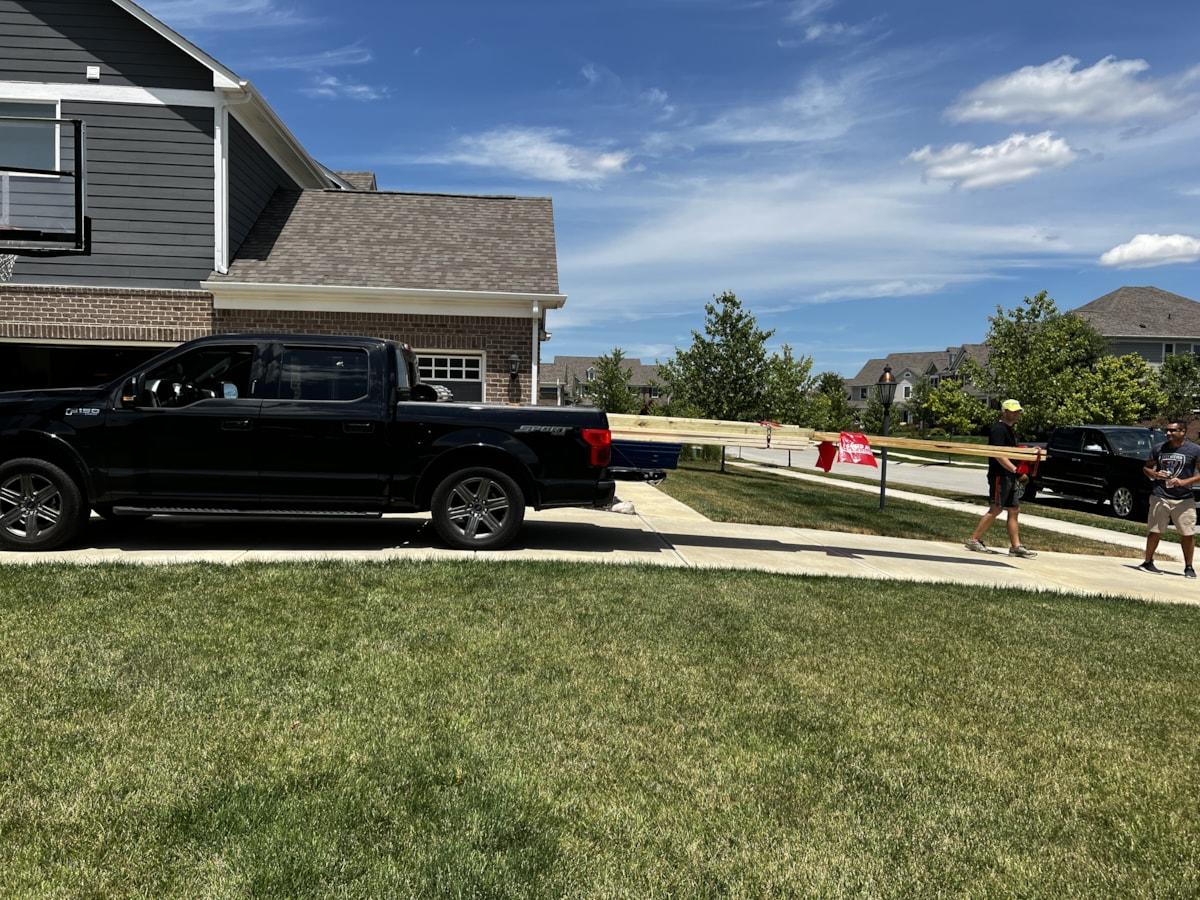
The final image is the most hillbilly moment I had for the entire project. 20 ft beams tied down in my 5 1/2 ft truck bed (nearly 8' with tailgate down). That was a fun slow trip but luckily we had Greg behind us the entire way.